
Creating a Solana token is just the beginning of your journey into the cryptocurrency world. To make your SPL token stand out and provide valuable information to potential holders, you need to focus on an often overlooked aspect: metadata.
Metadata is crucial for any SPL token, as it provides essential details about your project right on the blockchain. Whether you're using a Solana token developer or an SPL token generator, understanding how to add and modify metadata is key to building a professional and trustworthy token.
In this guide, we'll walk you through the process of adding and modifying metadata for your SPL token. You'll learn how to:
- Add an eye-catching token logo,
- Write a token description,
- Include important website and social links,
- Manage the immutability of your token's metadata.
By the end of this tutorial, you'll have everything you need to create a Solana token with rich, informative metadata that showcases your project in the best possible light. Let's dive in and explore how to make your SPL token shine with the power of metadata!
NOTE: If you already have an SPL token, check out our guide on using the Solana Update metadata tool to easily change metadata in your existing token.
How to Create Token on Solana with Metadata
Creating an SPL token with metadata doesn't have to be a complex process. Thanks to advanced tools like 20lab's SPL token generator, you can easily create a Solana token with rich metadata in just a few steps. 20lab simplifies the token creation process so you can focus on creating the perfect metadata to represent your project.
This efficient approach not only saves time, but also ensures that your token launches with all the necessary information attached. Let's walk through the process of creating a Solana token.
Step 1: Choose Token Type and Connect Wallet
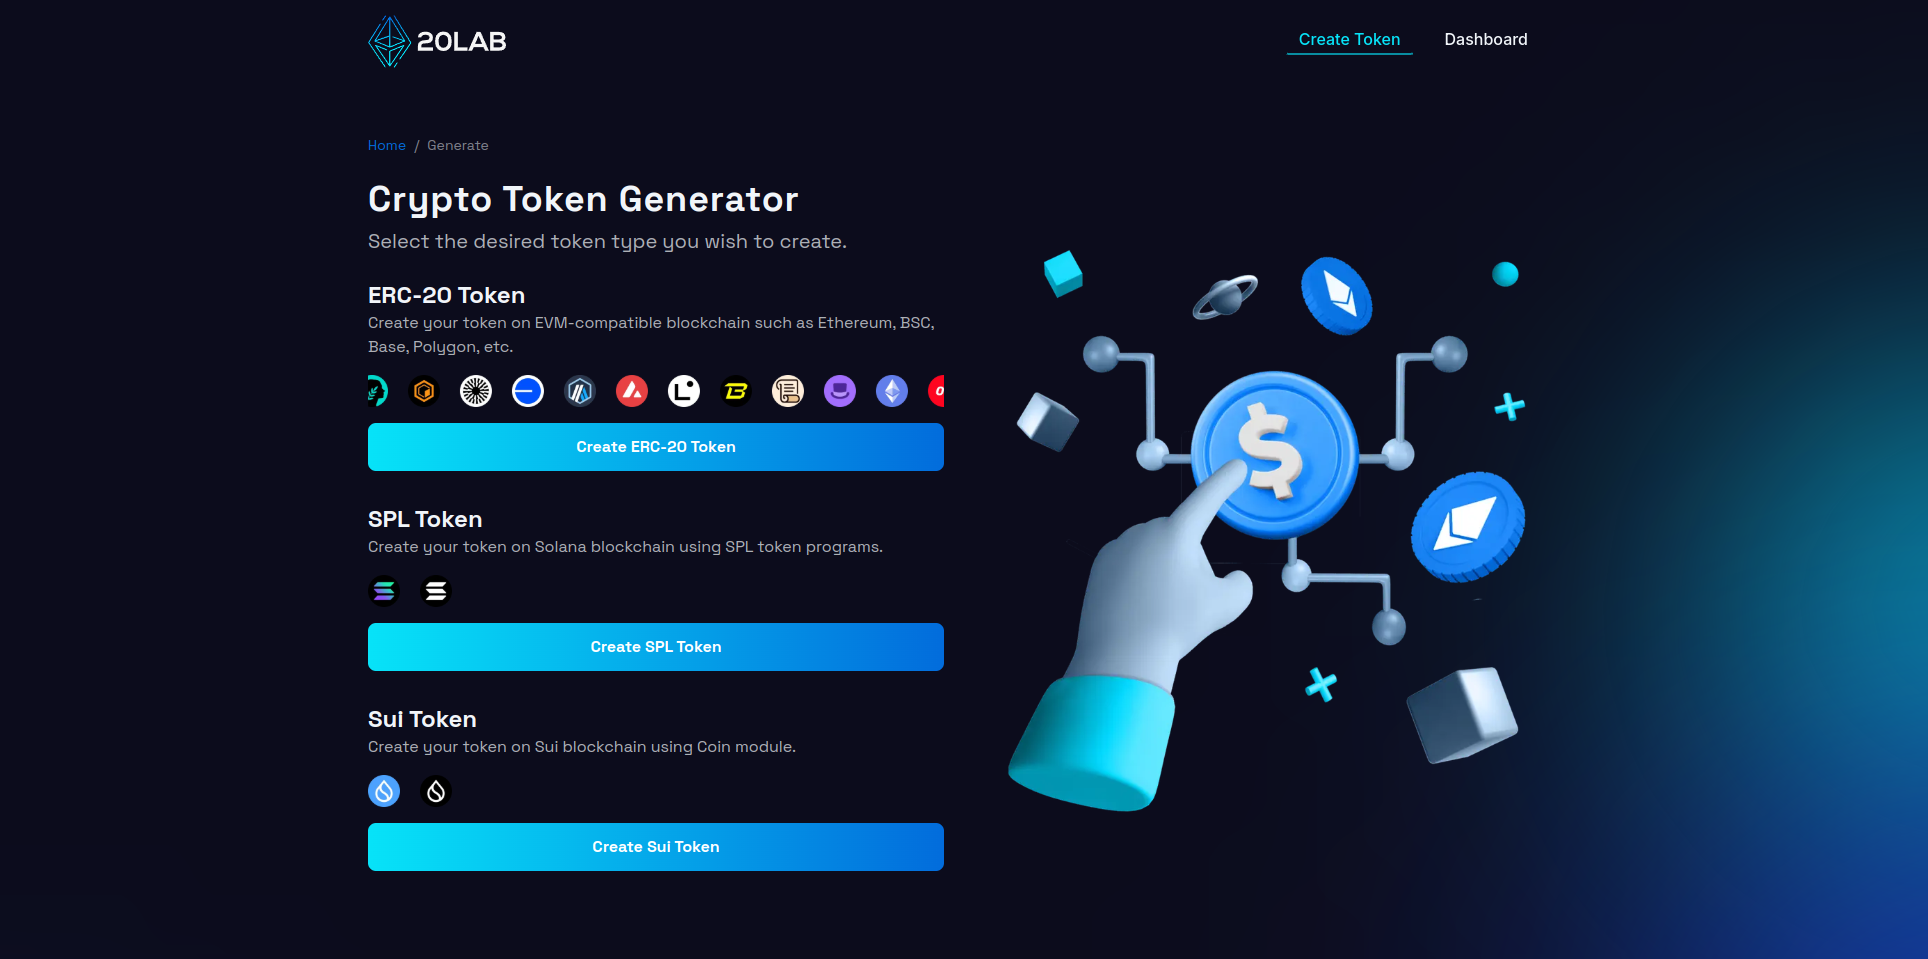
To begin creating your SPL token, first visit 20lab.app in your web browser. Open the app and navigate to the "Create SPL Token" option, which will take you to the token generator page.
Once there, you'll need to connect your Solana wallet. Click on the "Connect Wallet" button and select your preferred wallet from the options provided, which include popular choices like Phantom, Solflare, or Backpack. Follow your wallet's instructions to authorize the connection. Once you've successfully connected, you'll see your wallet address in the top right corner of the page.
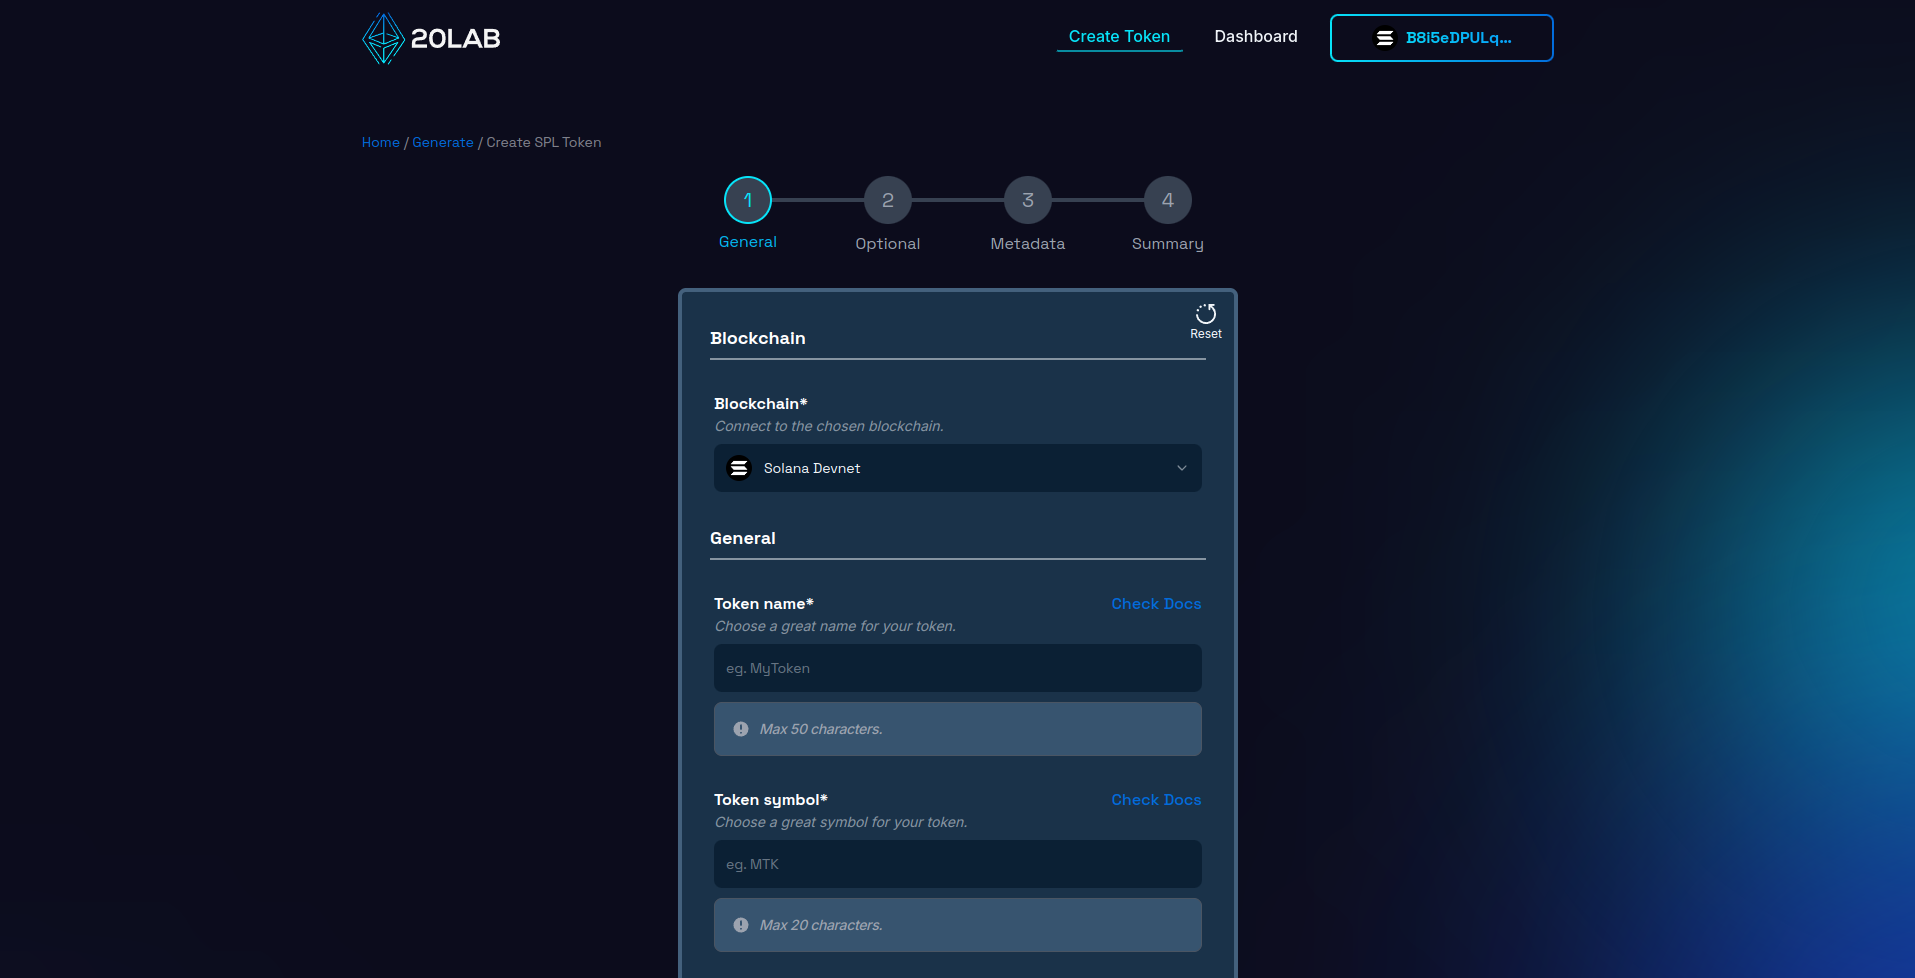
Next, make sure you're connected to the appropriate Solana network. You can choose between Mainnet, Testnet or Devnet, depending on the current stage of your project and your needs. Use Mainnet to launch your actual token, or Testnet/Devnet for testing and development purposes. Make sure that the blockchain in your wallet matches the one selected on the 20lab interface, as at the time of writing, many Solana wallets don't support this type of synchronization.
Step 2: Add General Token Information
Configuring your SPL (Solana) token is a critical step in defining its core attributes. Start by entering a unique, descriptive name for your token and creating a short, memorable symbol. It's a good idea to research existing Solana tokens to ensure your choice stands out in the ecosystem.
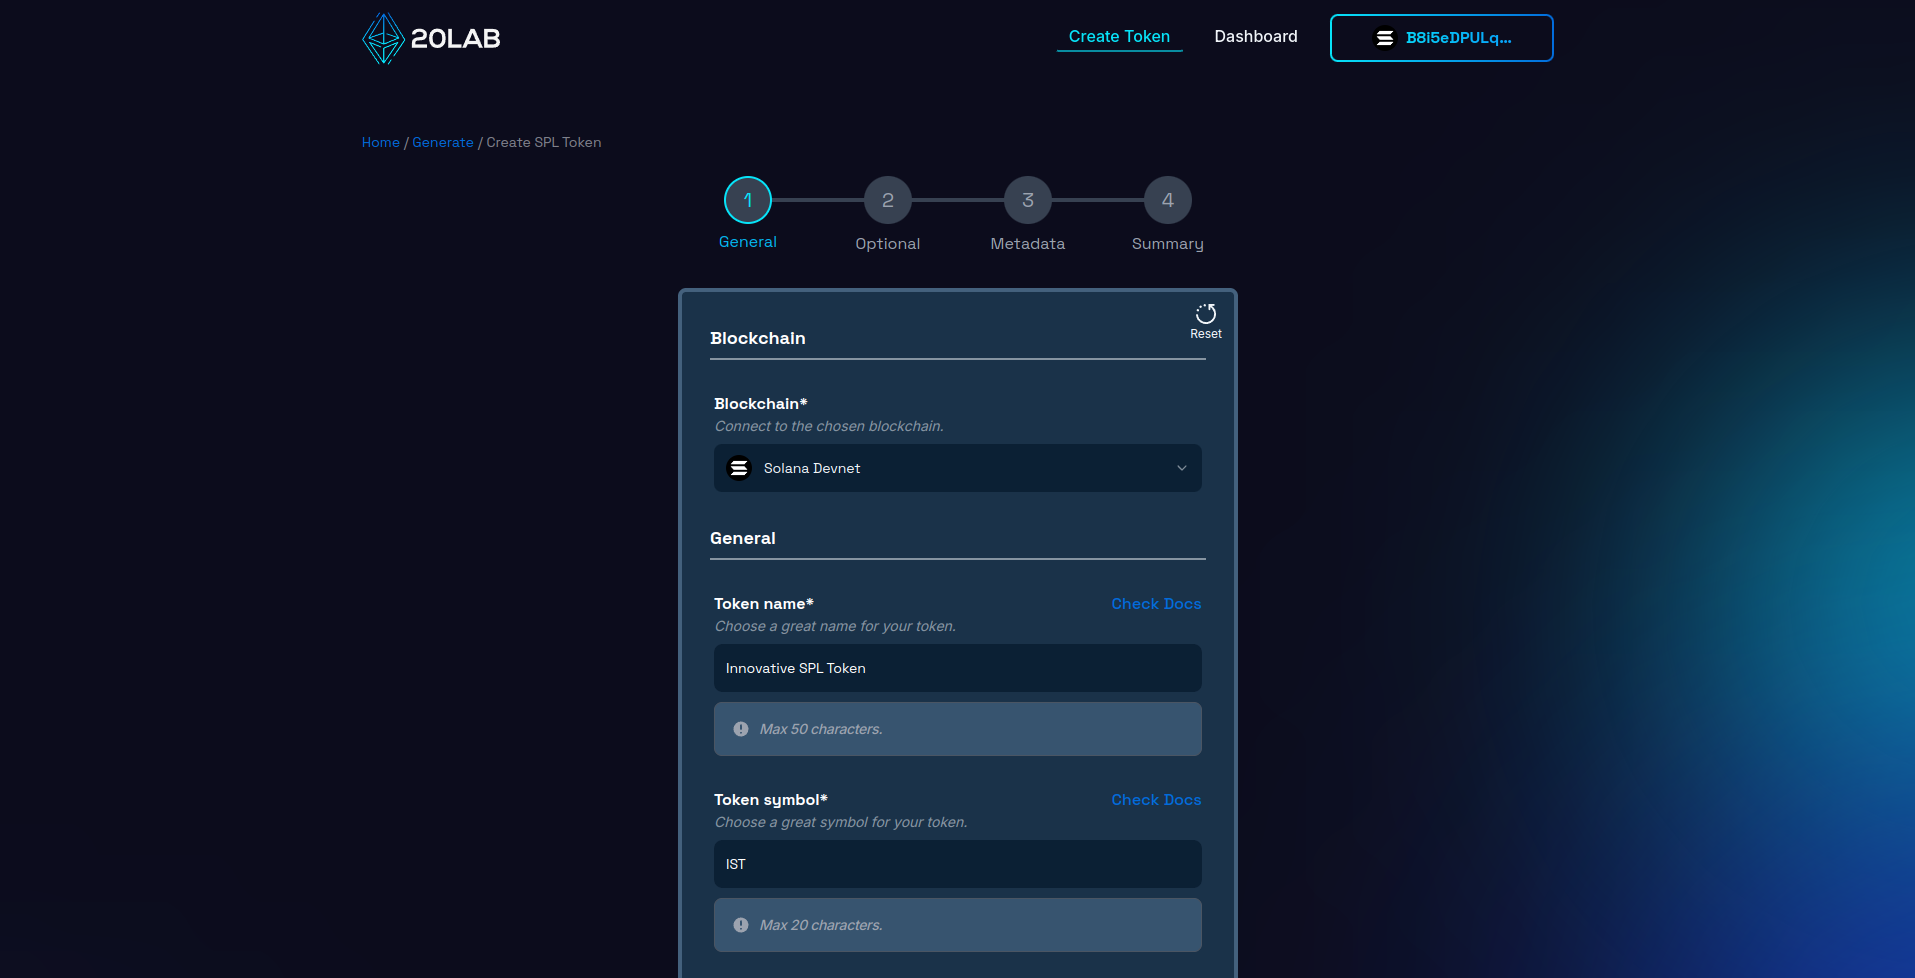
Next, determine the initial supply of your token, which will be minted at launch and sent to the wallet specified as the supply recipient.
When it comes to decimals, SPL tokens typically use 6 or 9 decimal places, which matches the divisibility of SOL. This allows for micro-transactions and precise token allocation, which is essential for various use cases within the Solana ecosystem. Since Solana uses a smaller variable size to store balance data, choosing a smaller decimal also allows for a larger overall supply, which can be beneficial for your token distribution strategy.
An important decision is choosing which wallet will receive the initial supply. This supply recipient will hold all tokens at launch, but will have no other permissions unless directly assigned later. You can use your personal wallet or a dedicated project wallet.
Remember, these choices are the foundation of your SPL token, so take the time to carefully consider each option. The flexibility of the Solana blockchain allows for a wide range of token configurations to suit different project needs.
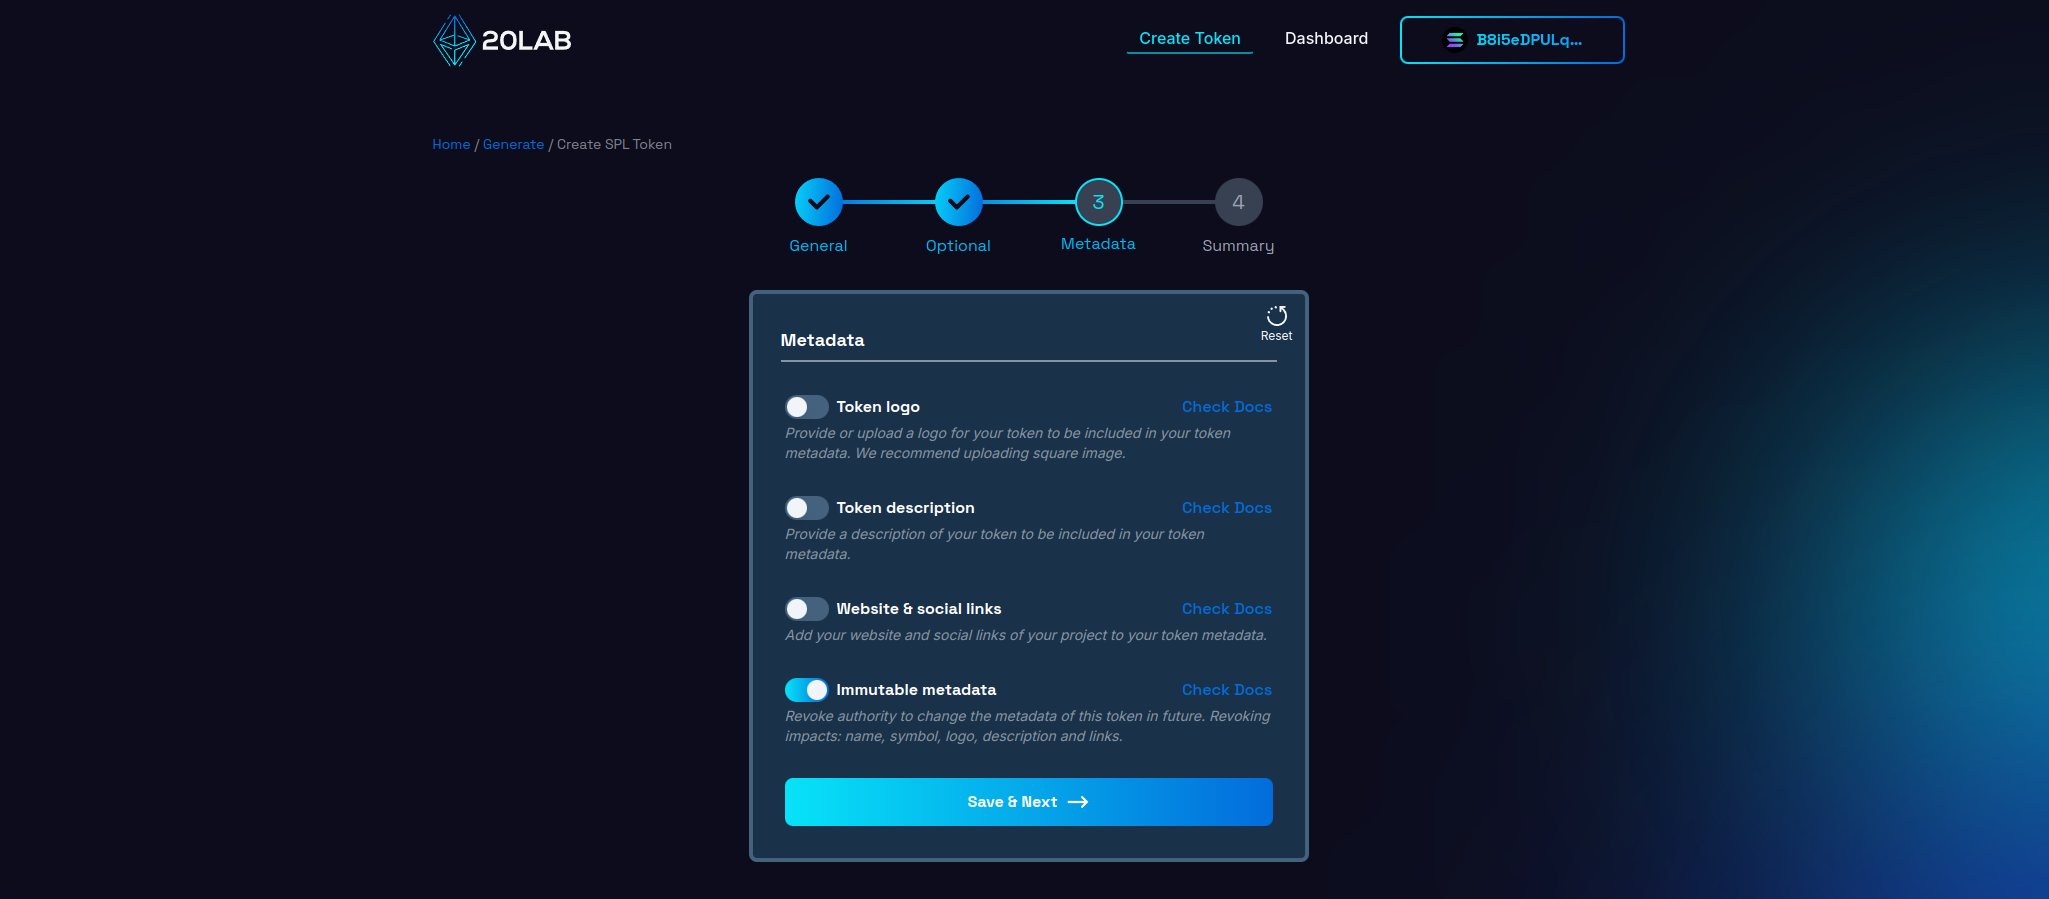
Step 3: Configure Metadata
Configuring metadata for your SPL (Solana) token is a critical step in creating a professional and informative token. Proper metadata increases the visibility and credibility of your token within the Solana ecosystem. Let's explore each of the metadata options available in the 20lab SPL token generator.
To begin, navigate to the third section of the generator form labeled "Metadata".
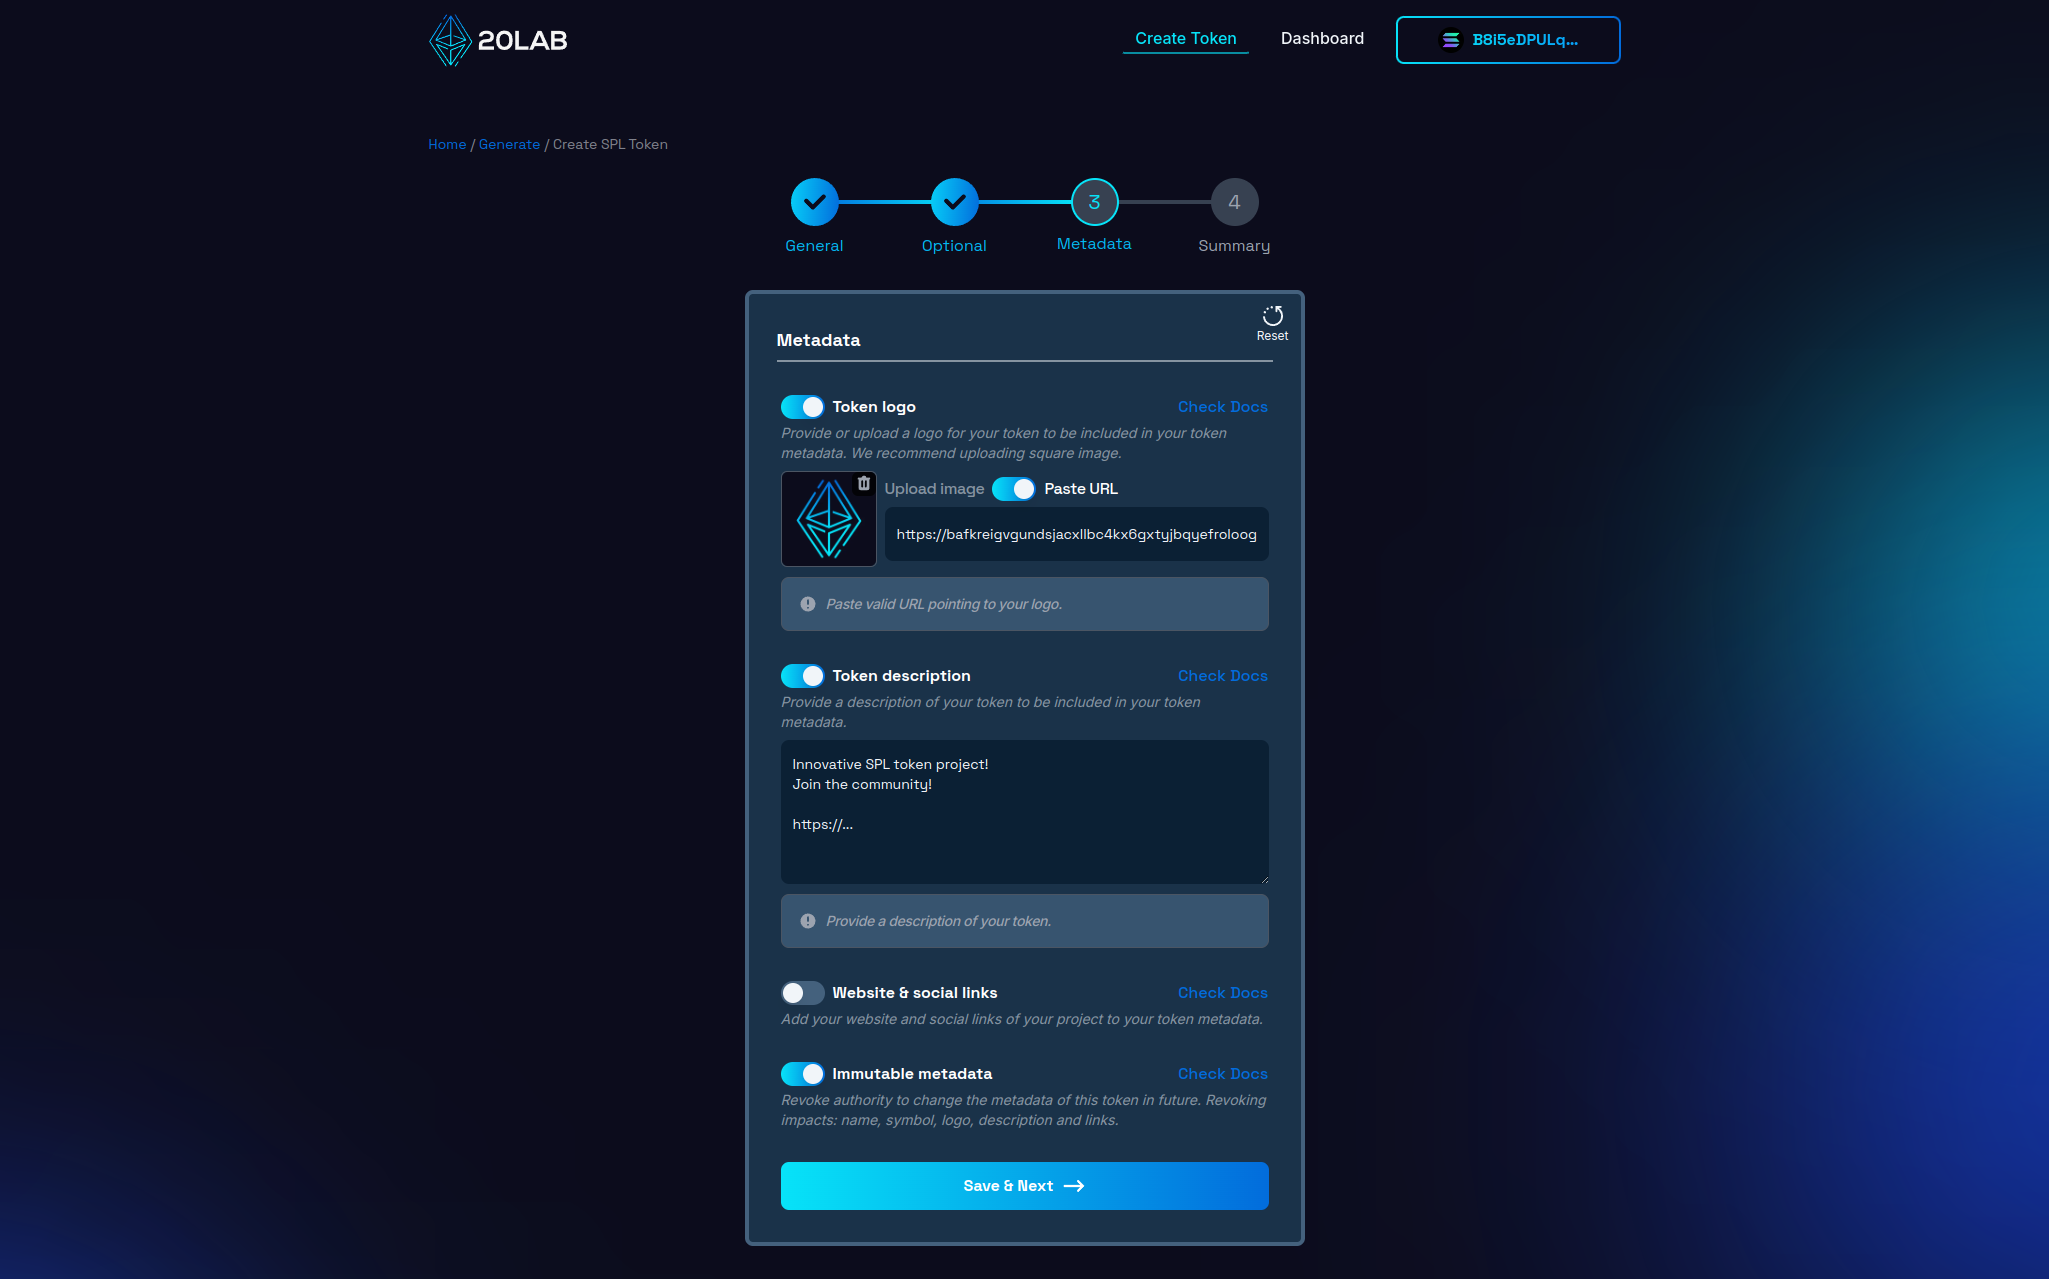
Token Logo
Your token's logo is often the first thing potential holders see. It's essential for brand recognition and differentiating your token in wallets and exchanges.
- Upload a high quality image in PNG, JPG or WEBP format.
- Aim for a 1:1 aspect ratio (square) for optimal display across platforms.
- The image is securely stored on IPFS, ensuring its permanence and accessibility.
Token Description
A well-crafted description provides essential information about your token and project:
- Write a clear, concise overview of your token's purpose and features.
- Include key details about your project's goals and vision.
- Consider mentioning any unique attributes or use cases for your token.
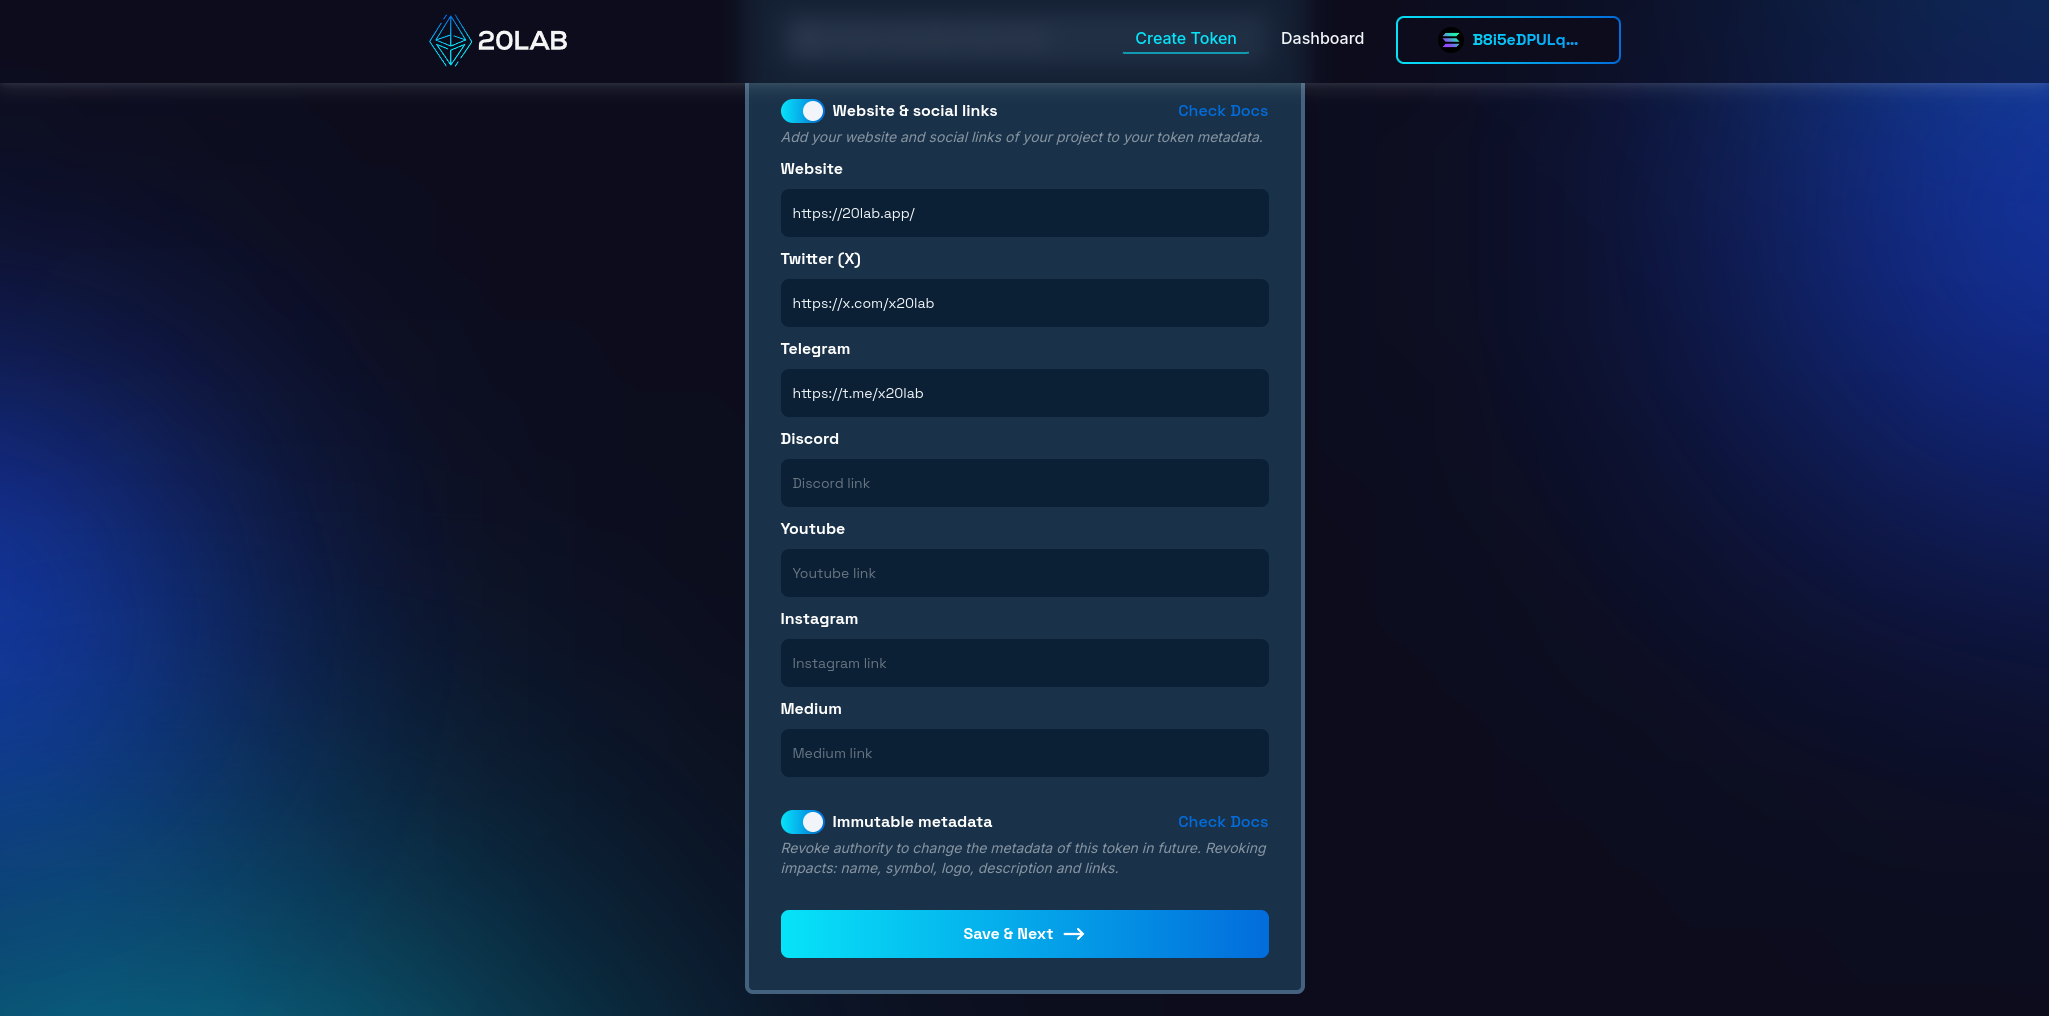
Website & Social Links
Adding official links helps establish legitimacy and provides channels for potential holders to learn more:
- Include your project's official website URL.
- Add links to social media profiles (Twitter, Telegram, Discord, etc.).
Metadata Update Authority
By default, 20lab assigns the metadata update authority to your deployer address. This allows you to change the metadata later if necessary. However, you have two options:
- Mutable metadata: Retain the update privilege and allow future changes to the metadata.
- Immutable metadata: Revoke the update privilege, making the metadata permanent and unchangeable.
Consider your long-term plans when deciding whether to make metadata immutable. If you're confident in your initial setup, making the metadata unchangeable can increase trust in your token.
Step 4: Review and Deploy
As you reach the final step of creating your SPL token, take a moment to carefully review all of the settings on the "Summary" page. This crucial step serves as your final checkpoint before deployment. Review each detail to ensure accuracy and alignment with your project goals.
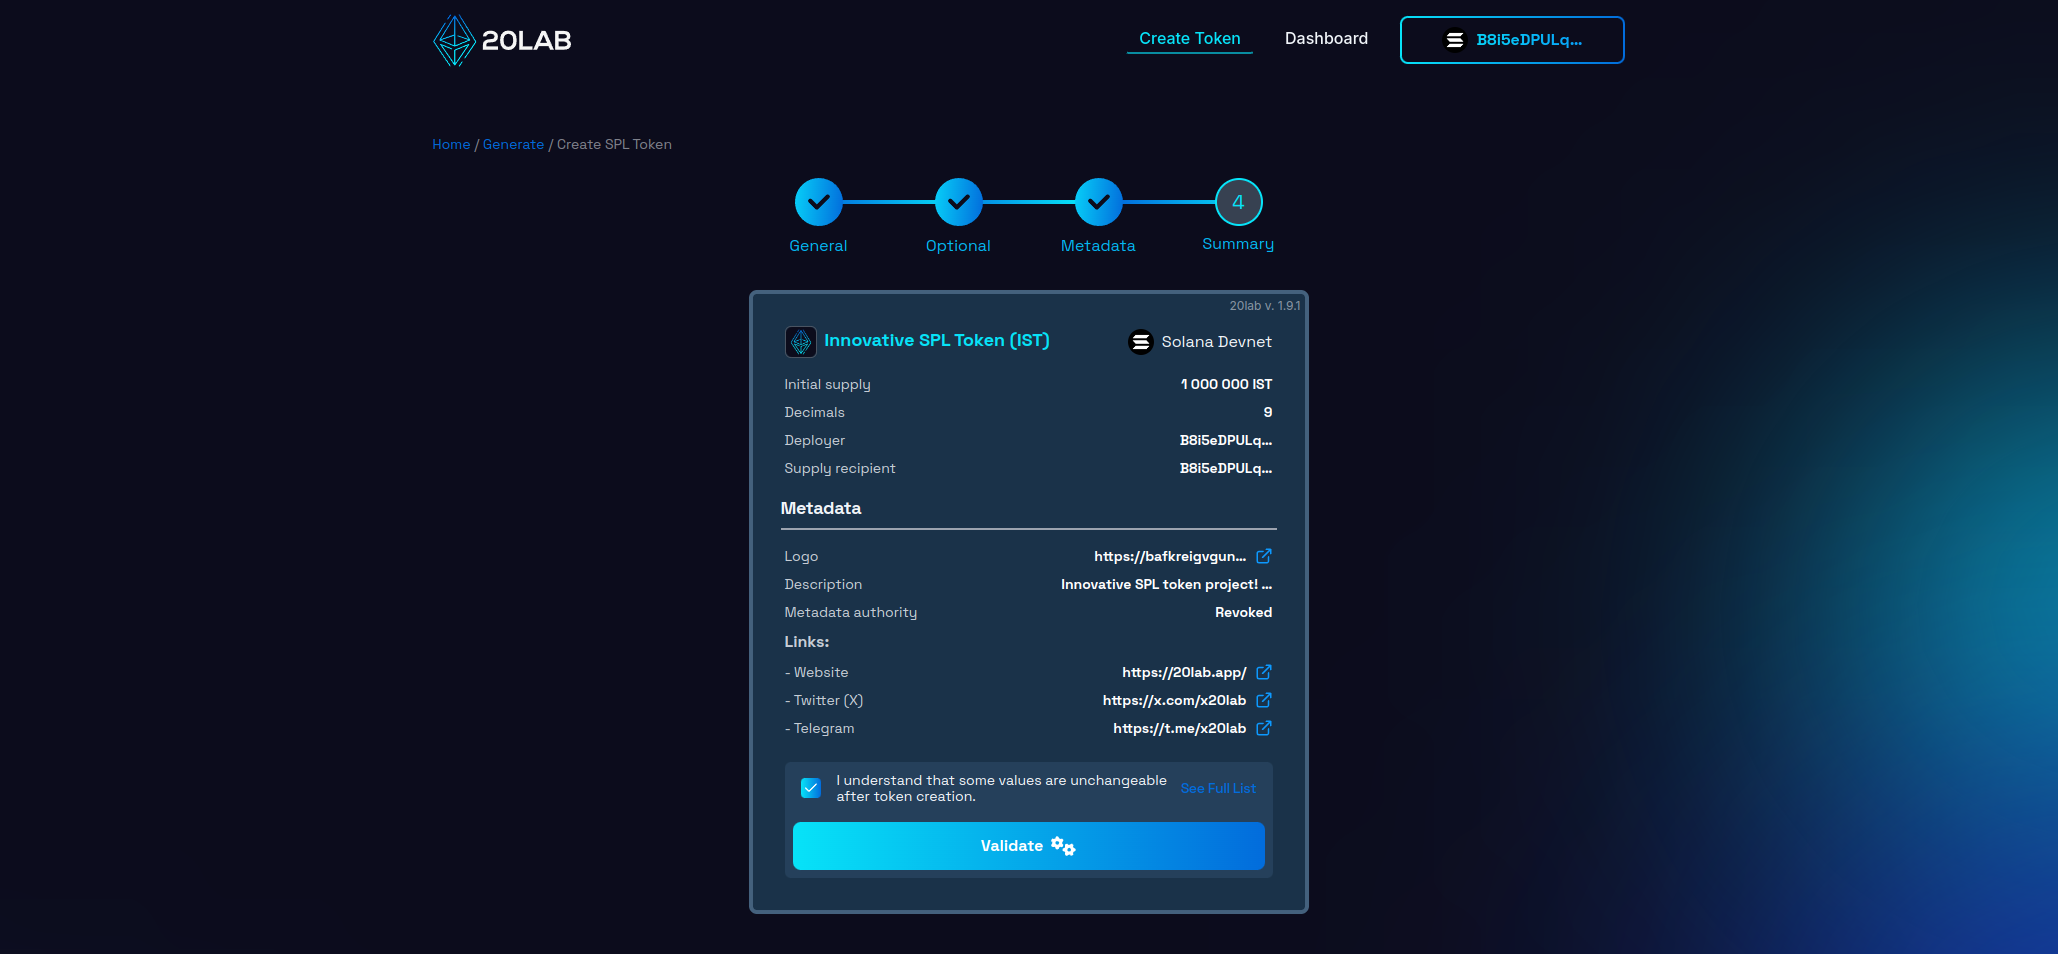
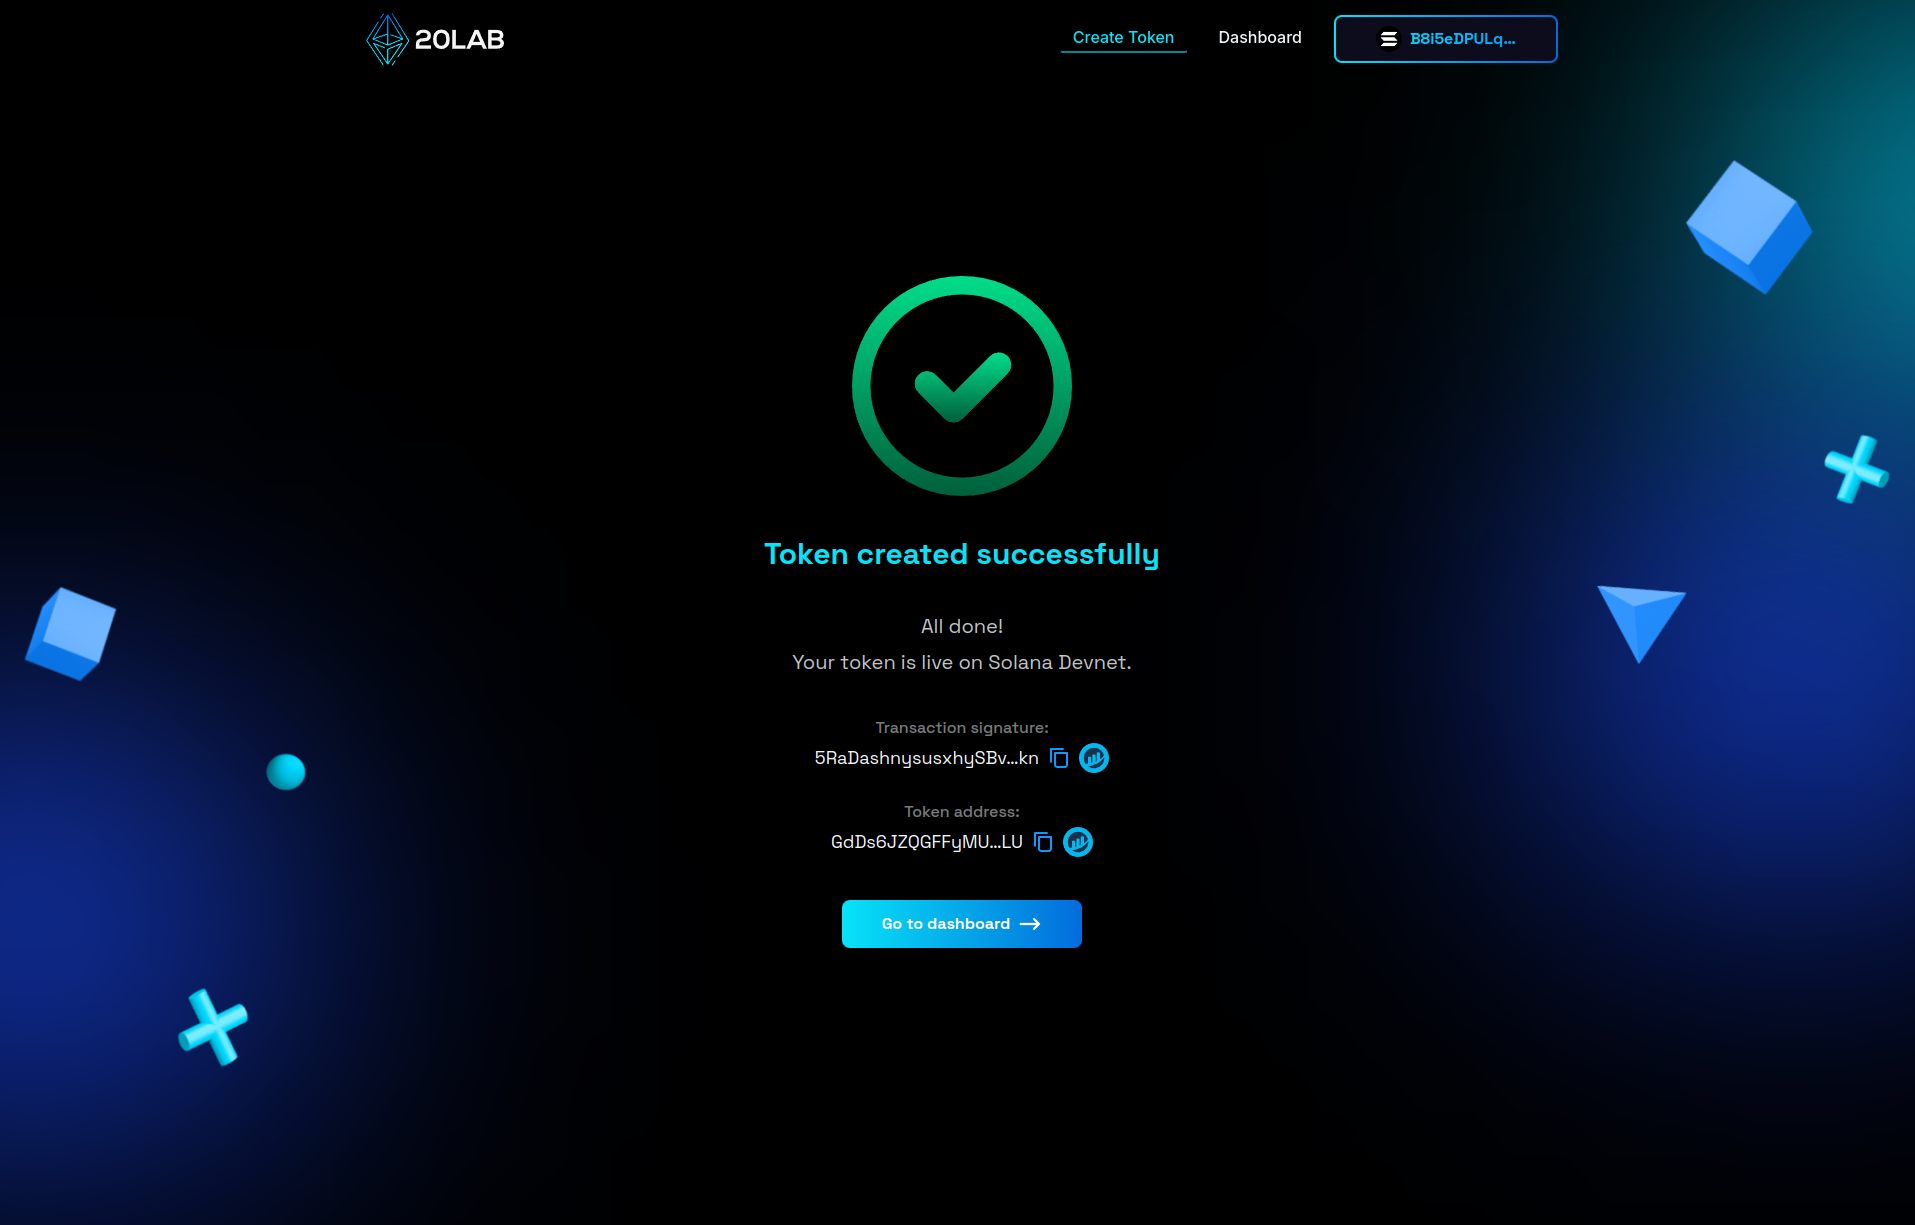
After completing a thorough review, click the "Validate" button to begin deployment. This action triggers a final validation, an important safeguard that can identify any technical issues before your token is committed to the Solana blockchain.
If everything is in order, you're ready to launch your token. Confirm the action and your connected Solana wallet will prompt you to approve the transaction. This approval is the final step in creating your SPL token on the Solana blockchain.
Remember, once created, many of these parameters cannot be changed. Your careful attention during this review process will ensure that your token enters the Solana ecosystem exactly as you intended.
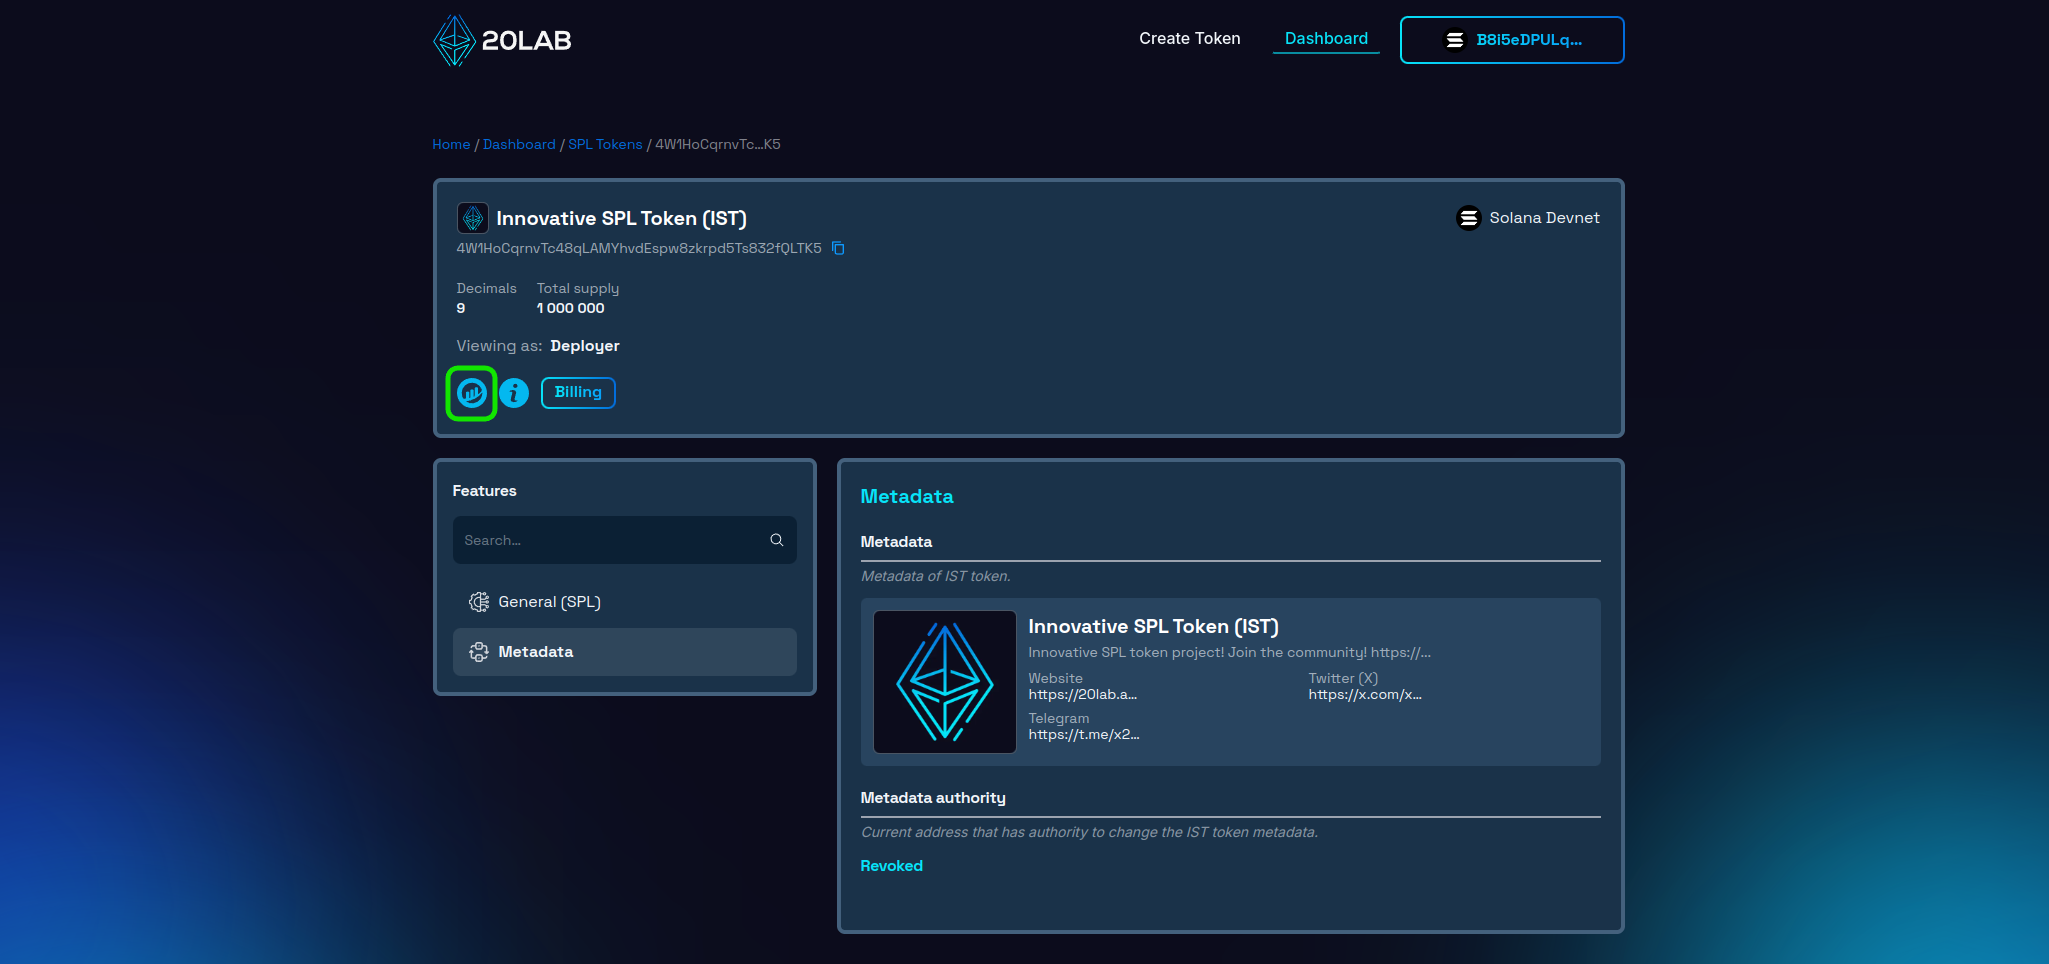
Dashboard Panel for Your Solana Token with Metadata
Once you've created your SPL token on 20lab, you'll have access to a comprehensive dashboard that allows you to manage and interact with your token. This dashboard provides a number of features to help you maintain and use your Solana token effectively, as well as view or even make changes to the metadata if the authority to update the metadata has not yet been revoked.
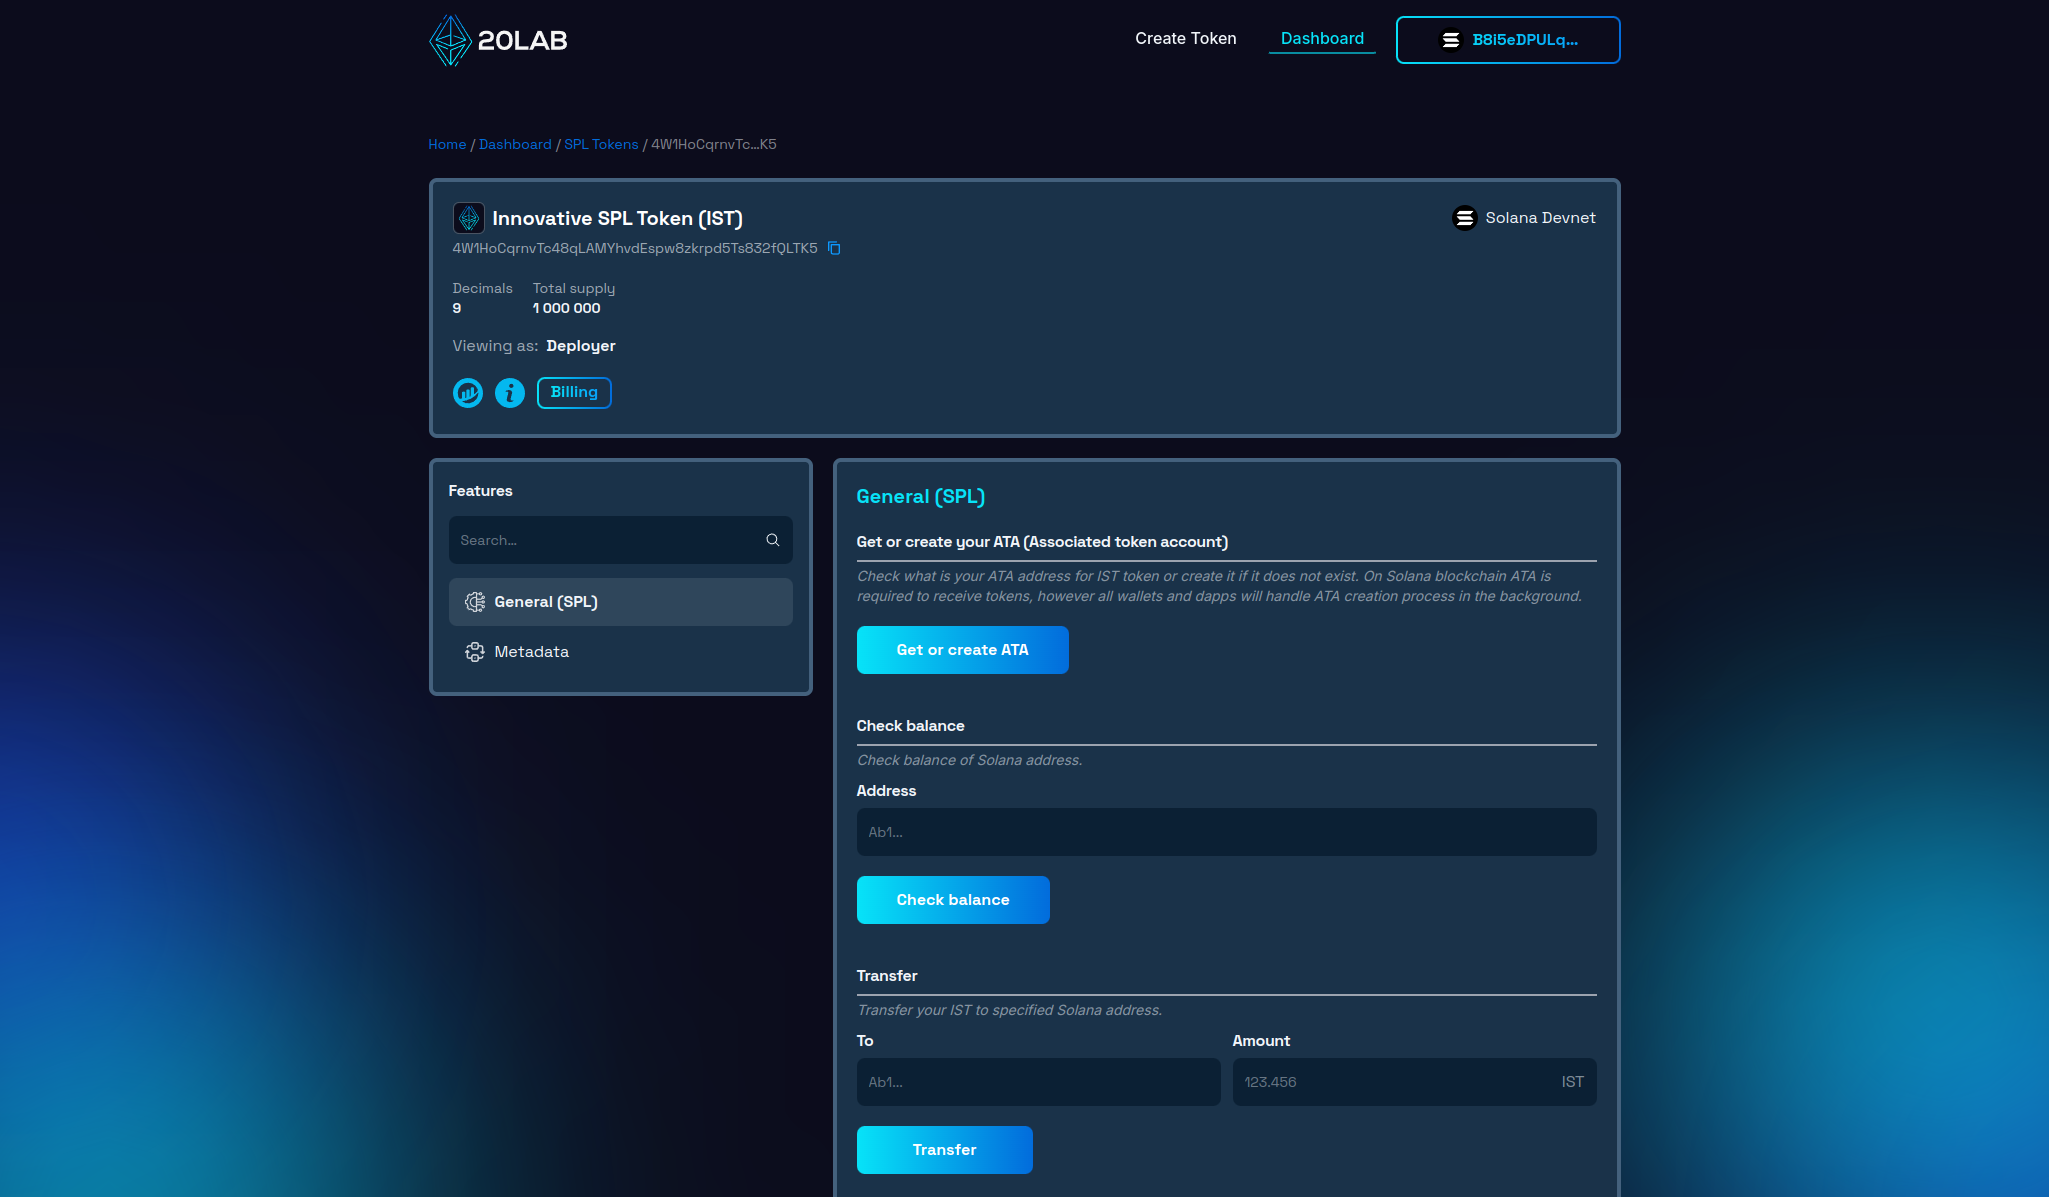
Token Overview
At the top of the dashboard, you'll find an overview of your token, including: token name and symbol, token address, decimal places, total supply, and network (Solana Devnet in the example).
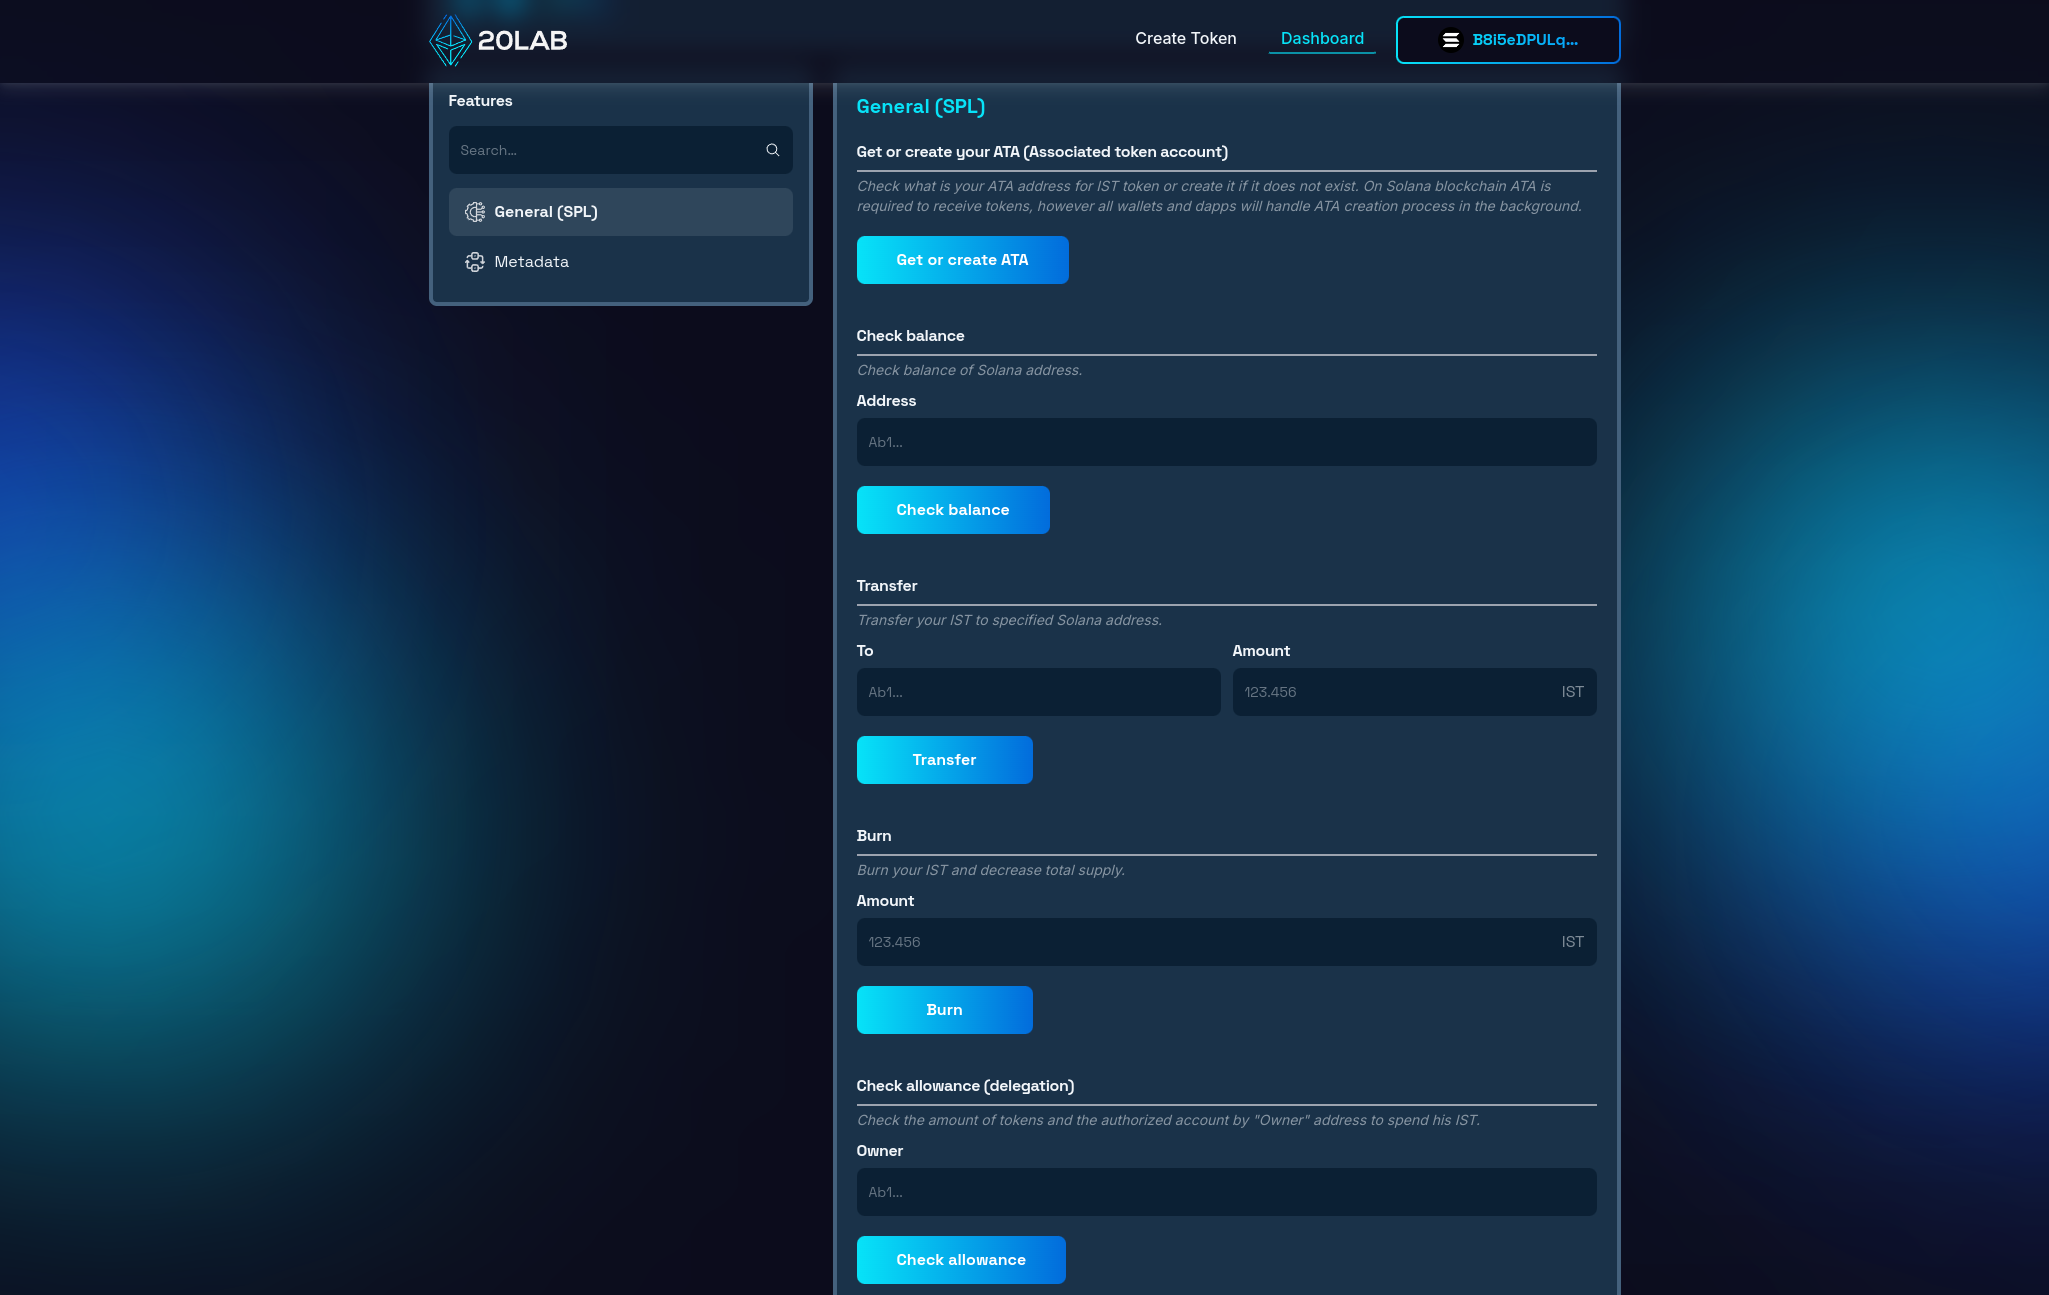
General SPL Features
The General (SPL) section of the 20lab dashboard provides essential functions for managing your SPL token. Here you can get or create an Associated Token Account (ATA), check the balance of specific addresses, transfer tokens, burn and approve tokens.
Metadata Management
Metadata section displays all the metadata currently associated with your token:
- Token name and symbol,
- Logo (displayed as an image),
- Description,
- Website and social media links.
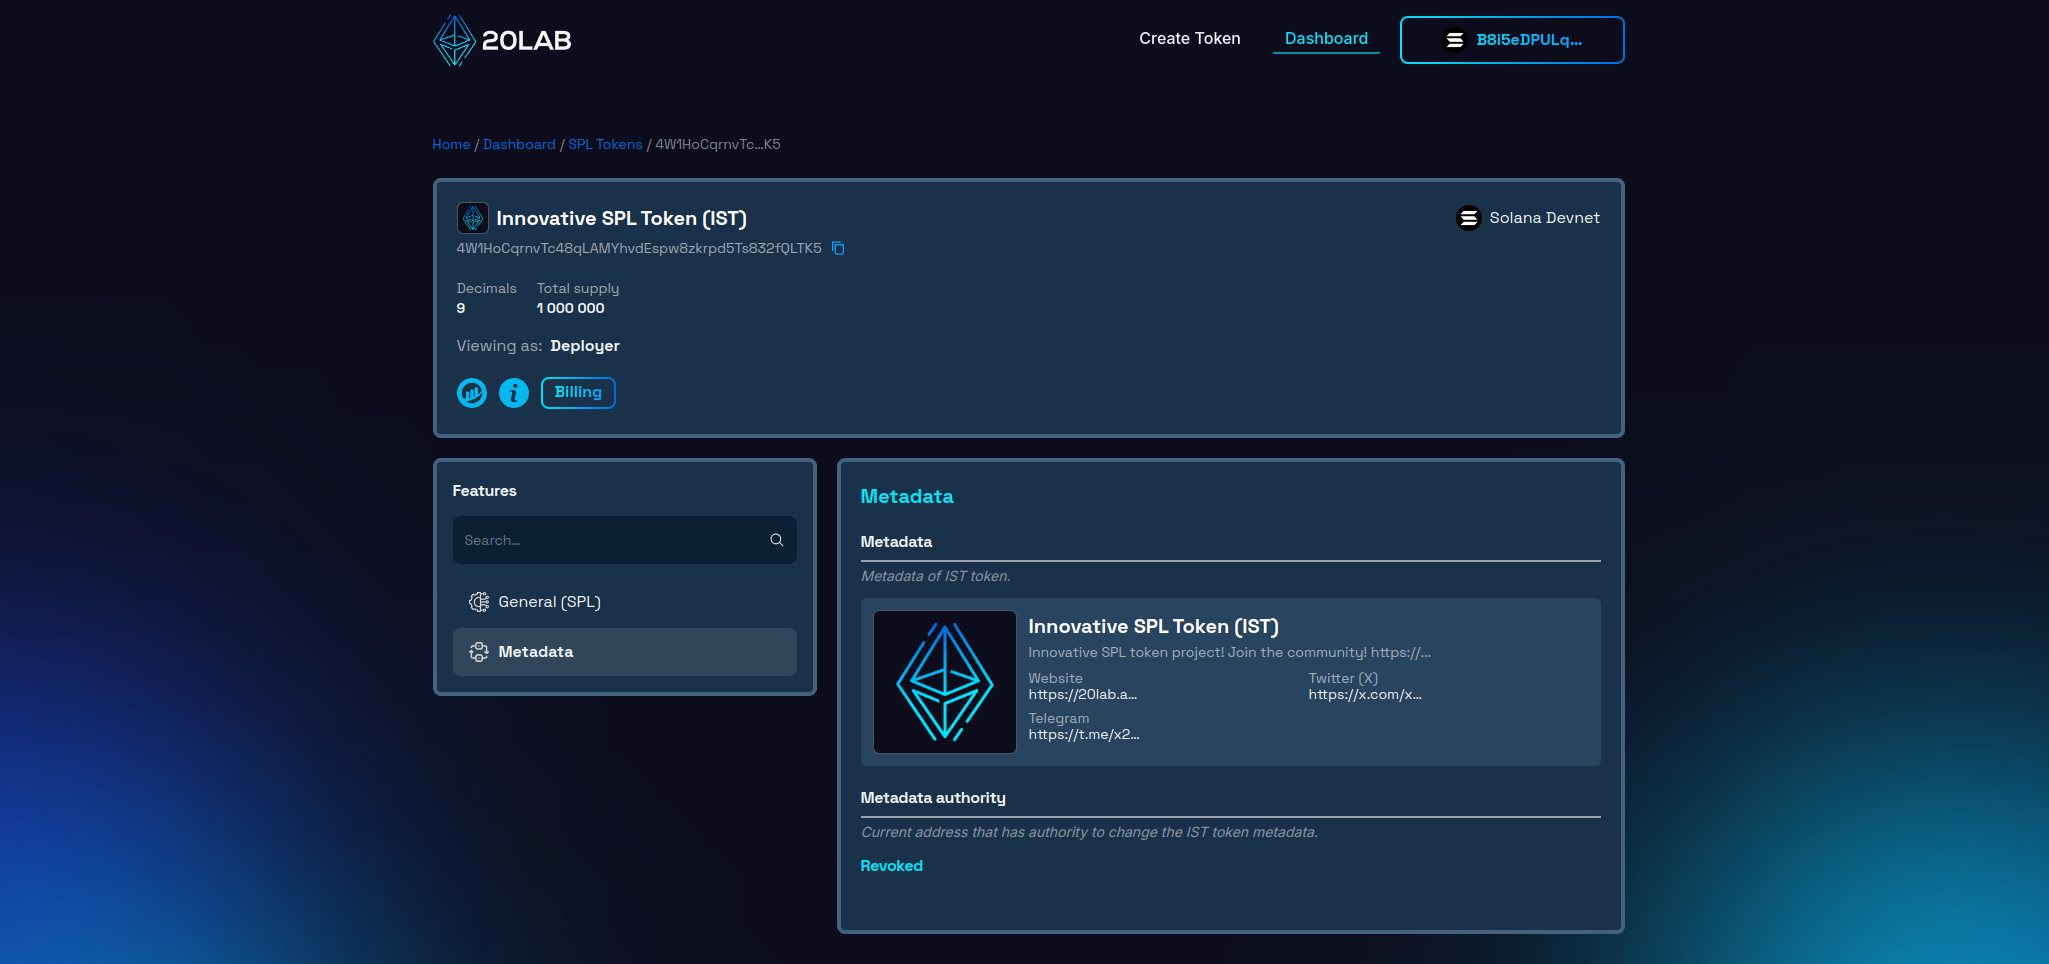
This gives you a quick overview of how your token appears to others in the Solana ecosystem.
Updating Metadata
If you haven't revoked metadata update privileges, you can modify your token's metadata directly from the dashboard. This feature is incredibly useful when you need it:
- Update your project's description as it evolves,
- Change your token's logo,
- Add or change social media links,
- Correct any errors in the initial metadata.
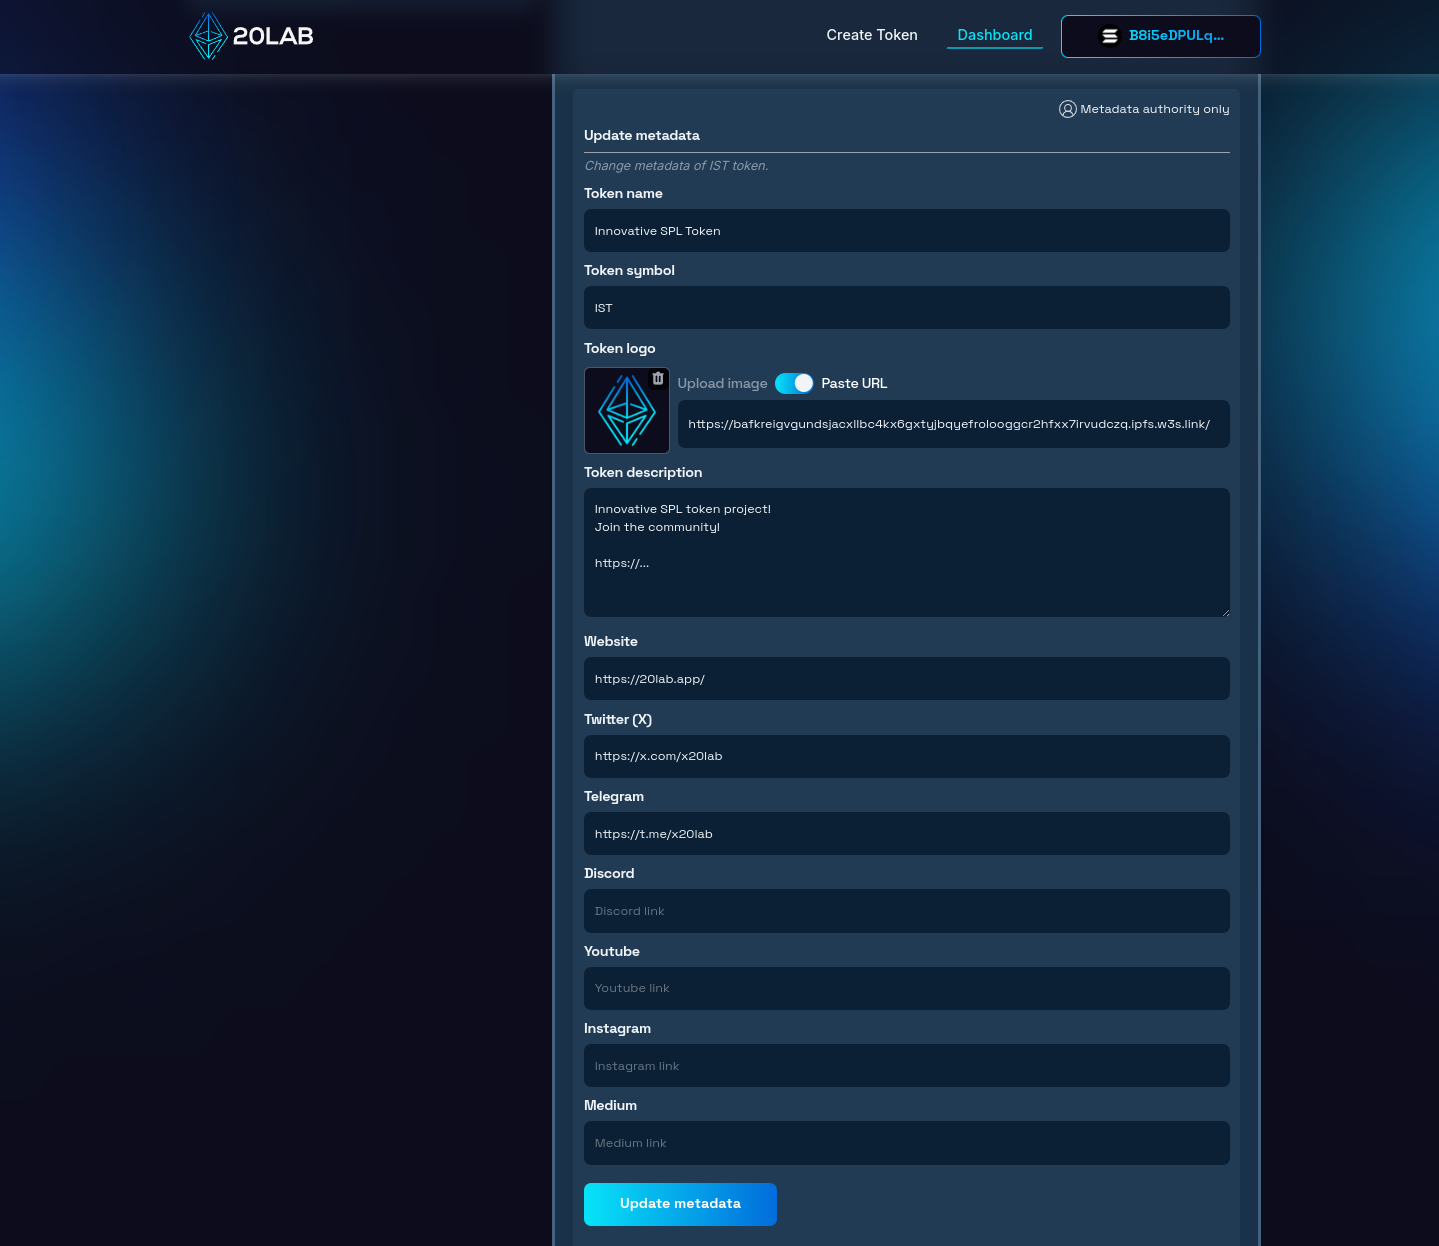
To update the metadata, complete the metadata configuration again with the corrected data. When you are ready, click the "Update metadata" button and confirm the transaction in your wallet from the wallet that has the metadata update authority.
Testing Metadata Visibility
After creating your SPL token and configuring its metadata using 20lab, it's important to verify how this information will appear on the Solana blockchain. This step ensures that your token's metadata is correctly represented and visible to potential holders and the wider Solana community. Let's walk through the process of verifying the visibility of your token's metadata using a Solscan Explorer.
To check, click on the Block Explorer icon and you will be automatically redirected to the right site of the Solscan Explorer. You should now see a page dedicated to your token with a logo displayed next to the token name and symbol (sometimes it is not shown on testnets).
For further verification, look for a section called "Token Info" or "Metadata". Here you will see information recorded on the blockchain within your token. To view off-chain data, click "View URI Metadata". Now you can see all other parts of the metadata such as: description, logo URL, website and social links.
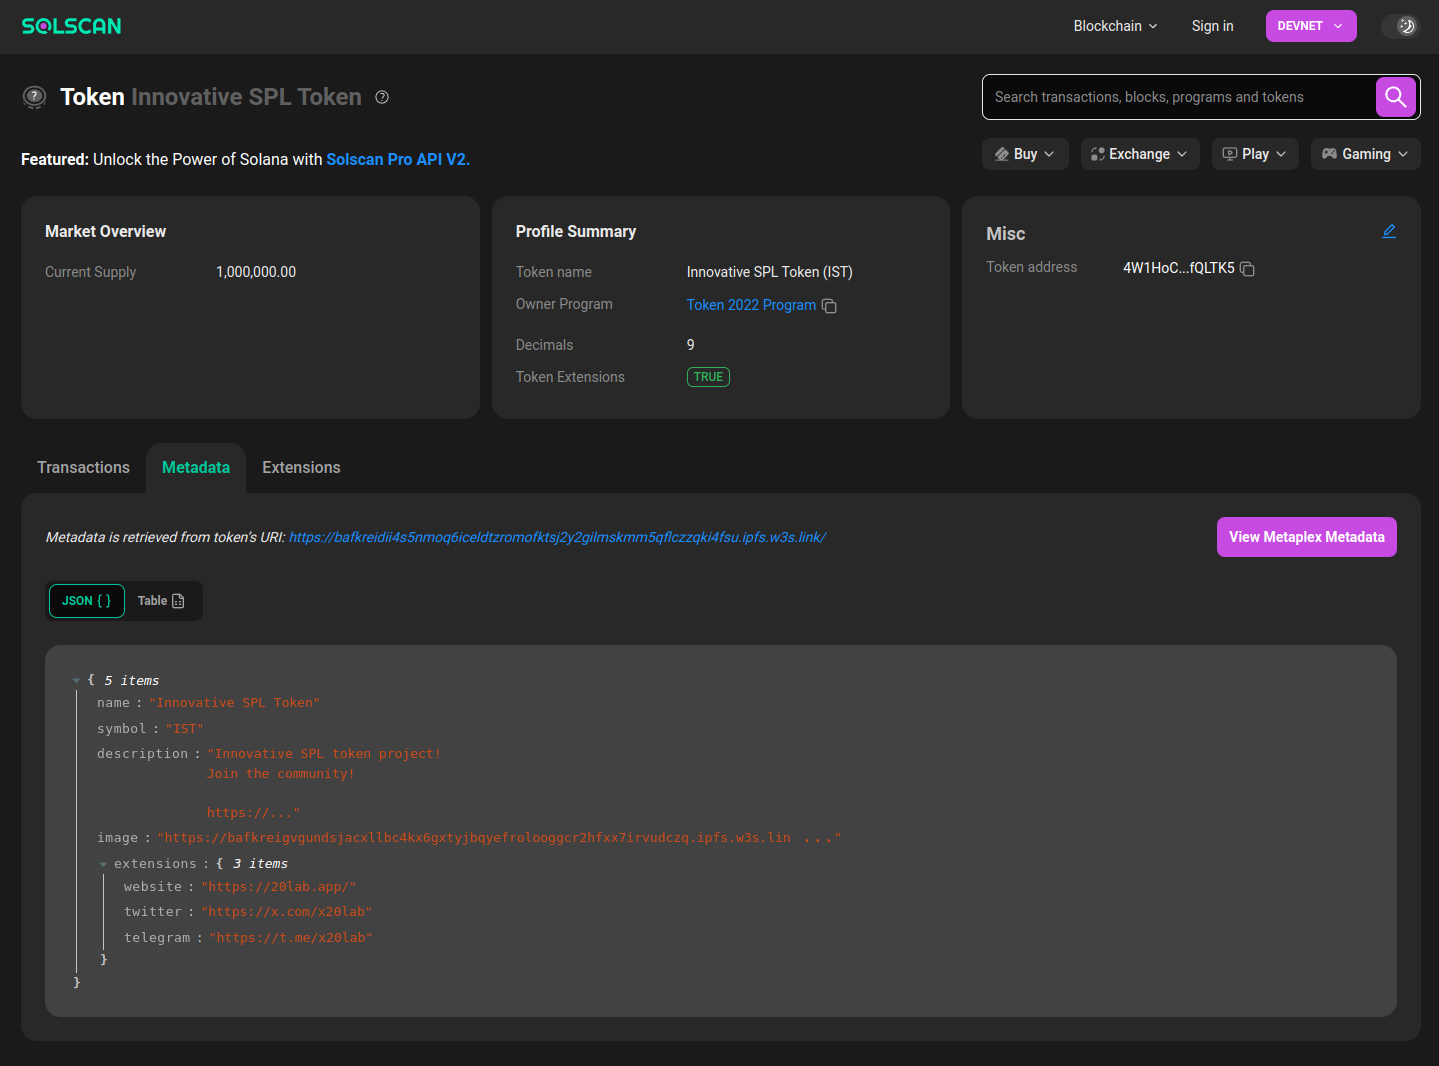
Of course, this is not the only place where you can see how your metadata is being used; for Mainnet tokens, it is also displayed on many other sites in an even more convenient format. However, Block Explorer is a good way to check its integrity as it usually updates instantly and reflects any changes immediately.
Conclusion
Creating an SPL token on the Solana blockchain is just the first step in your journey as a token creator. As we've explored throughout this guide, the real power lies in the metadata you attach to your token. Properly configured metadata transforms your SPL token from a simple digital asset into a professional, informative representation of your project within the Solana ecosystem.
Remember, in the fast-paced world of cryptocurrency, first impressions matter. Your token's metadata is often the first point of contact between your project and potential supporters. By leveraging the full power of SPL token metadata, you'll set your project up for success in the competitive Solana ecosystem.
So why wait? Dive in, experiment on the Testnet or Devnet, and when you're ready, launch your SPL token on the Solana Mainnet. The world of decentralized finance and blockchain applications is waiting for your innovative ideas. With 20lab and Solana, you have the platform and tools to safely and efficiently bring your vision to life.
If you have any questions about creating or managing your SPL token, don't hesitate to reach out to us via our Telegram channel.


