
In the dynamic world of cryptocurrency and blockchain technology, flexibility is key. When creating ERC-20 tokens, many often forget about the need for minting functionality for their projects. Or they simply don't plan for it up front, making it difficult or impossible to add later. Mintable ERC-20 tokens offer a unique advantage: the ability to create new tokens after creation, giving projects scalability and adaptability.
Why Mintable Tokens Matter
Imagine launching a token for your project, only to discover months later that you need more tokens to meet growing demand or expand your ecosystem. With traditional, fixed-supply tokens, you'd be out of luck. But with a mintable ERC-20 token, you have the freedom to increase your token supply as your project evolves.
Mintable tokens are ideal for:
- Reward systems that need to scale over time,
- Tokenized assets backed by growing real-world resources,
- Projects that anticipate future expansion,
- DAOs (Decentralized Autonomous Organizations) that require a flexible supply of tokens for governance.
In this guide, we'll walk you through the process of creating your own mintable ERC-20 token. You'll learn how to set up the token with minting functionality, and how to manage your token after launch using your owner privileges. Whether you're a blockchain developer, entrepreneur, or curious enthusiast, by the end of this tutorial, you'll have the knowledge to launch a token that can grow with your project's needs.
Moreover, creating such a token will take as little time as reading this post! Let's dive in and explore how you can harness the power of mintable ERC-20 tokens for your project.
How to Create Your Mintable ERC-20 Token
We will be using the 20lab.app platform to create our mintable ERC-20 token. This user-friendly ERC-20 token generator streamlines the process so that even those with minimal or no coding experience can launch their own tokens in minutes.
Step 1: Choose Token Type and Connect Wallet
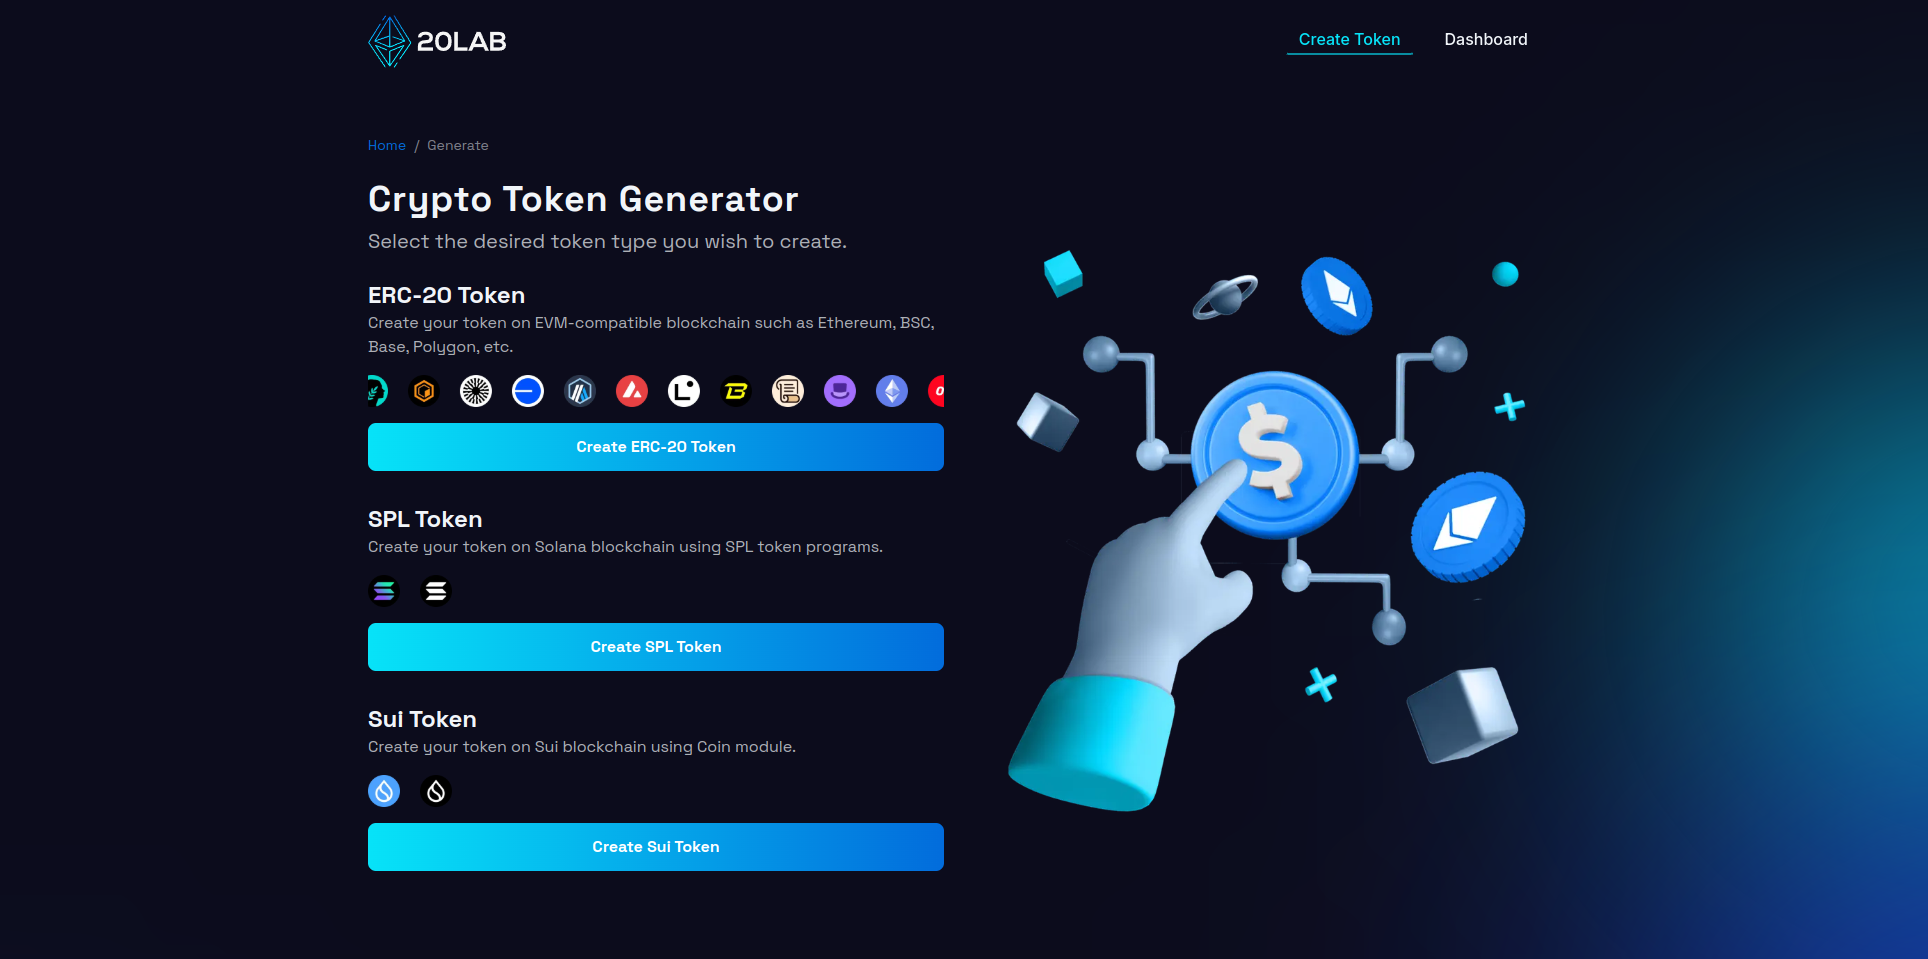
First, visit 20lab.app, navigate to the generator page and click on "Create ERC-20 Token". The next step is to connect your Web3 wallet (e.g. MetaMask, Coinbase Wallet or Trust Wallet) to the platform. After successful connection you will automatically see your wallet address in the top right corner.
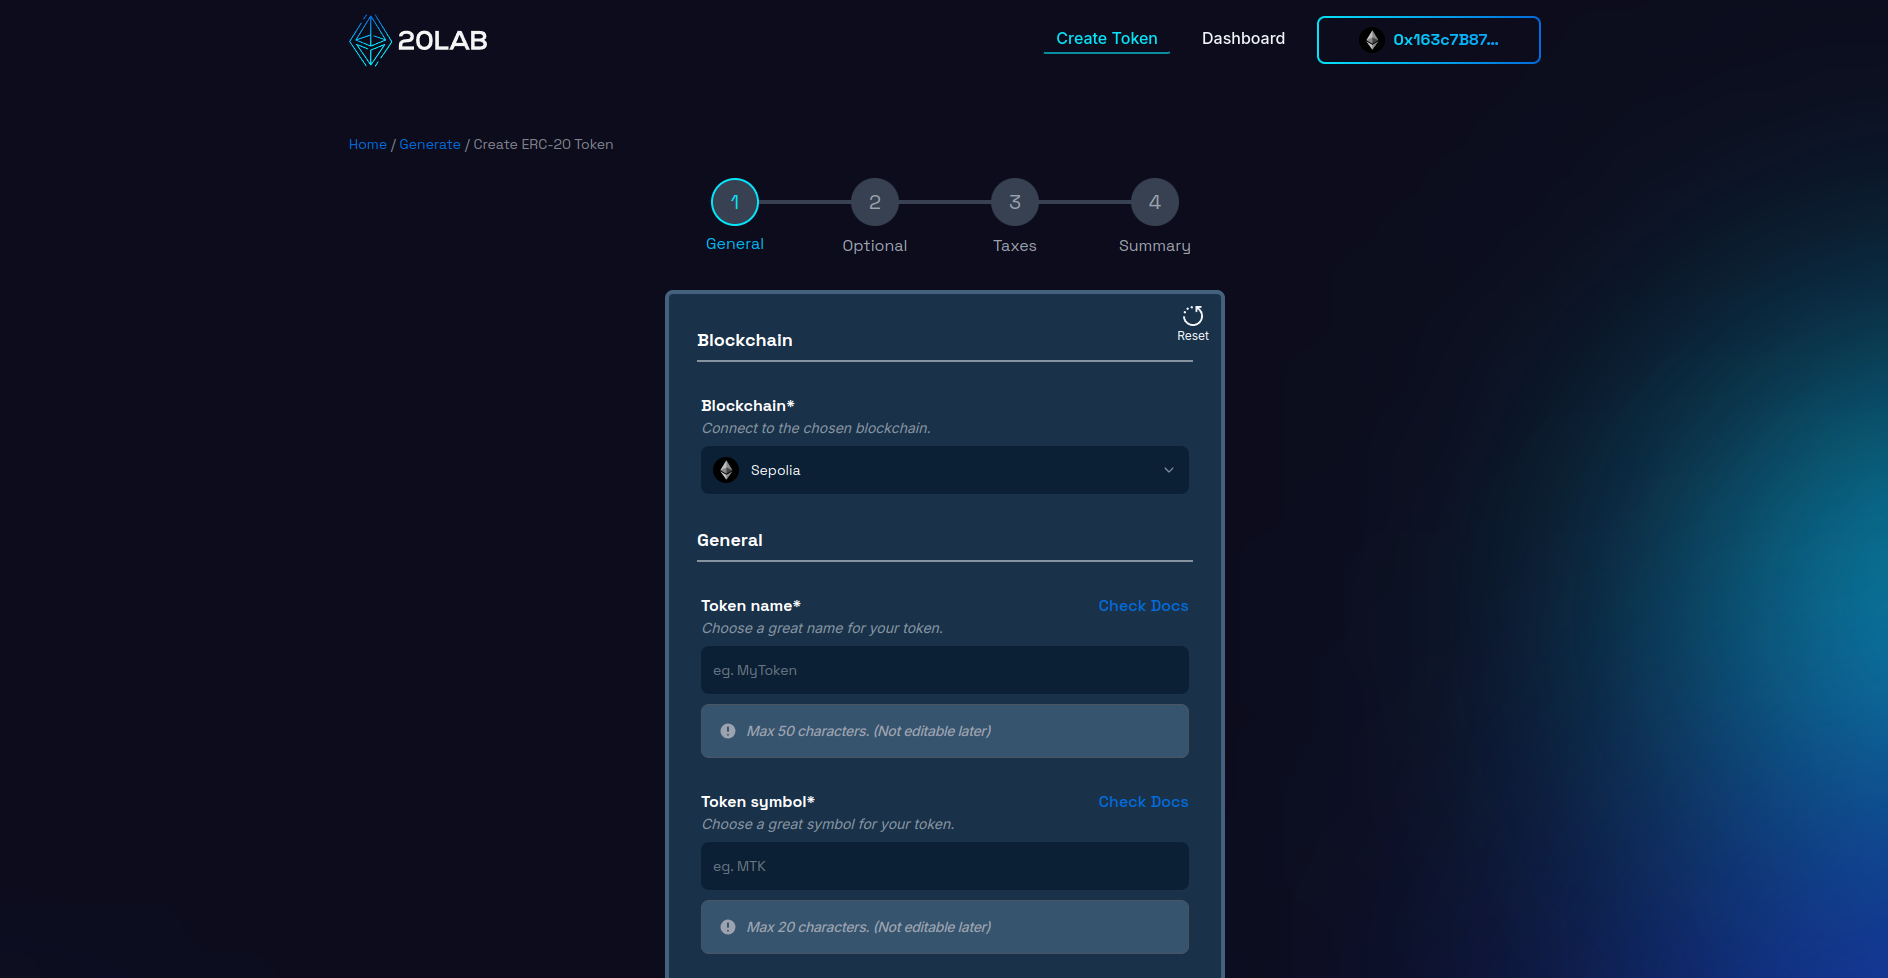
Make sure you're connected to the right Mainnet blockchain (or a Testnet if you're experimenting). The blockchain depends only on you and your project's needs. On 20lab you will find a huge selection of popular blockchains, so you are free to choose the best one.
Step 2: Add General Token Information
This step is critical because it defines the core attributes of your mintable ERC-20 token. Start by entering the name and symbol of your token. Choose a unique, descriptive name for your token and create a short, memorable ticker symbol. It's a good idea to research existing tokens to make sure your name and symbol are unique.
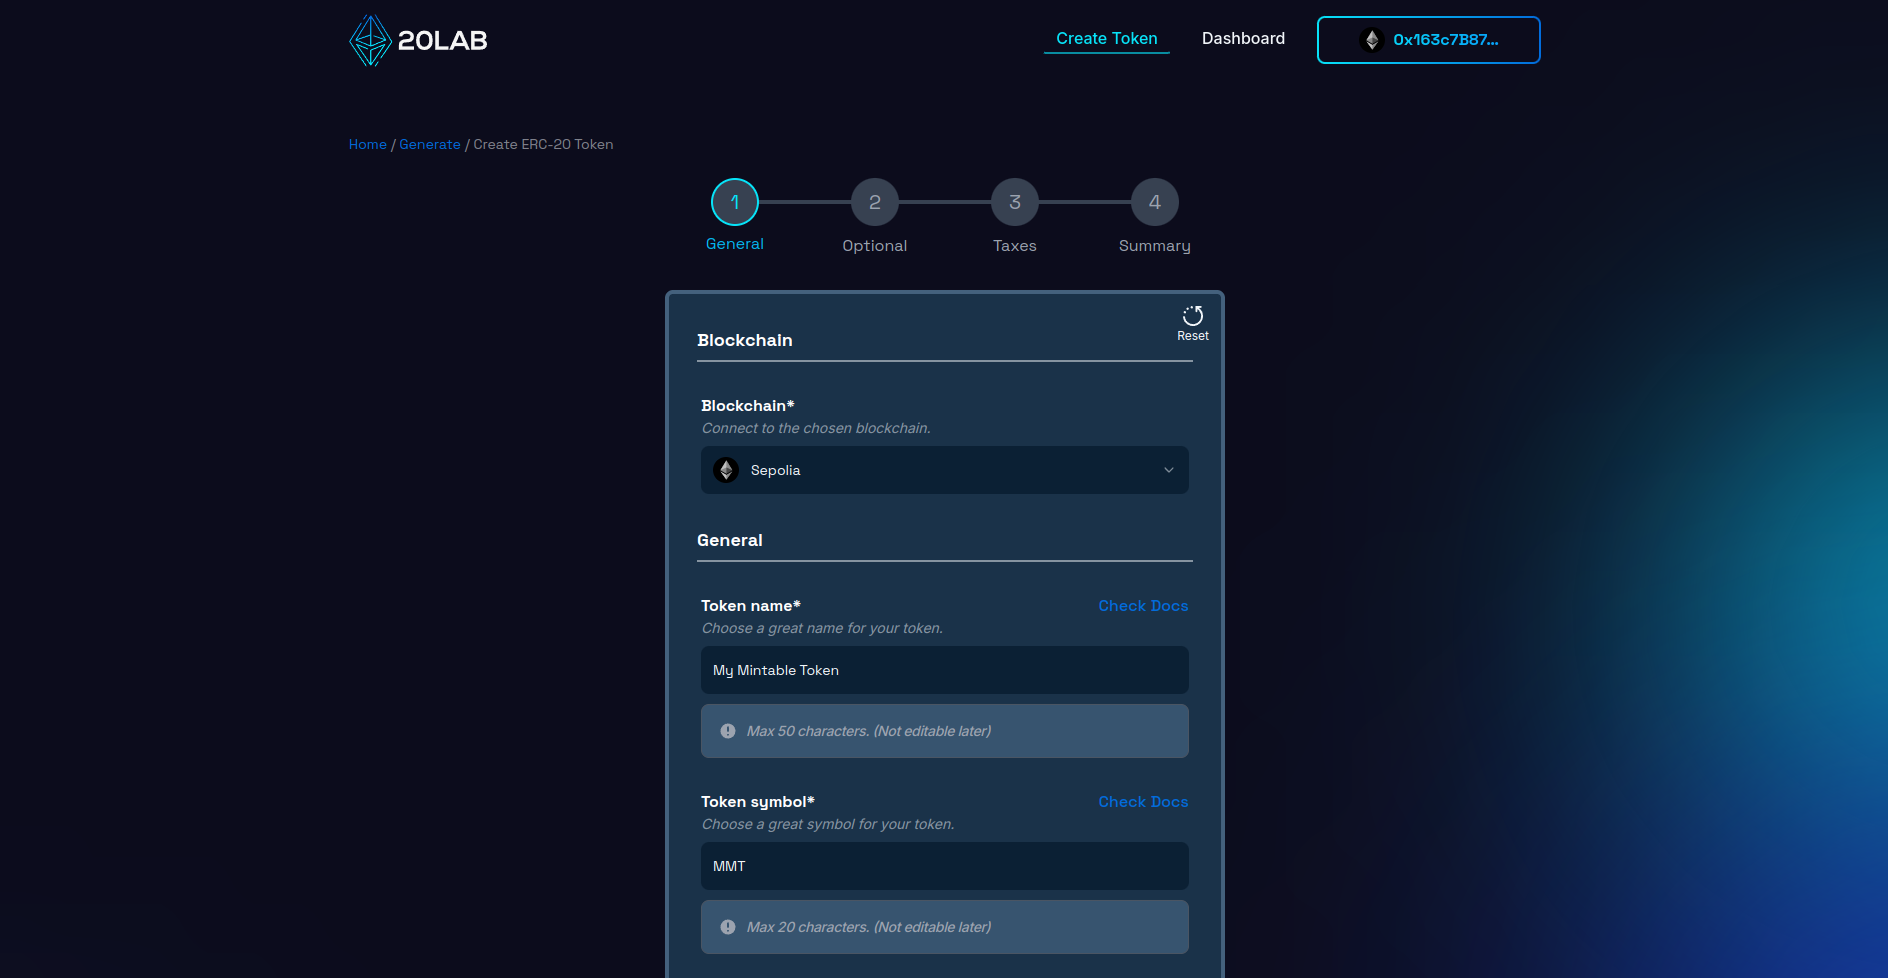
Next, determine the initial supply and number of tokens. Determine how many tokens to create at launch, keeping in mind that for mintable tokens, this doesn't have to be your final total supply. You might consider starting with a smaller supply that you can increase later. For example, you could start with 1,000,000 tokens.
As for decimals, choose how divisible your token will be. Typically, 18 decimal places is the default for most ERC-20 tokens, which corresponds to the divisibility of ETH or other native coins of particular blockchains. This allows for micro-transactions and precise token allocation.
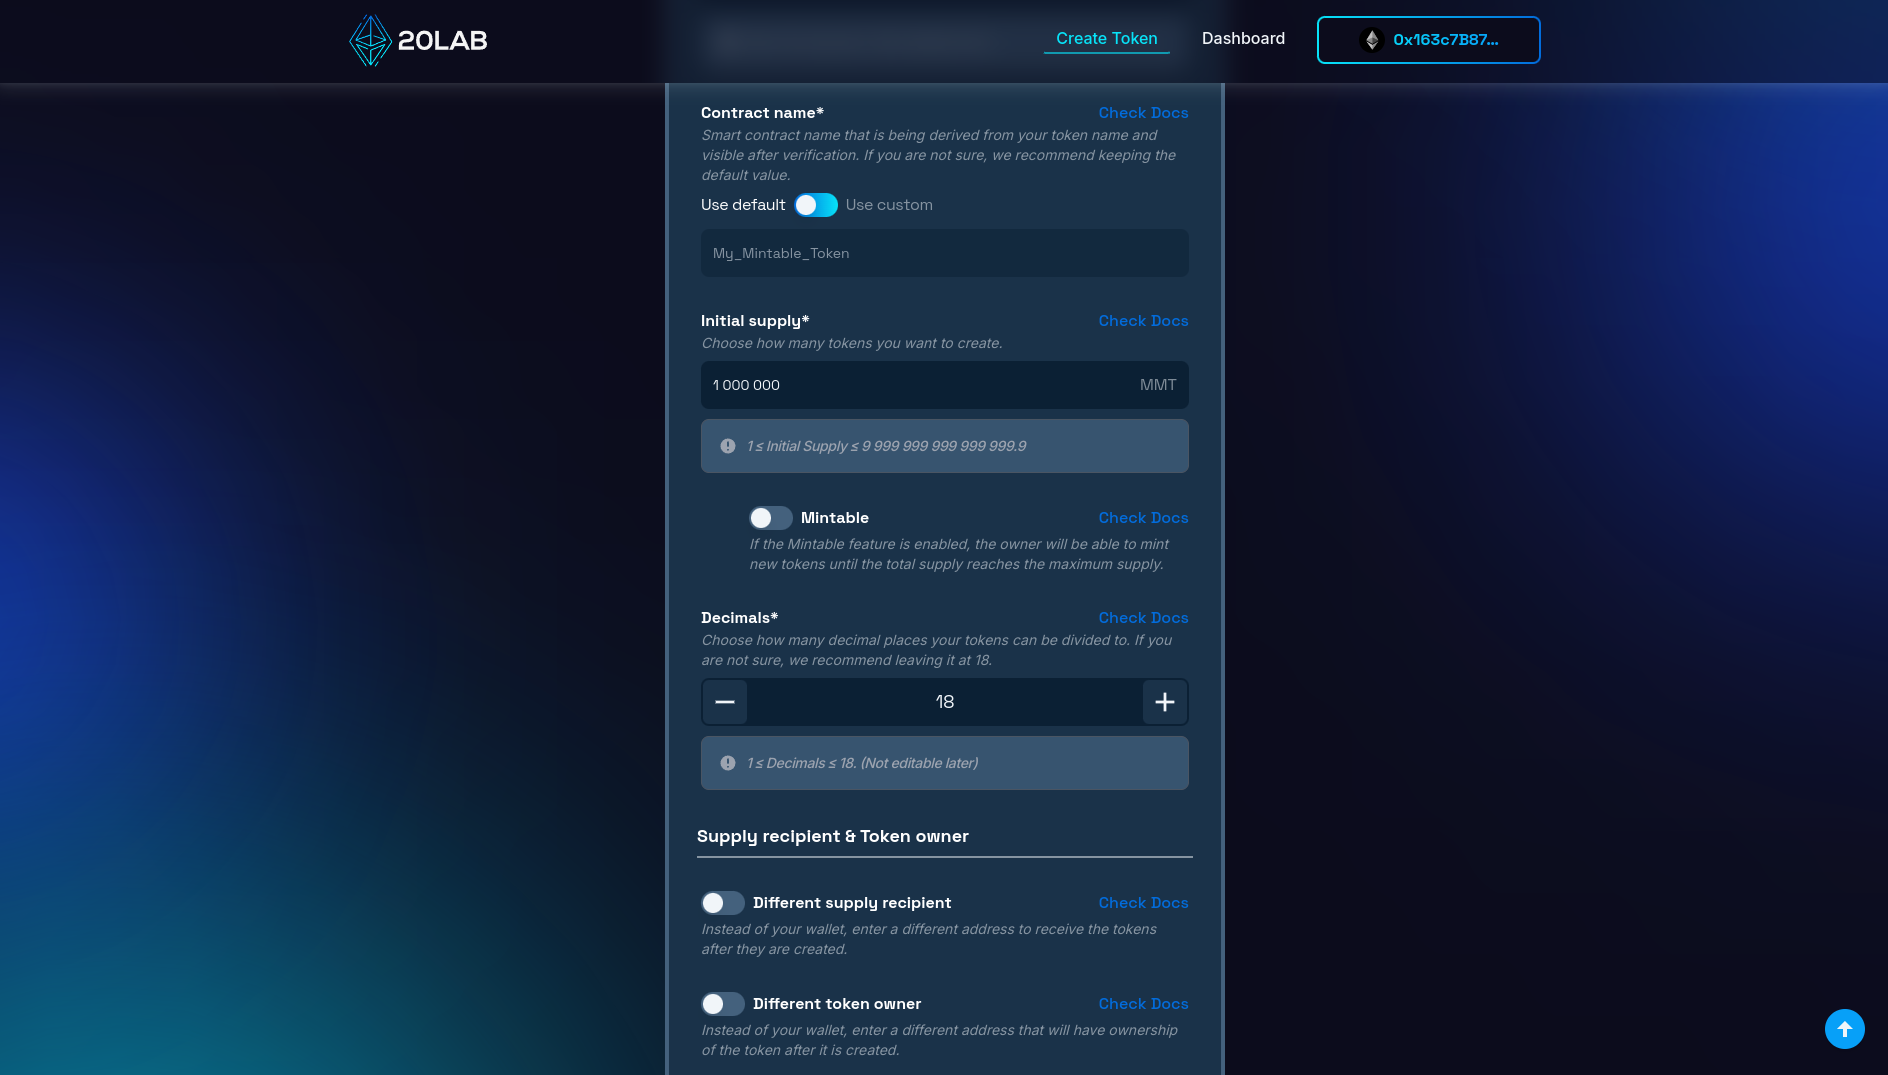
You can also specify the different contract name, which is optional. This is the name of your smart contract as it will appear on block explorers after token verification. It can be the same as your token name or something more technical like "MintableRewardTokenV1".
An important decision is choosing the wallet that will receive the initial supply and be the token owner. The supply recipient is the address that will hold all tokens at launch, which can be your personal wallet or a dedicated project wallet. The token owner is the address with special permissions, such as minting. This is usually the same as the delivery recipient, but can be different if needed. This address will have control over the minting of new tokens. For added security, consider using a secure, multi-signature wallet.
Remember, while you can mint more tokens later, these initial settings lay the foundation for your token's identity and functionality. Choose wisely, considering your project's long-term goals and potential growth. The decisions you make at this stage will shape how your token is perceived and used in the future.
Step 3: Enable Mintable Feature
This is where we focus on making our token mintable, a crucial step that differentiates your token from standard, fixed supply ERC-20 tokens. In the same "General" section of the token creation interface, look for the "Mintable" option and enable it (below "Initial supply").
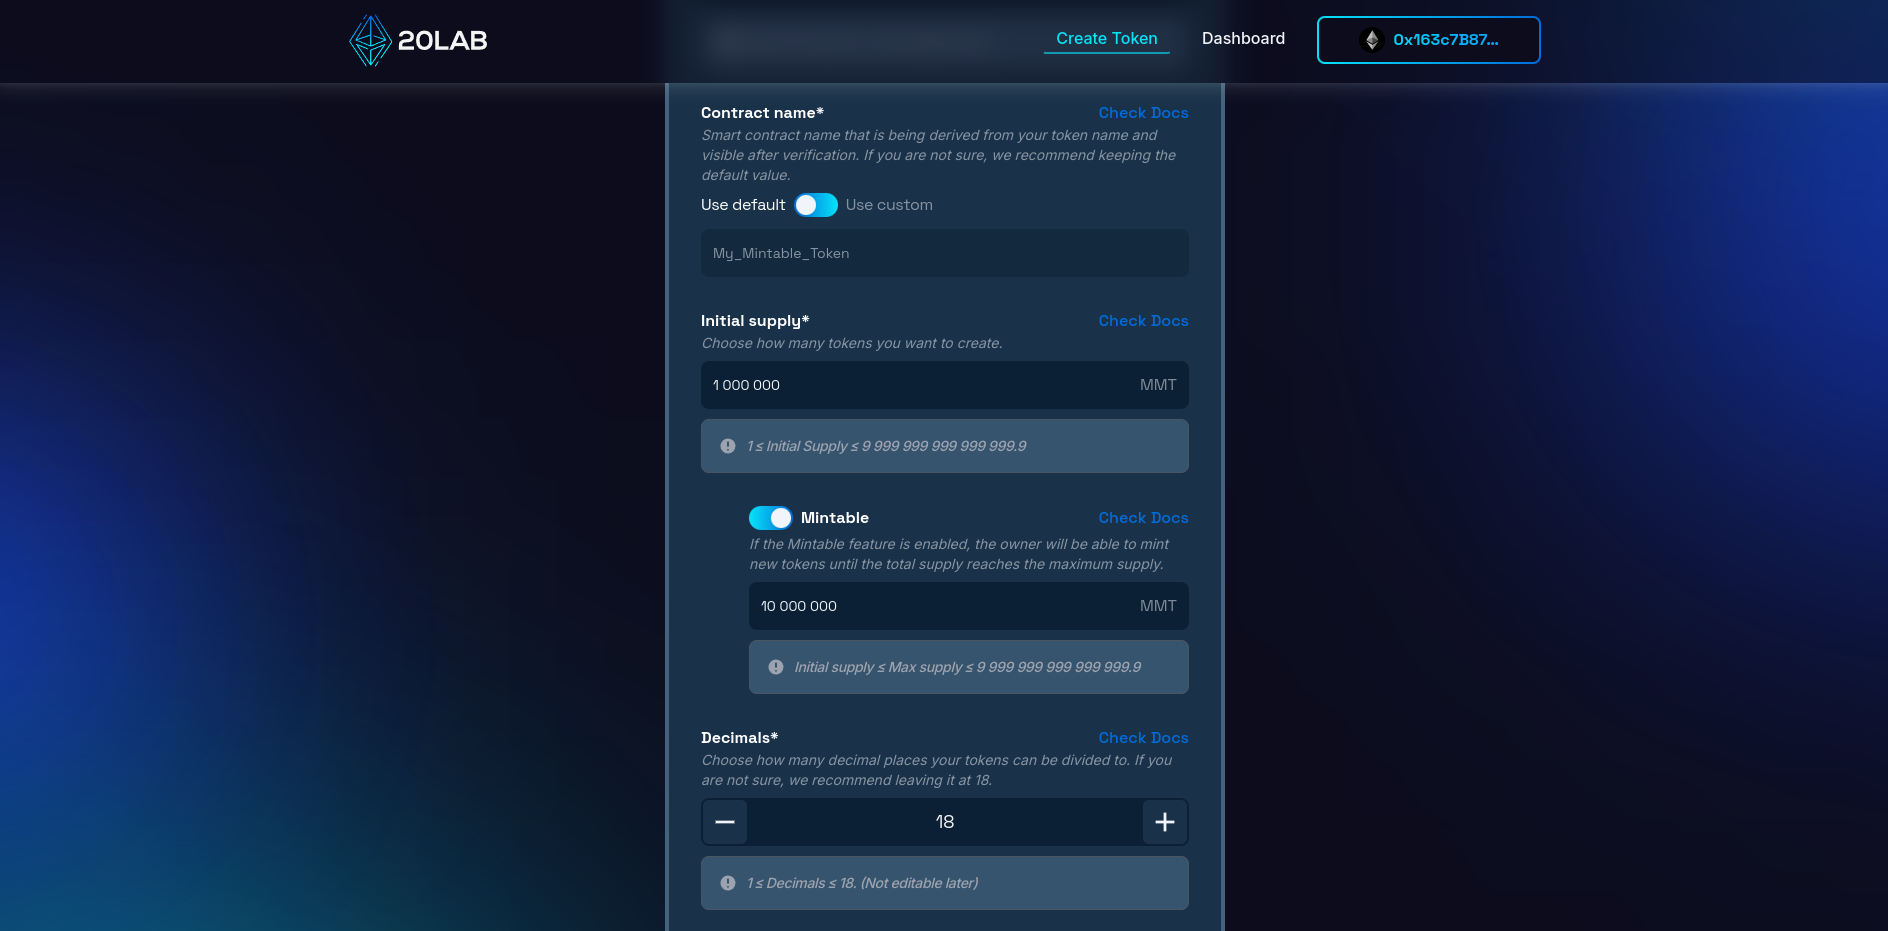
Setting a good token minting limit is a highly recommended step. This limit acts as a safeguard against uncontrolled inflation and can increase trust in your token. One way to implement this is to set a cap, which is the maximum number of tokens that can ever exist ("Max supply"). For example, you could decide that your token should never exceed a total supply of 10 million. This hard cap can reassure holders that their tokens won't be diluted infinitely.
Also consider the impact of your minting strategy on the economics of your token. Unlimited minting with very high max supply, while flexible, may raise concerns about potential inflation. On the other hand, a well-planned minting schedule can be a powerful tool for managing your token supply in line with your project's growth and needs. Clear communication about your minting policy and any caps or restrictions you've put in place will be crucial to building trust with your token holders and the wider crypto community.
Step 4: Review and Deploy
As you approach the final stages of creating your mintable ERC-20 token, it's important to carefully review all of your token settings on the "Summary" page. This step serves as your final checkpoint before deployment. Take your time to go over every detail. This thorough review can help prevent costly mistakes or oversights.
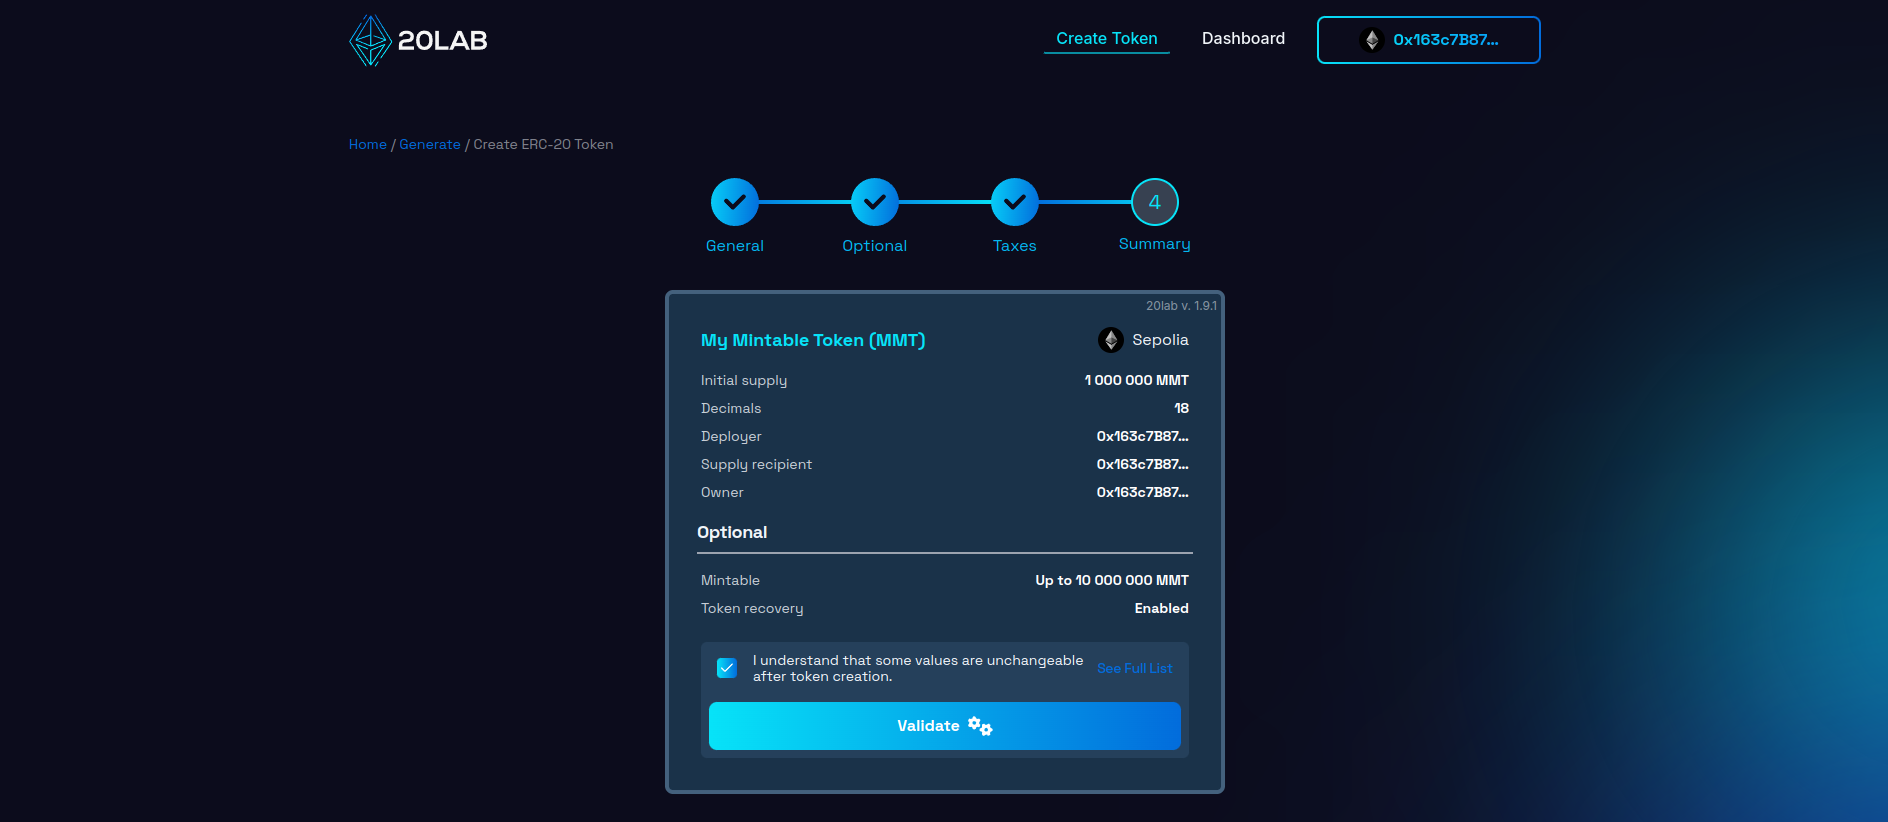
Once you're satisfied that everything is in order, click the "Validate" button to proceed with deployment. It's an important safeguard that can catch any technical issues before you commit your token to the blockchain.
In the deployment window, you'll often find an option to customize your token's address pattern. This is a unique feature offered by some platforms, allowing you to add a personal touch to your token's blockchain identity.
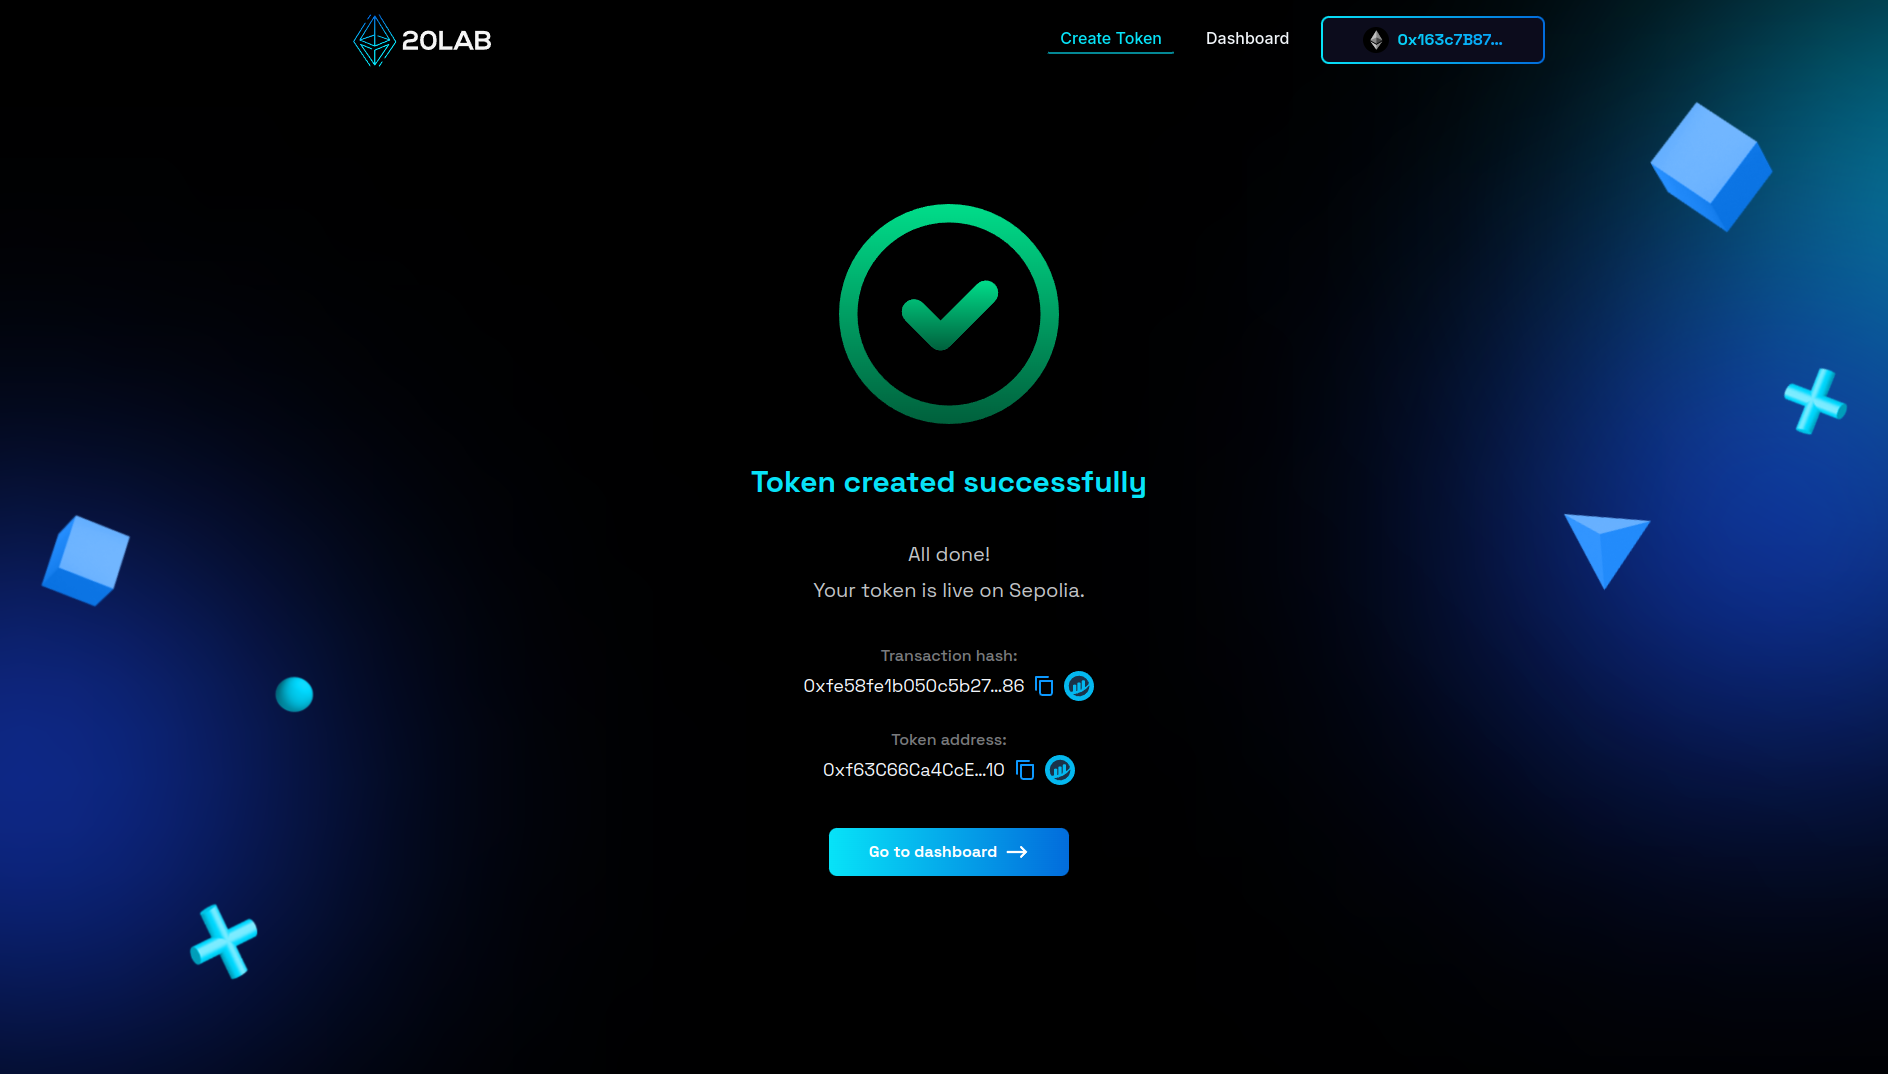
With everything set up, it's time for the moment of truth. Click the "Deploy" button to begin the process of creating your token on the selected blockchain. At this point, your connected wallet will prompt you to confirm the transaction. This confirmation is your final approval to create your mintable ERC-20 token.
Managing Your Mintable ERC-20 Token
After successfully deploying your mintable ERC-20 token, the 20lab.app dashboard provides a user-friendly interface to monitor and control various aspects of your newly created token. This central hub provides a suite of tools designed to give you comprehensive oversight and control over your token's life cycle.
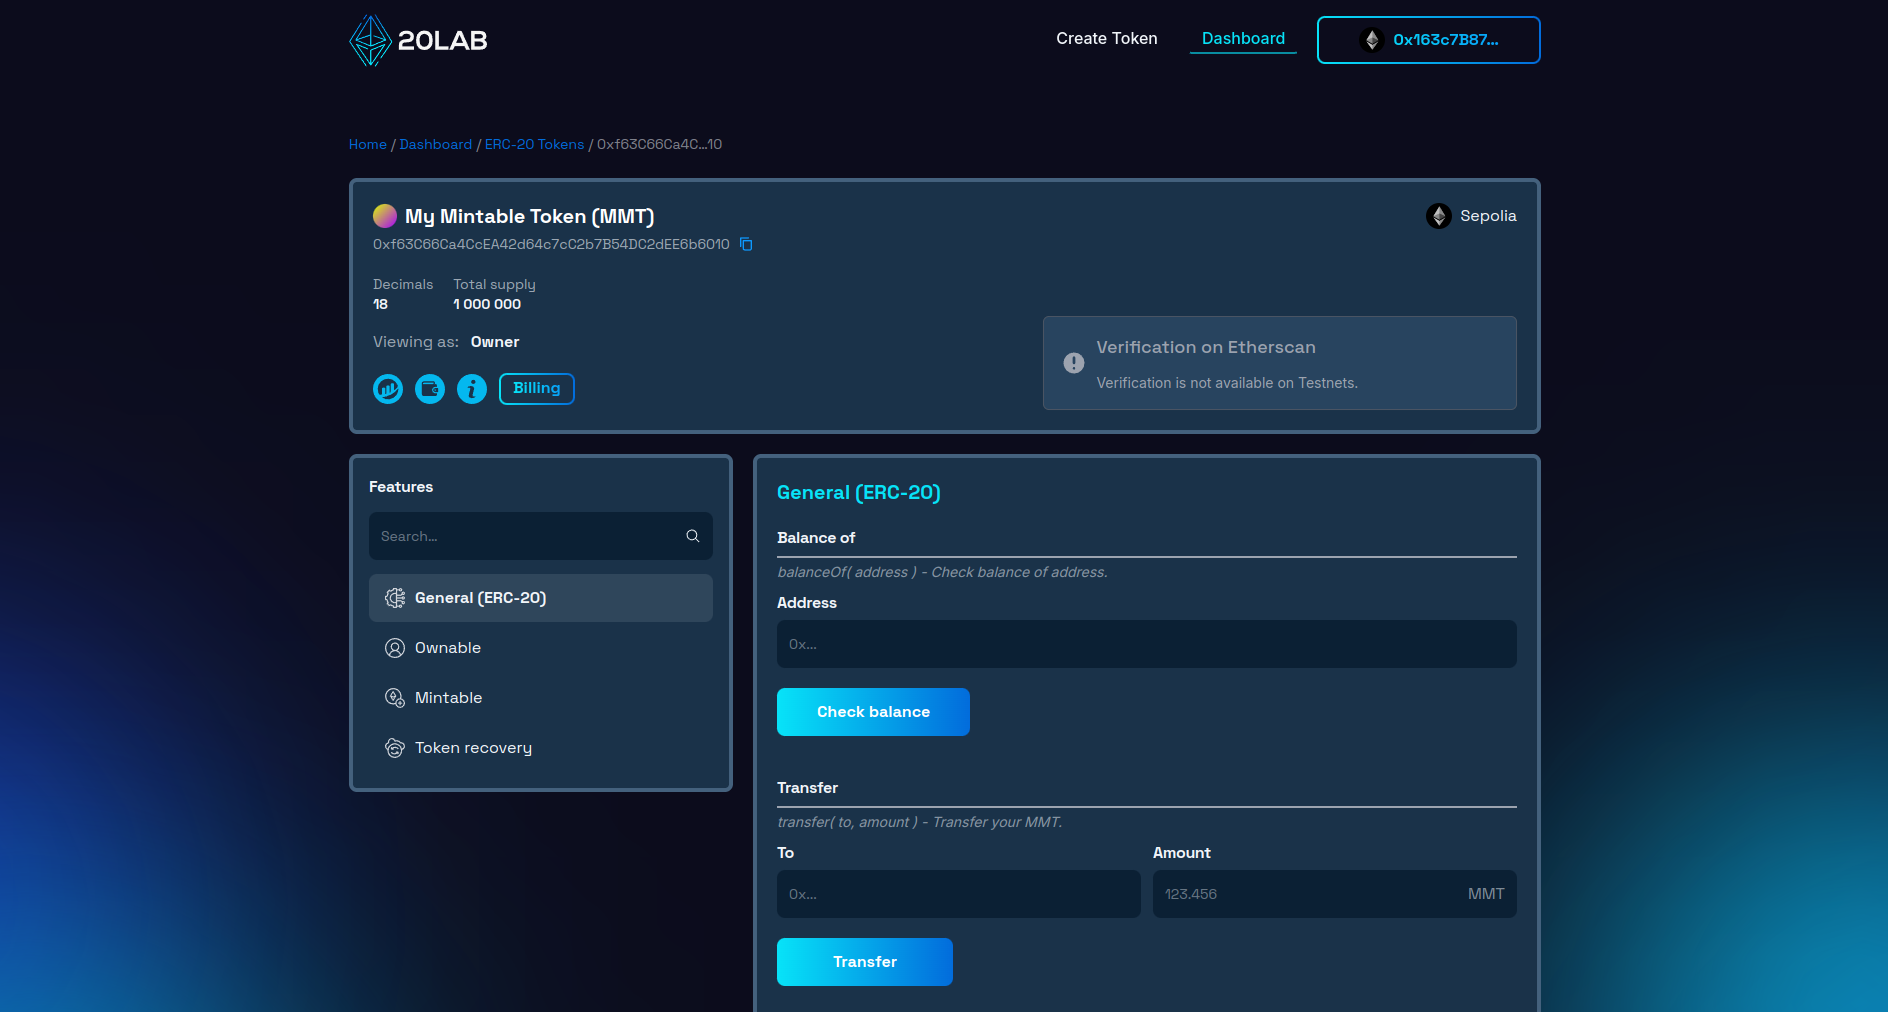
One of the primary functions of the Dashboard is to display detailed token information. Here you can easily review your token's unique address, current total token supply, token name, symbol, decimal places, and more.
The dashboard also provides tools for managing owner permissions, a critical aspect of token governance. As the token creator, you initially hold the owner rights, unless you've assigned them to another address during the generation phase. In the "Ownable" section, you can review, transfer, or revoke ownership as needed.
Perhaps the most powerful feature available through the Dashboard for your mintable token is the ability to create new tokens. This feature is located in the "Mintable" section of the dashboard. As the token owner, you have the exclusive right to mint new tokens until the total supply reaches the max supply you specified when creating the token.
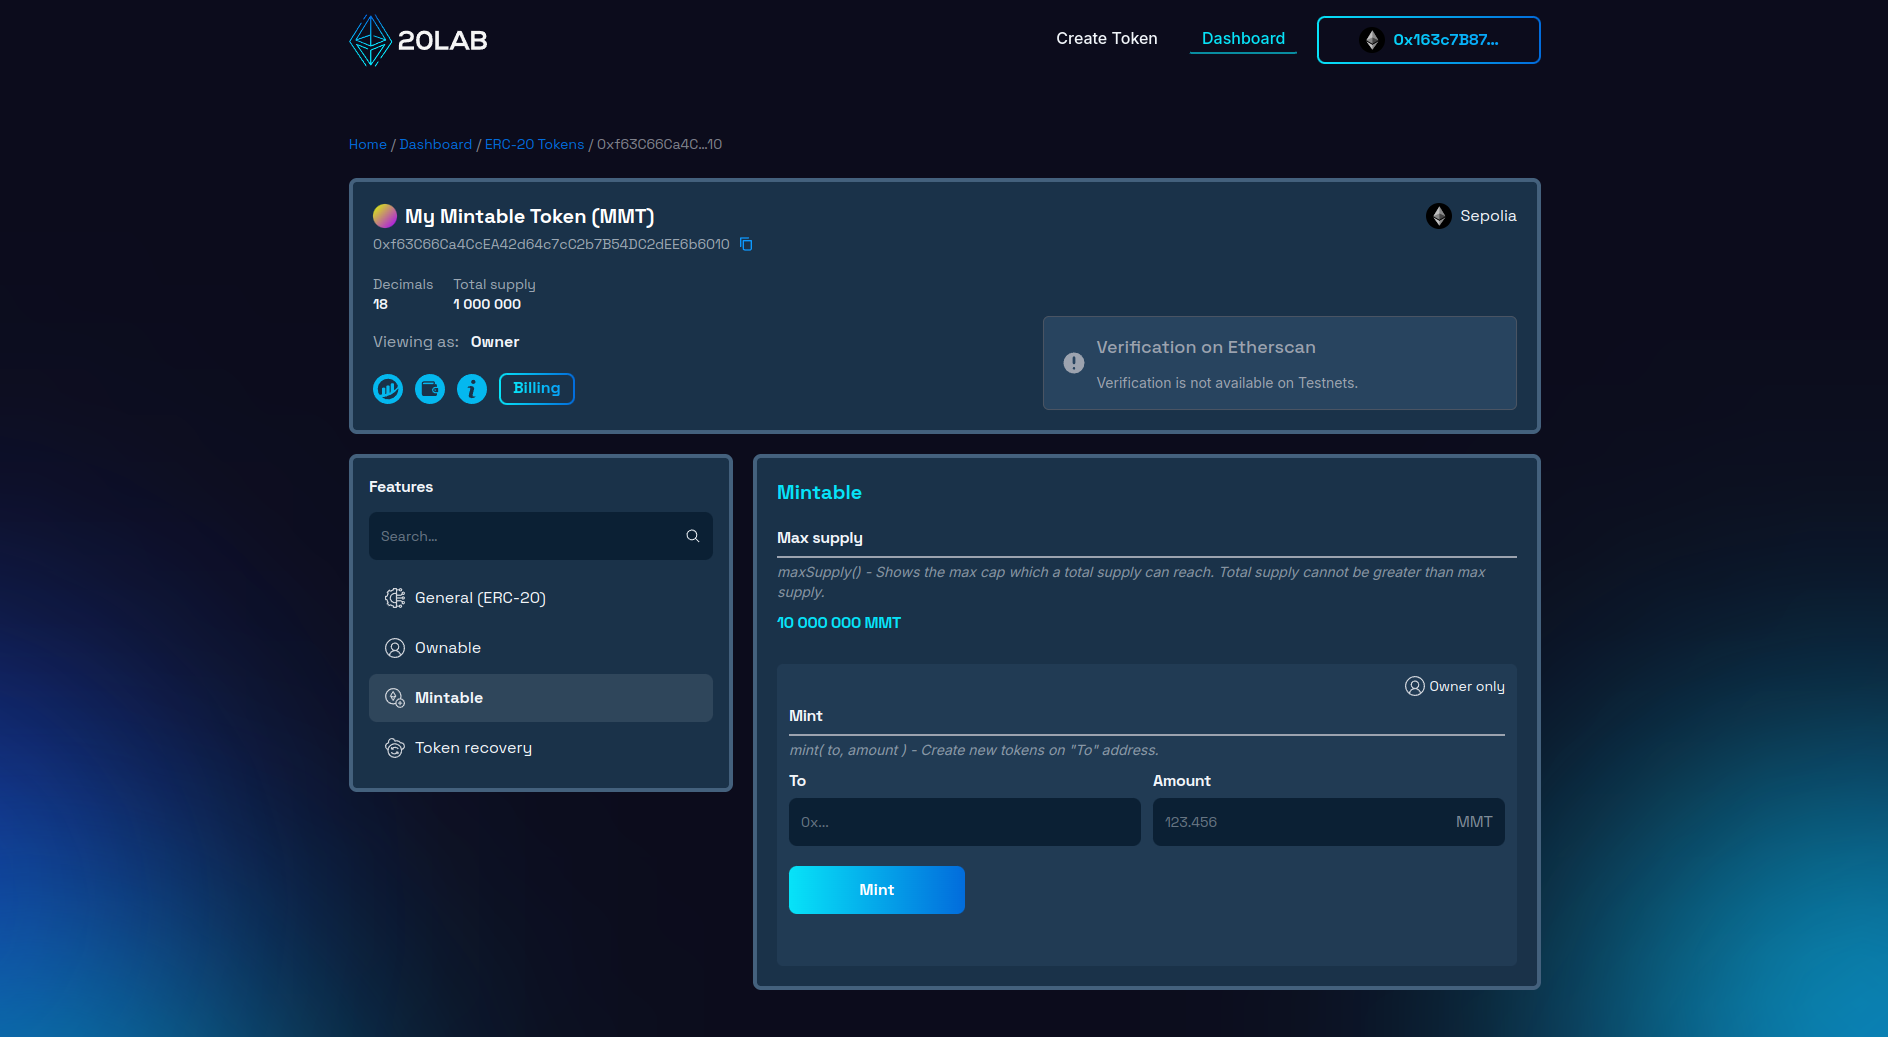
In order to mint new tokens, you'll need to provide two key pieces of information:
-
Recipient Address: This is the address of the wallet to which you want to send the newly minted tokens. It can be your own wallet, a team wallet, or any other address you choose.
-
Mint Amount: Enter the number of new tokens you want to create.
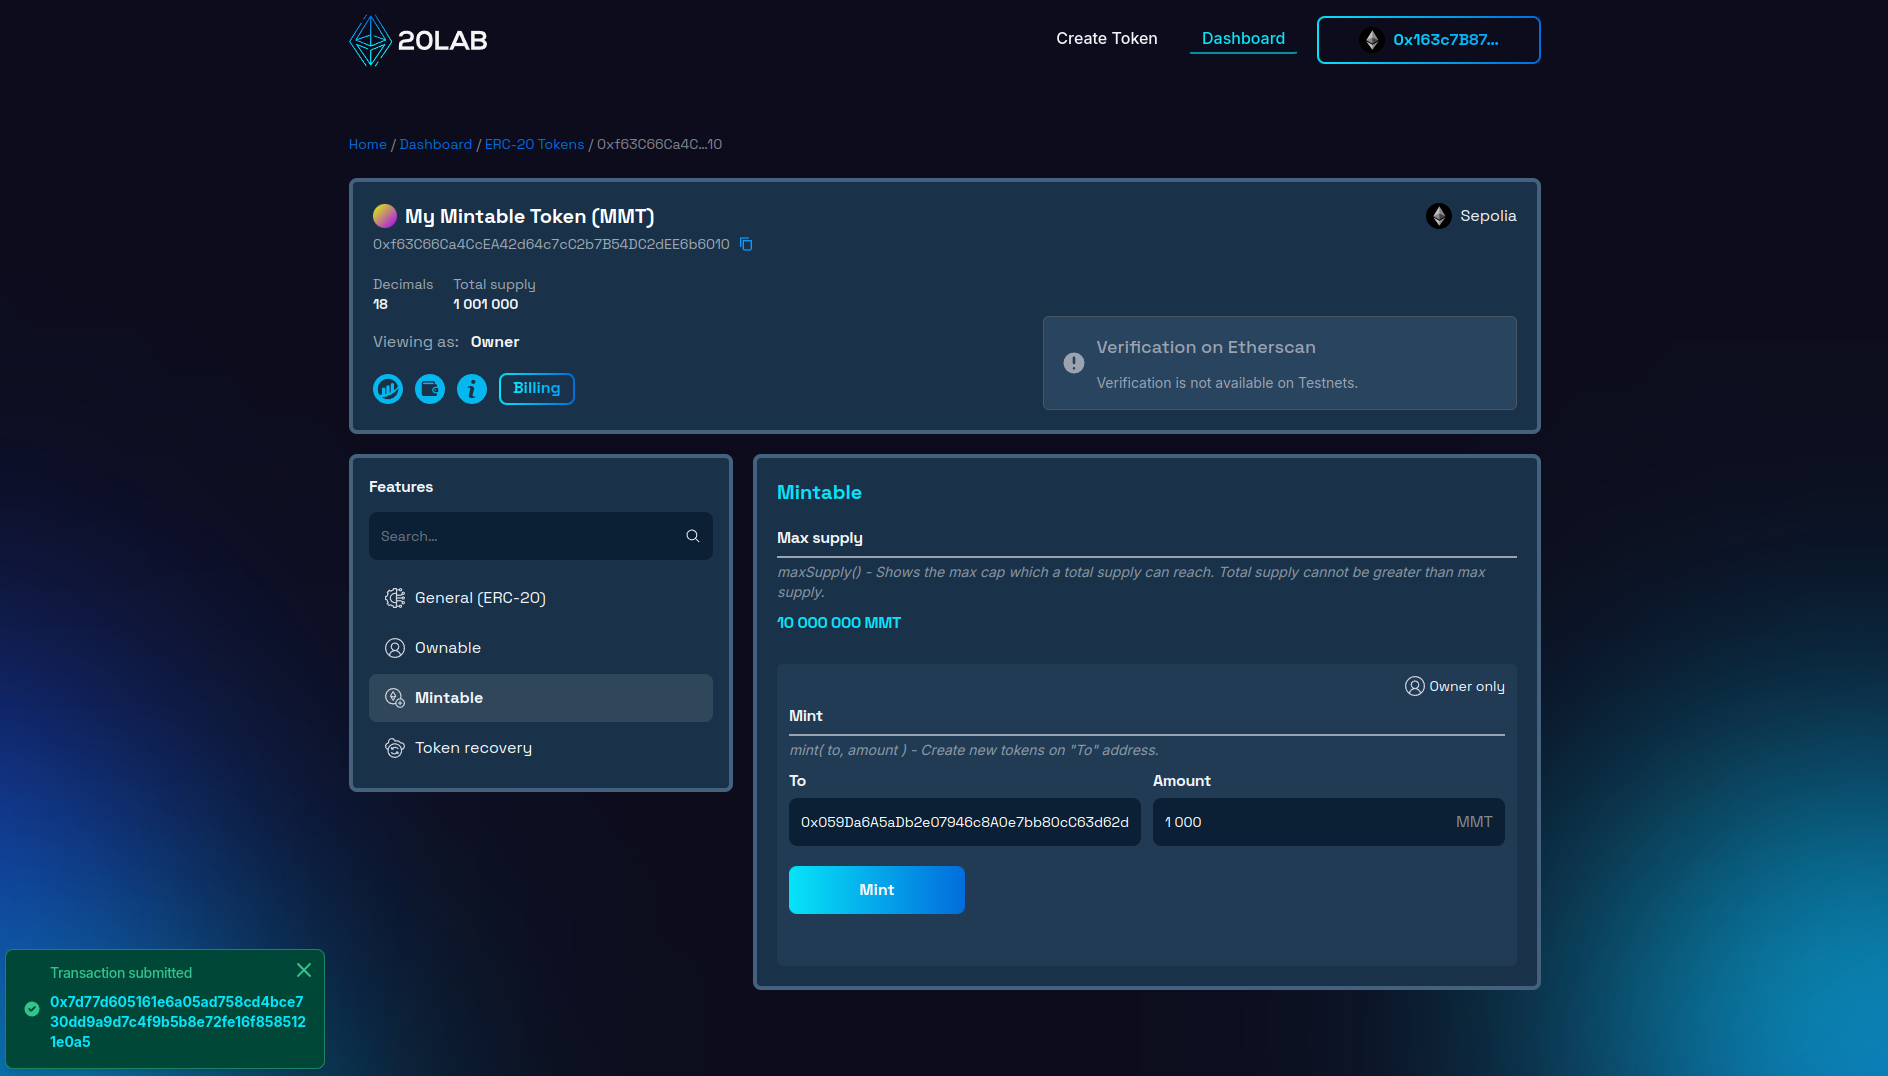
Once you've entered this information, click the "Mint" button. Your wallet will ask you to confirm the transaction. Keep in mind that minting, like any other blockchain transaction, will incur a small gas fee.
After confirming the transaction, you'll need to wait for it to be processed by the network. Once the transaction is confirmed, your token's total supply will automatically update to reflect the new value.
Conclusion
Creating a mintable ERC-20 token opens up a world of possibilities for your blockchain project. Whether you're building a dynamic reward system, a growing ecosystem, or a token backed by expanding real-world assets, the ability to mint new tokens provides the flexibility you need.
Platforms like 20lab.app have made it easier than ever to create and manage mintable tokens, allowing you to focus on the utility and impact of your project rather than complex technical implementations.
Remember, with great power comes great responsibility. Use the minting feature judiciously to maintain the value and trust in your token ecosystem.
If you have any questions about creating or managing your mintable ERC-20 token, don't hesitate to reach out to us via our Telegram channel.


