
In the fast-paced world of cryptocurrency and blockchain technology, protecting your token from malicious actors is critical. When creating ERC-20 tokens, many often overlook the importance of anti-bot measures. One effective strategy is to implement a cooldown feature, which can significantly reduce the impact of bot activity on your token's ecosystem. In this guide, we'll walk you through the process of creating an ERC-20 token with an anti-bot cooldown feature.
Why Anti-bot Cooldown Matters
Imagine this: you've just launched your token, and within moments its price starts fluctuating wildly due to bot-driven trading. Without proper safeguards, your token could fall victim to such automated attacks. By incorporating an anti-bot cooldown feature, you're adding a critical layer of defense that can preserve the integrity of your token's ecosystem.
Key benefits of anti-bot cooldown include:
- Mitigate rapid transactions that can destabilize token value (including flash loans),
- Block front-running attempts during critical market moments, such as token launches,
- Fostering a stable and trustworthy trading environment.
This tutorial will equip you with the knowledge to deploy an ERC-20 token fortified with anti-bot cooldown functionality. We'll cover everything from initial setup to post-launch management, making this guide valuable for developers, entrepreneurs, and blockchain enthusiasts alike. Moreover, creating such a token will take as little time as reading this post!
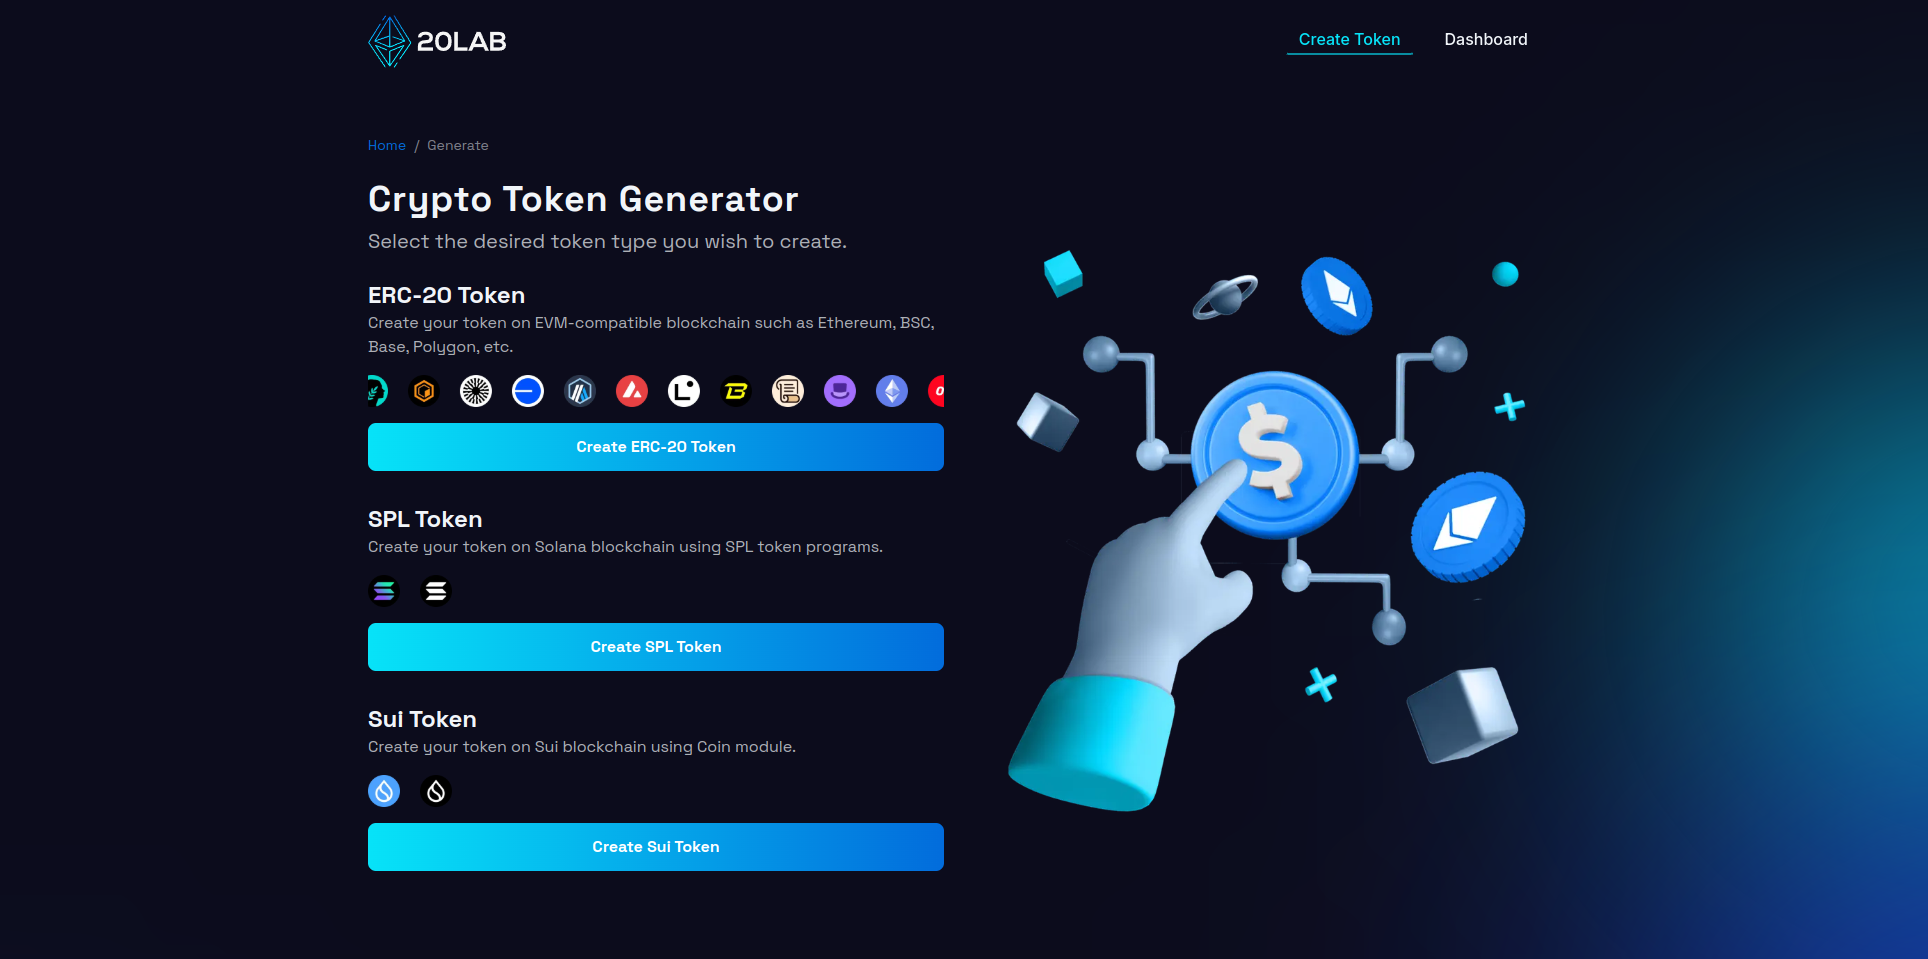
Creating Your Bot-Resistant ERC-20 Token
We're using the intuitive 20lab.app interface to simplify the creation of our security-enhanced ERC-20 token. This ERC-20 token generator simplifies the process and makes it accessible to those with minimal or no coding expertise.
Step 1: Choose Token Type and Connect Wallet
First, visit 20lab.app, navigate to the generator page and click on "Create ERC-20 Token". The next step is to connect your Web3 wallet (e.g. MetaMask, Coinbase Wallet or Trust Wallet) to the platform. After successful connection you will automatically see your wallet address in the top right corner.
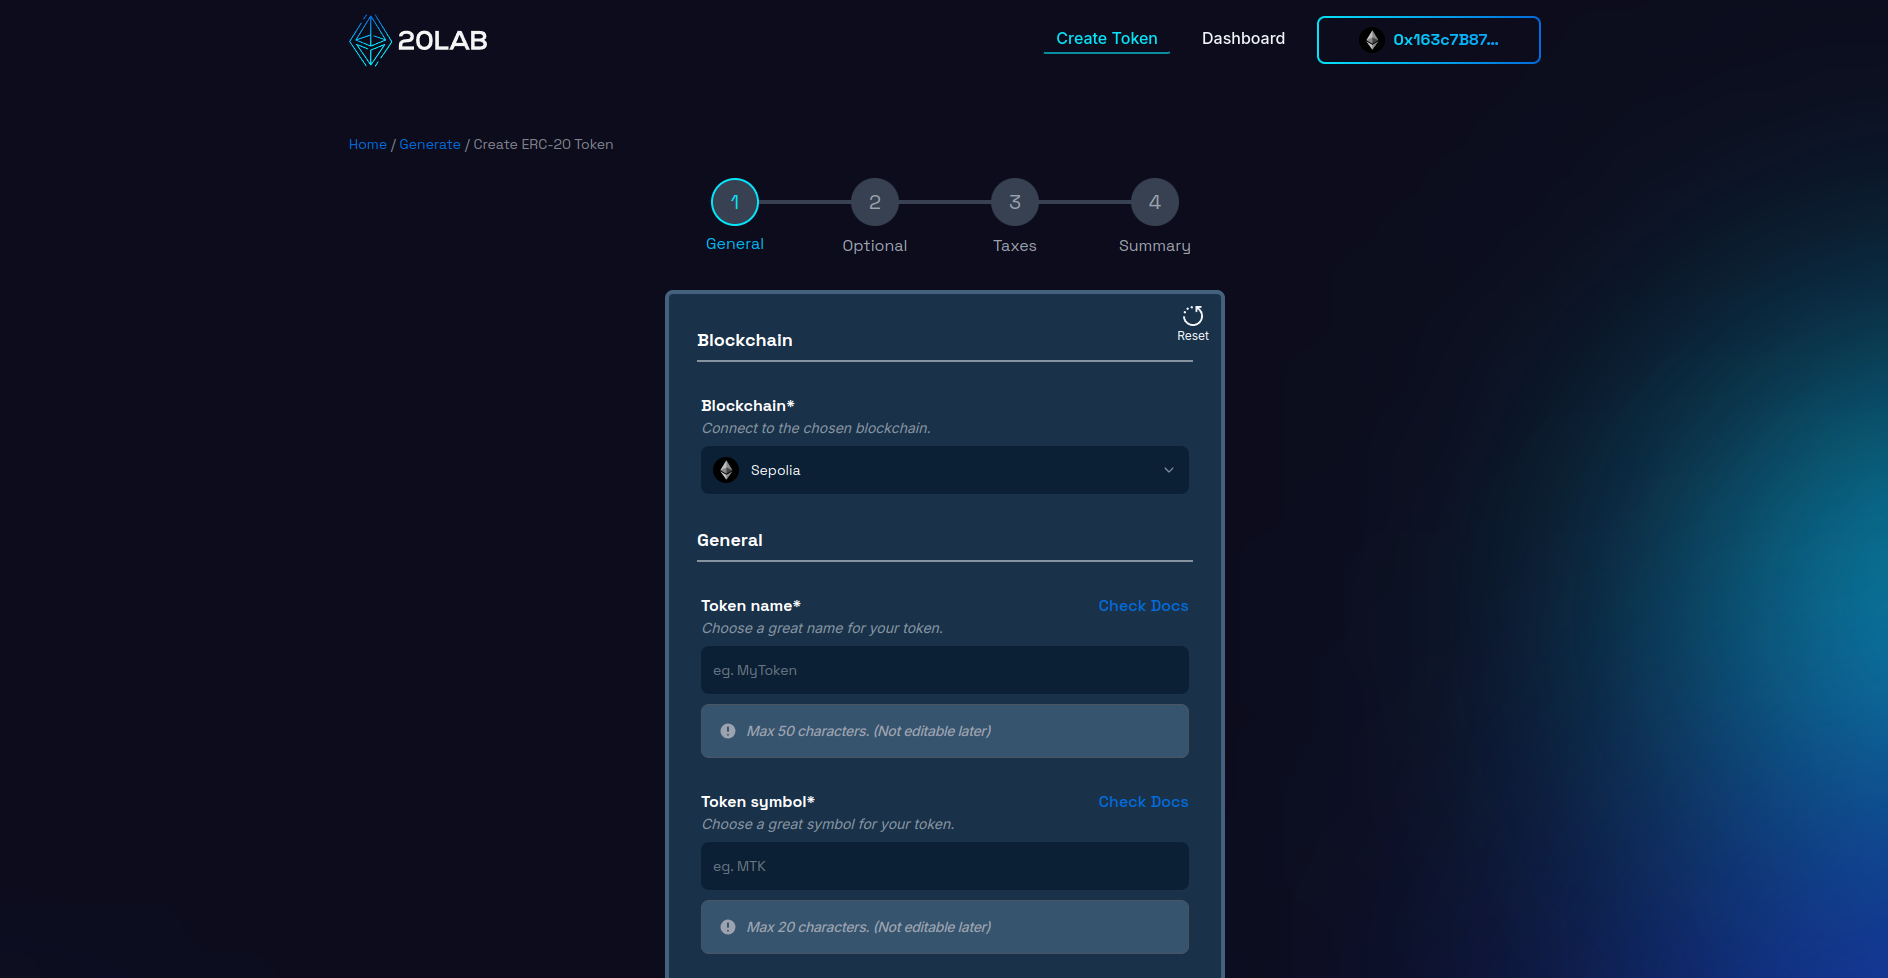
Make sure you're connected to the right Mainnet blockchain (or a Testnet if you're experimenting). The blockchain depends only on you and your project's needs. On 20lab you will find a huge selection of popular blockchains, so you are free to choose the best one.
Step 2: Add General Token Information
This phase is crucial because it determines the fundamental characteristics of your anti-bot ERC-20 token. Start by creating a unique and descriptive name for your token, along with a concise and memorable ticker symbol. It's a good idea to do some research to make sure your chosen name and symbol aren't already in use.
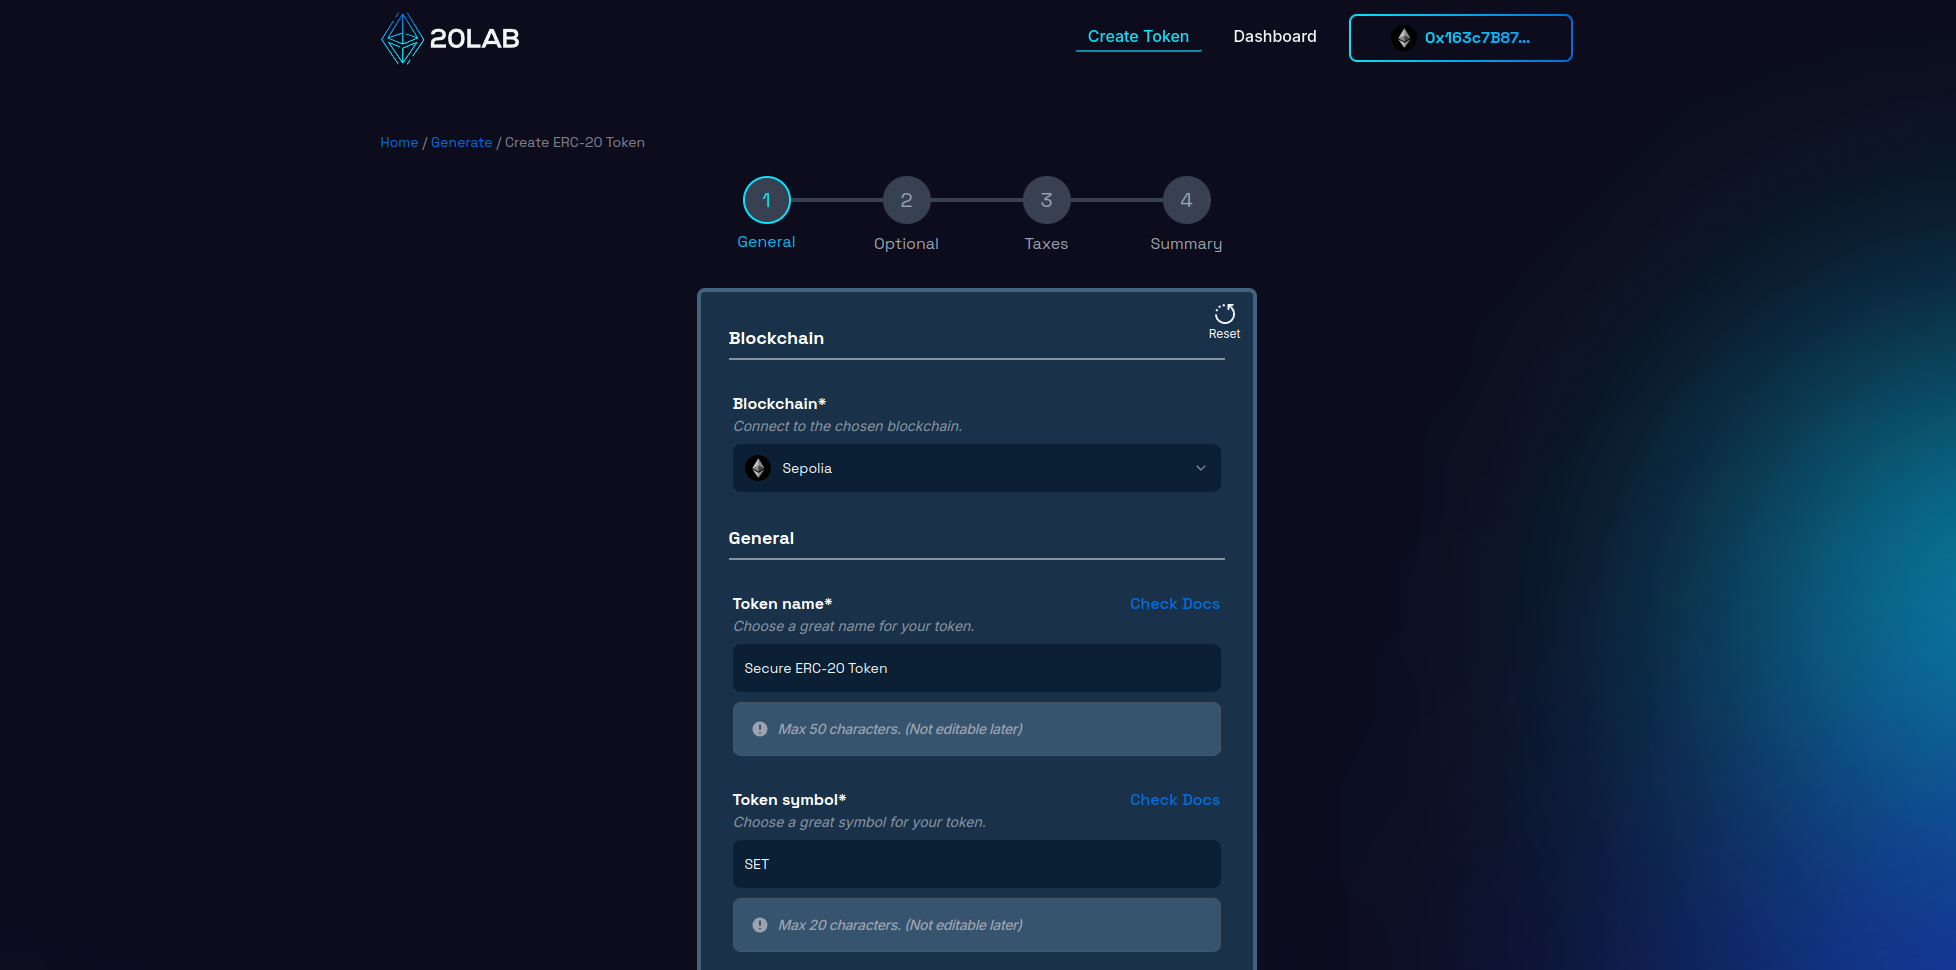
Next, determine the total supply of tokens. Unlike mintable tokens, this will likely be your final supply, so carefully consider the long-term needs of your project. For example, you might choose a total supply of 100,000,000 tokens to ensure sufficient liquidity while maintaining scarcity.
For the decimal places, decide how divisible you want your token to be. The default for most ERC-20 tokens is 18 decimal places, which mirrors the divisibility of ETH and other major blockchain currencies. This granularity allows for precise transactions and micropayments.
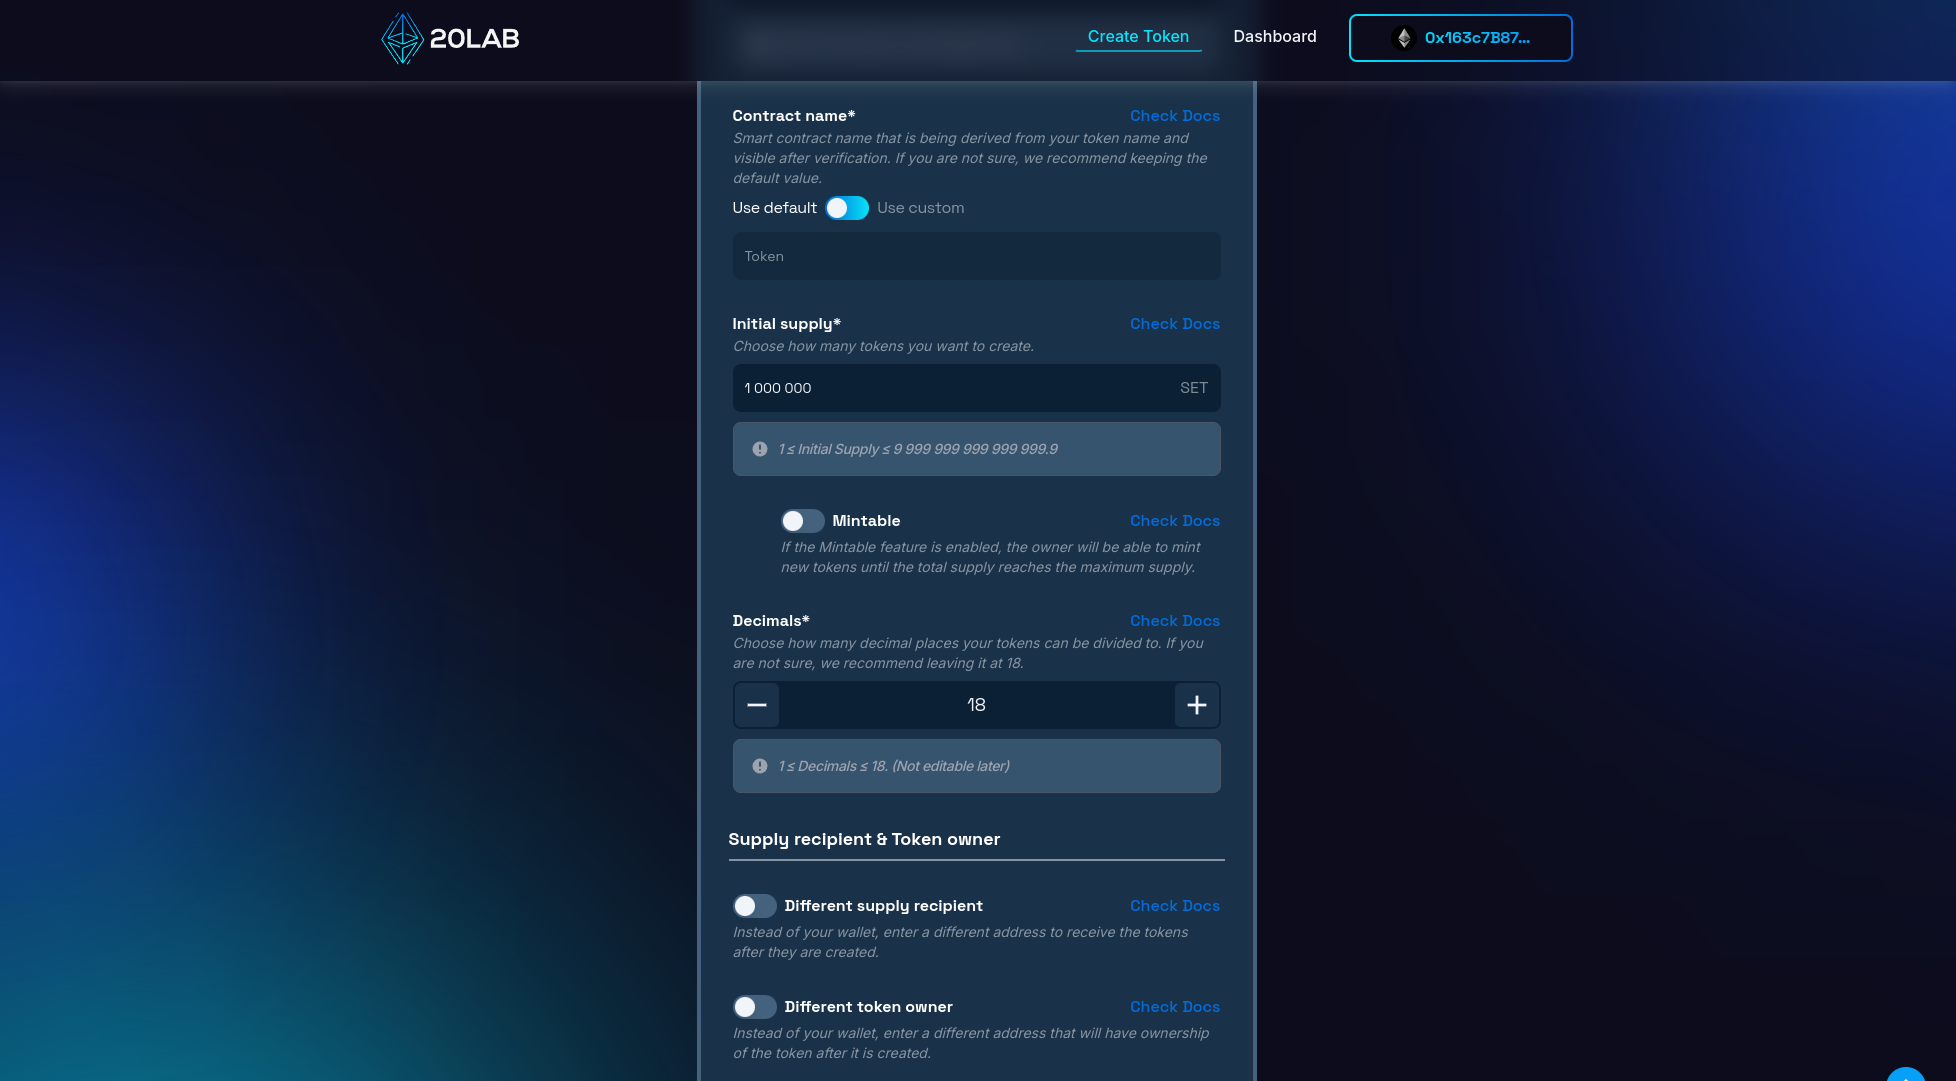
You have the option to specify a unique contract name, which is how your smart contract will be identified on block explorers after verification. This can be the same as your token name or something more technical like "AntiBotProtectedTokenV1".
Also an important decision is selecting the wallet to receive the initial token supply and the token owner. The supply recipient will hold all the tokens at launch, which can be your personal wallet or a dedicated project wallet. The token owner will have special permissions, especially related to the anti-bot features. While this is often the same as the deployer, it can be a separate address if needed. For added security, consider using a multi-signature wallet.
Keep in mind that these initial settings are the foundation of your token's identity and functionality. Choose thoughtfully, taking into account your project's future aspirations and potential expansion. The choices you make now will affect how your token is perceived and used in the future, especially in terms of its resilience.
Step 3: Activating Anti-bot Defenses
This critical step is where your token truly gains its defensive capabilities against automated trading bots. To enable Anti-bot cooldown, go to the next section of the generator and select a default exchange for your token. By default, anti-bot will only work for trades on this exchange, but if you plan to add liquidity to more than one liquidity pool, you can easily add new ones later in the dashboard.
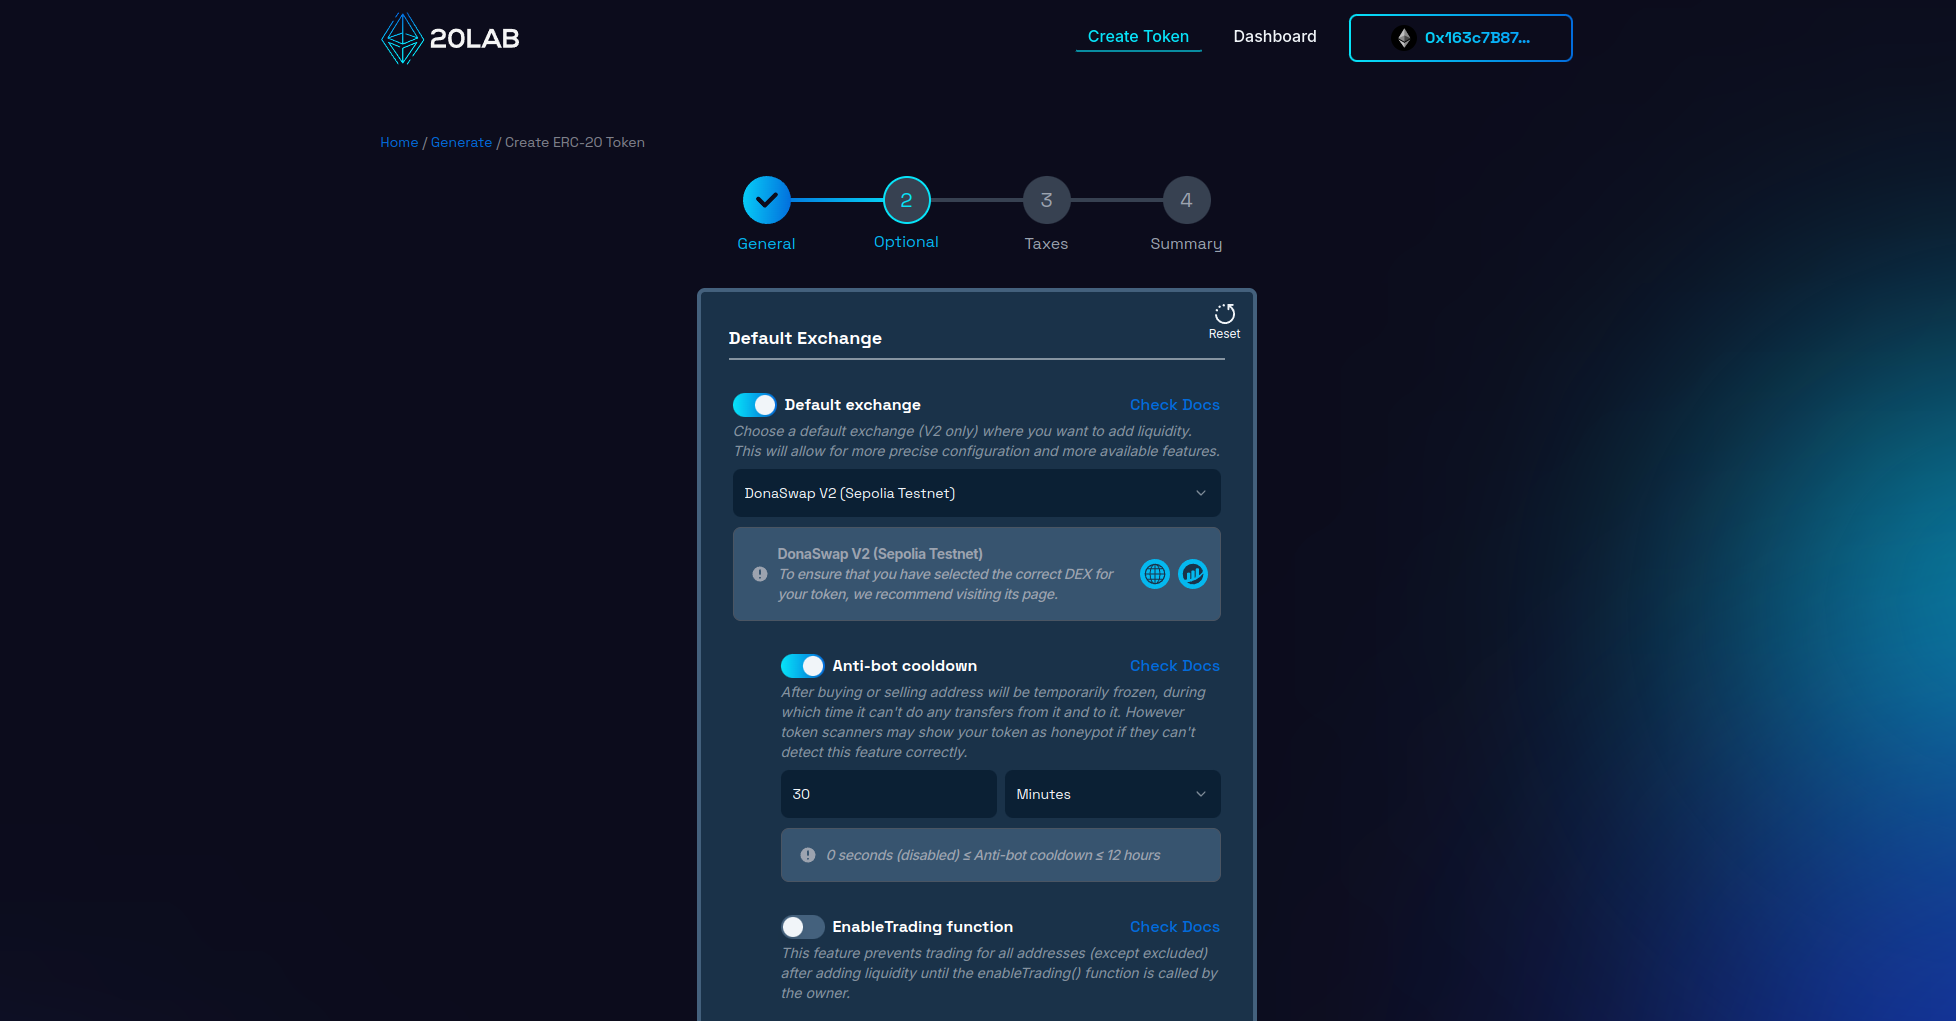
With the anti-bot feature enabled, your next task is to configure the cooldown time. This is a critical parameter that enforces a mandatory waiting period between trades originating from the same address. For example, you could set a delay of 300 seconds (5 minutes). This cooldown period acts as a significant barrier to rapid-fire bot transactions that could manipulate the price or liquidity of your token.
When configuring these anti-bot measures, it's important to strike a balance between robust security and user-friendly functionality. While strong protections can effectively prevent bot activity, overly restrictive measures can unintentionally interfere with legitimate trading and potentially discourage user engagement.
Another thing to note about anti-bot functionality is that many automated scanning tools may display your token as a honeypot (a token that can be bought but not sold). This is due to the lack of support for tokens with delayed sellability. Many, if not all, scanners will attempt to provide results based on immediate buying and selling, which is directly affected by the anti-bot restrictions in your ERC-20 token.
You may want to start with moderate restrictions and adjust them over time based on observed behavior and community feedback. As long as you own your token, you can disable the anti-bot cooldown feature at any time by setting the cooldown time to 0 seconds.
Step 4: Review and Deploy
Before finalizing your token creation, it's important to carefully review all configured parameters on the "Summary" page. This final review stage acts as an important check, allowing you to catch and correct any potential errors or oversights that could become costly after deployment.
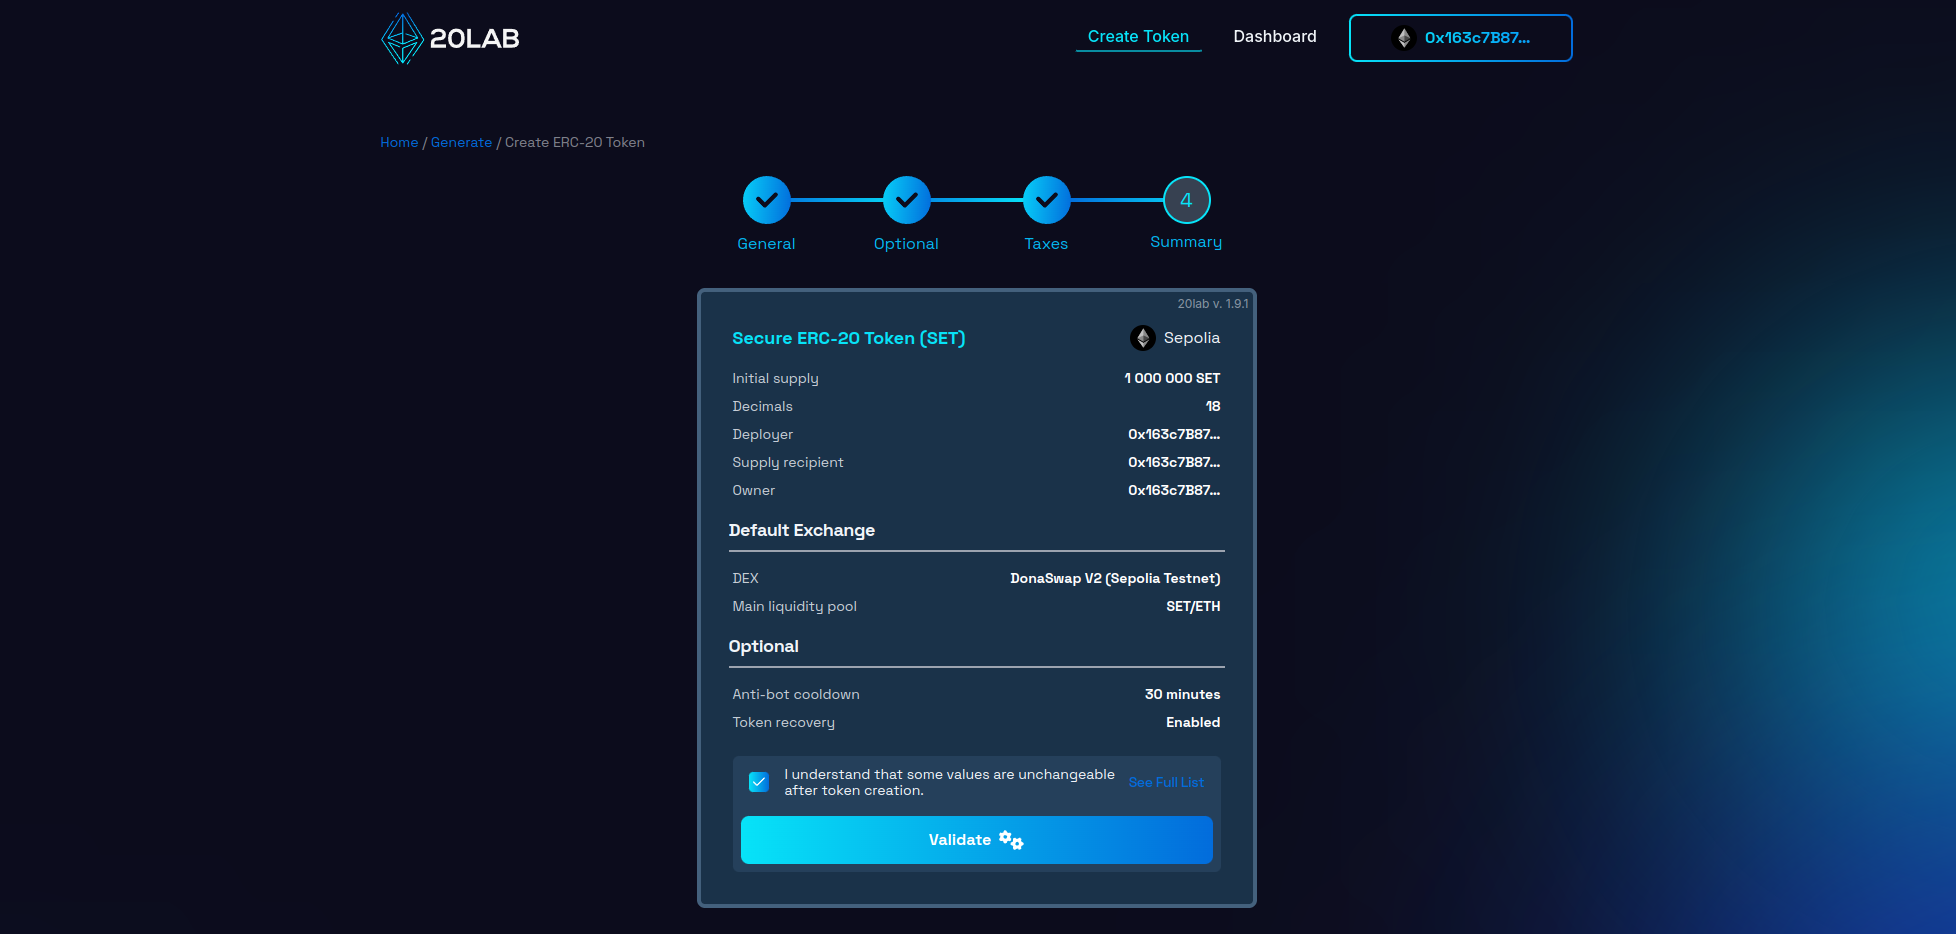
Once you have thoroughly reviewed all the details, click the button to initiate the validation process. This automated check serves as an additional layer of protection, identifying any technical inconsistencies or issues that could compromise the functionality of your token on the blockchain.
Upon successful validation, you may be presented with a deployment modal that allows you to personalize your token's address pattern. This unique feature allows you to add a distinctive touch to your token's blockchain identifier, enhancing its memorability and brand alignment.
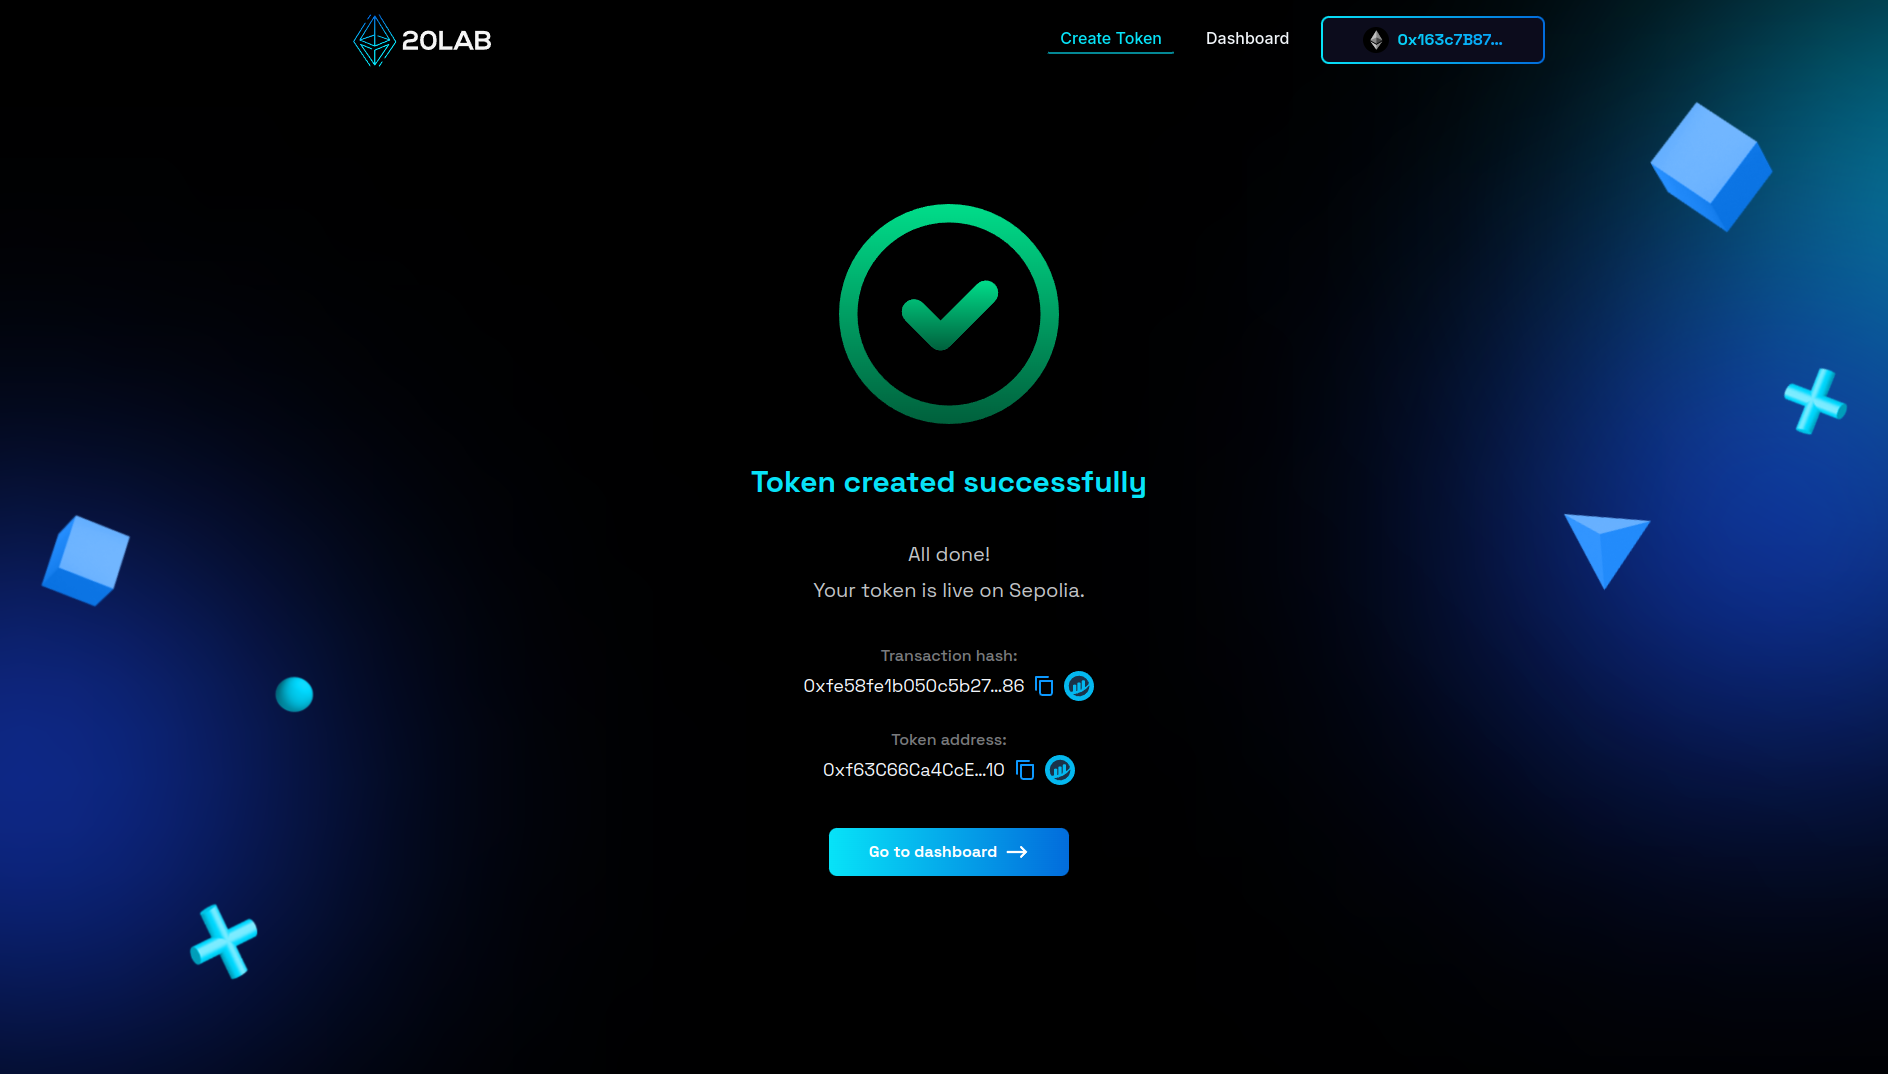
You're now ready for the big moment. Click "Deploy" to begin the process of instantiating your token on your chosen blockchain network. This action will trigger a prompt from your connected wallet requesting transaction confirmation. Upon confirmation, your anti-bot ERC-20 token will be live on the selected blockchain.
Managing Your Anti-bot Equipped ERC-20 Token
After successfully launching your ERC-20 token with anti-bot protection, the 20lab.app platform provides an intuitive management dashboard. This single control panel provides you with a comprehensive set of tools to monitor and fine-tune your newly created token.
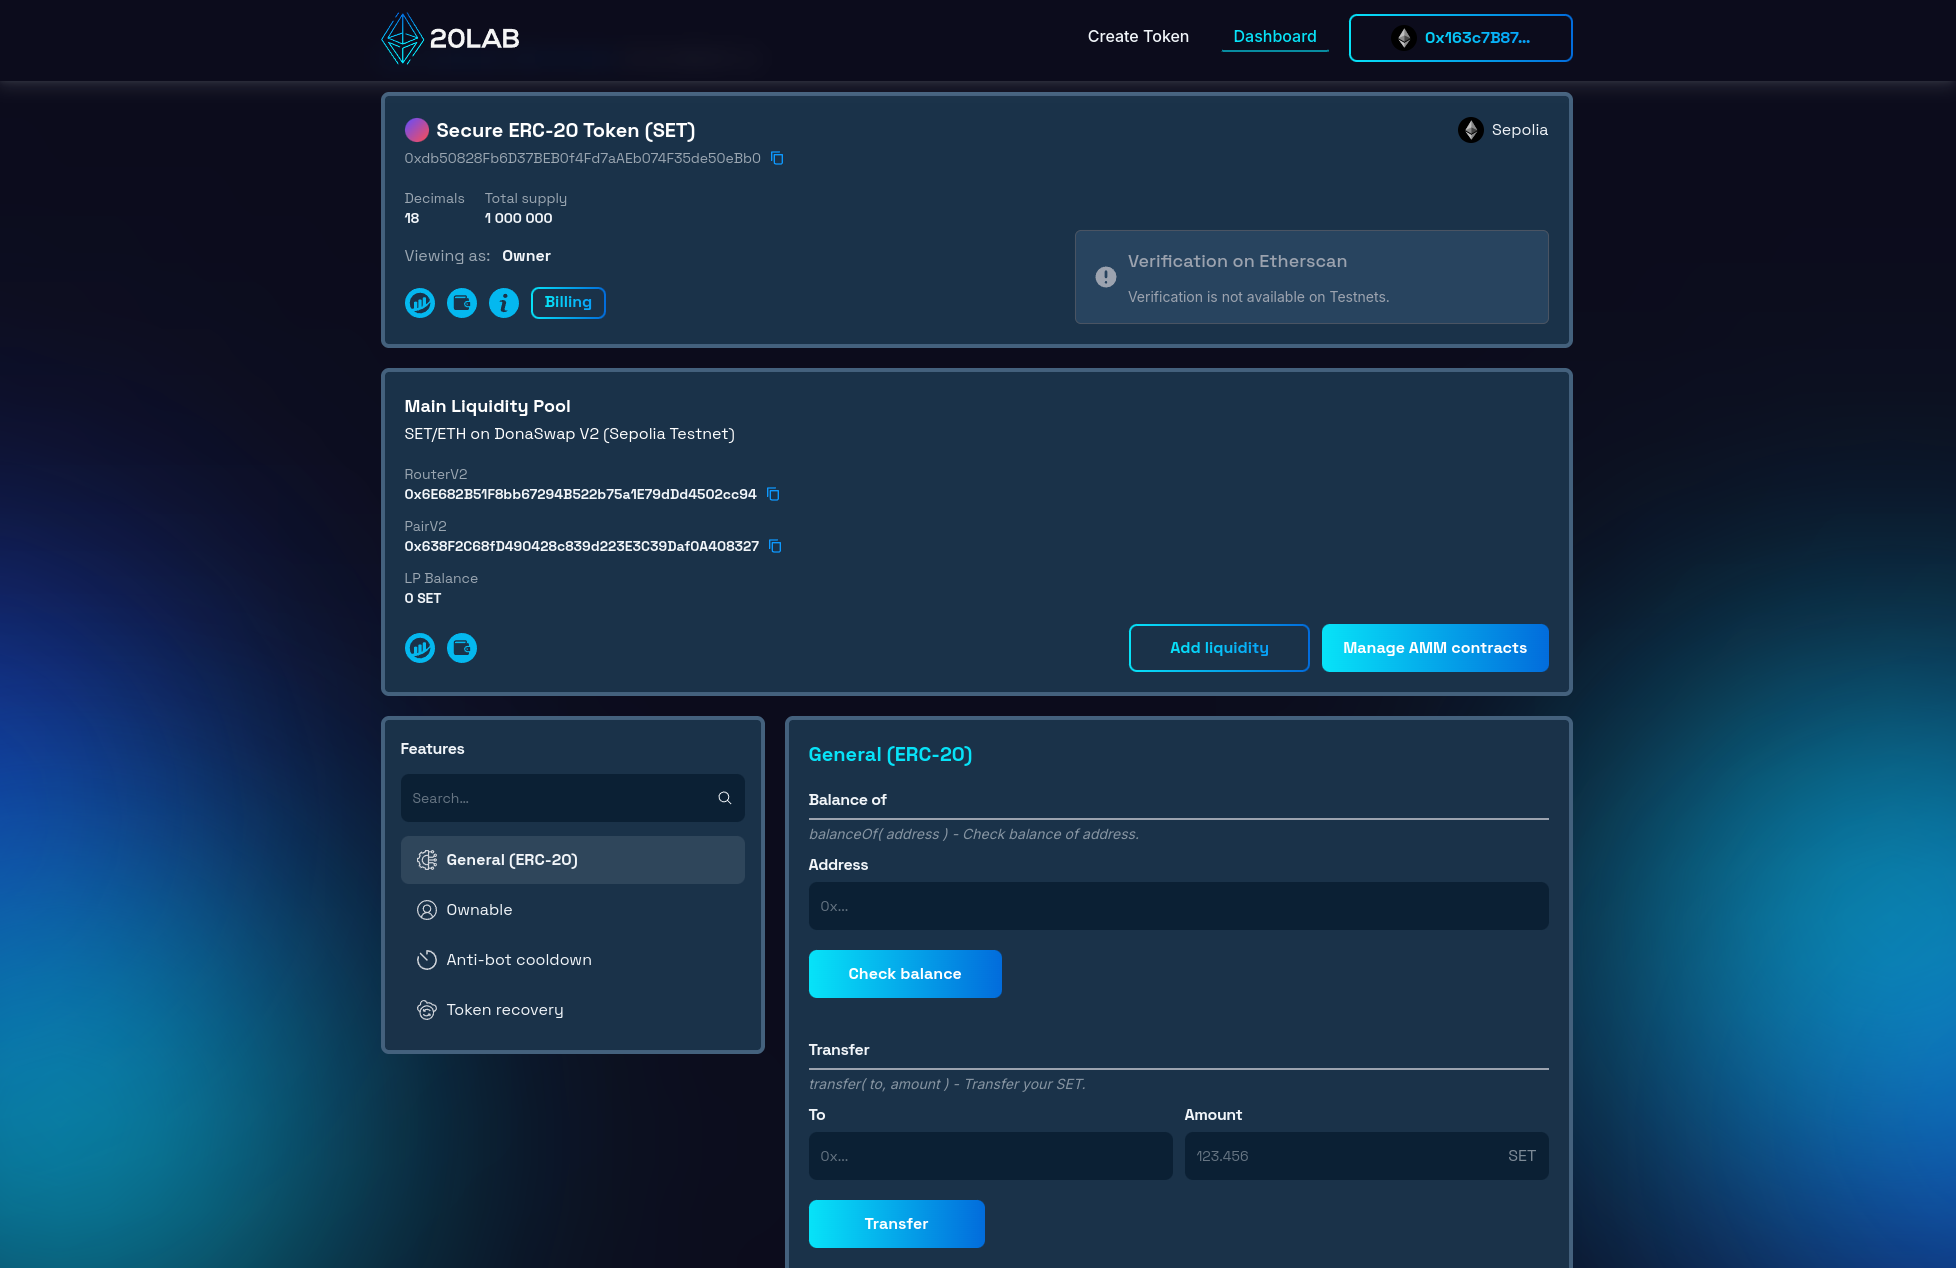
The core functionality of the Dashboard includes a comprehensive display of token information. At a glance, you can access critical details such as your token's blockchain address, total supply, token name, ticker symbol, and decimal precision. This view ensures that you're always aware of your token's key metrics.
Another important component of the dashboard is the ownership management suite. This feature is essential for maintaining proper token governance. As the creator of the token, you retain initial ownership rights unless you've delegated those rights to another address during the creation process. Within the "Ownable" section, you have the ability to view current permissions, transfer ownership to a new address, or renounce ownership completely.
Perhaps the most powerful feature available through the Dashboard for your anti-bot token is the ability to manage the cooldown time, check the last trades of a particular address, or exclude some addresses from this restriction. These features are located in the "Anti-bot cooldown" section of the Dashboard. As the token owner, you have the exclusive right to change the above parameters.
You can check the addresses whitelisted by default in our documentation or directly in your token's dashboard.
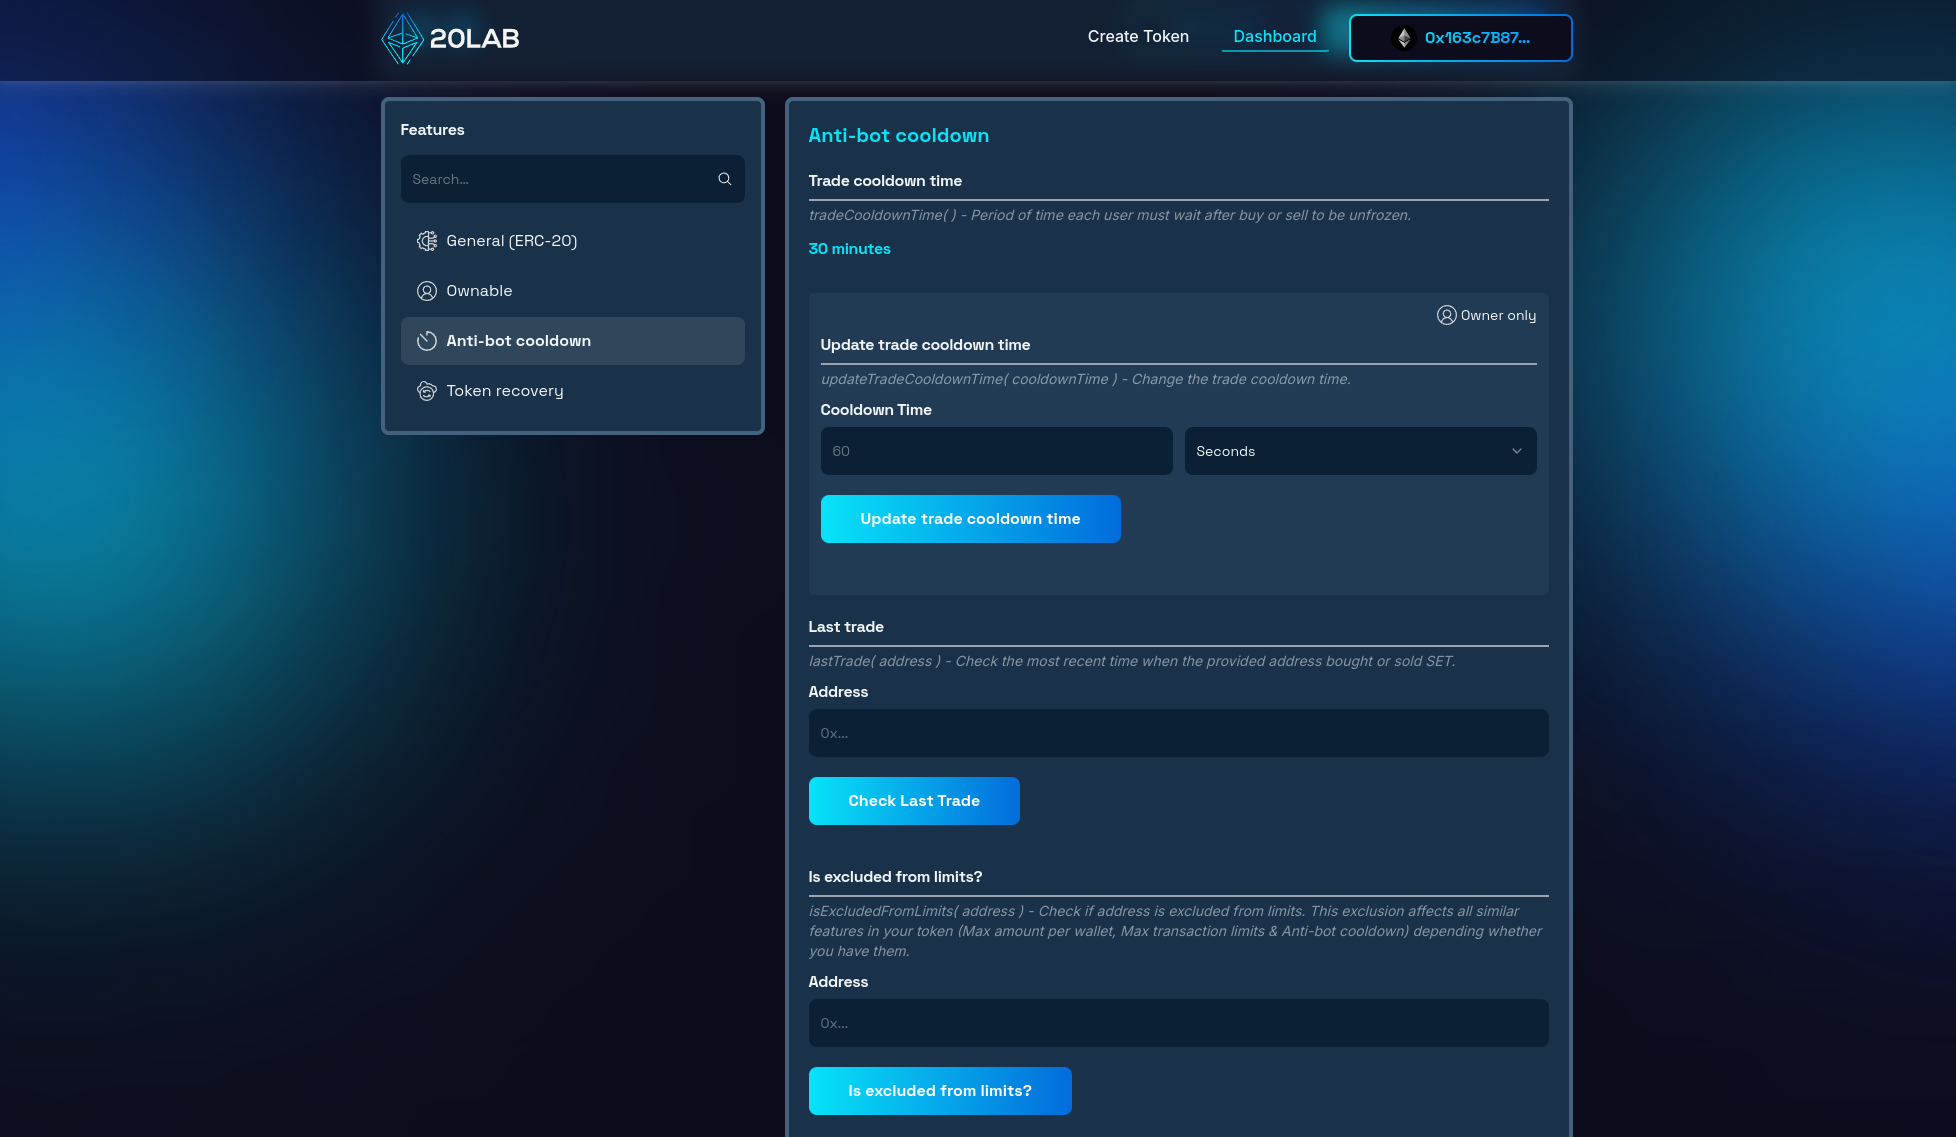
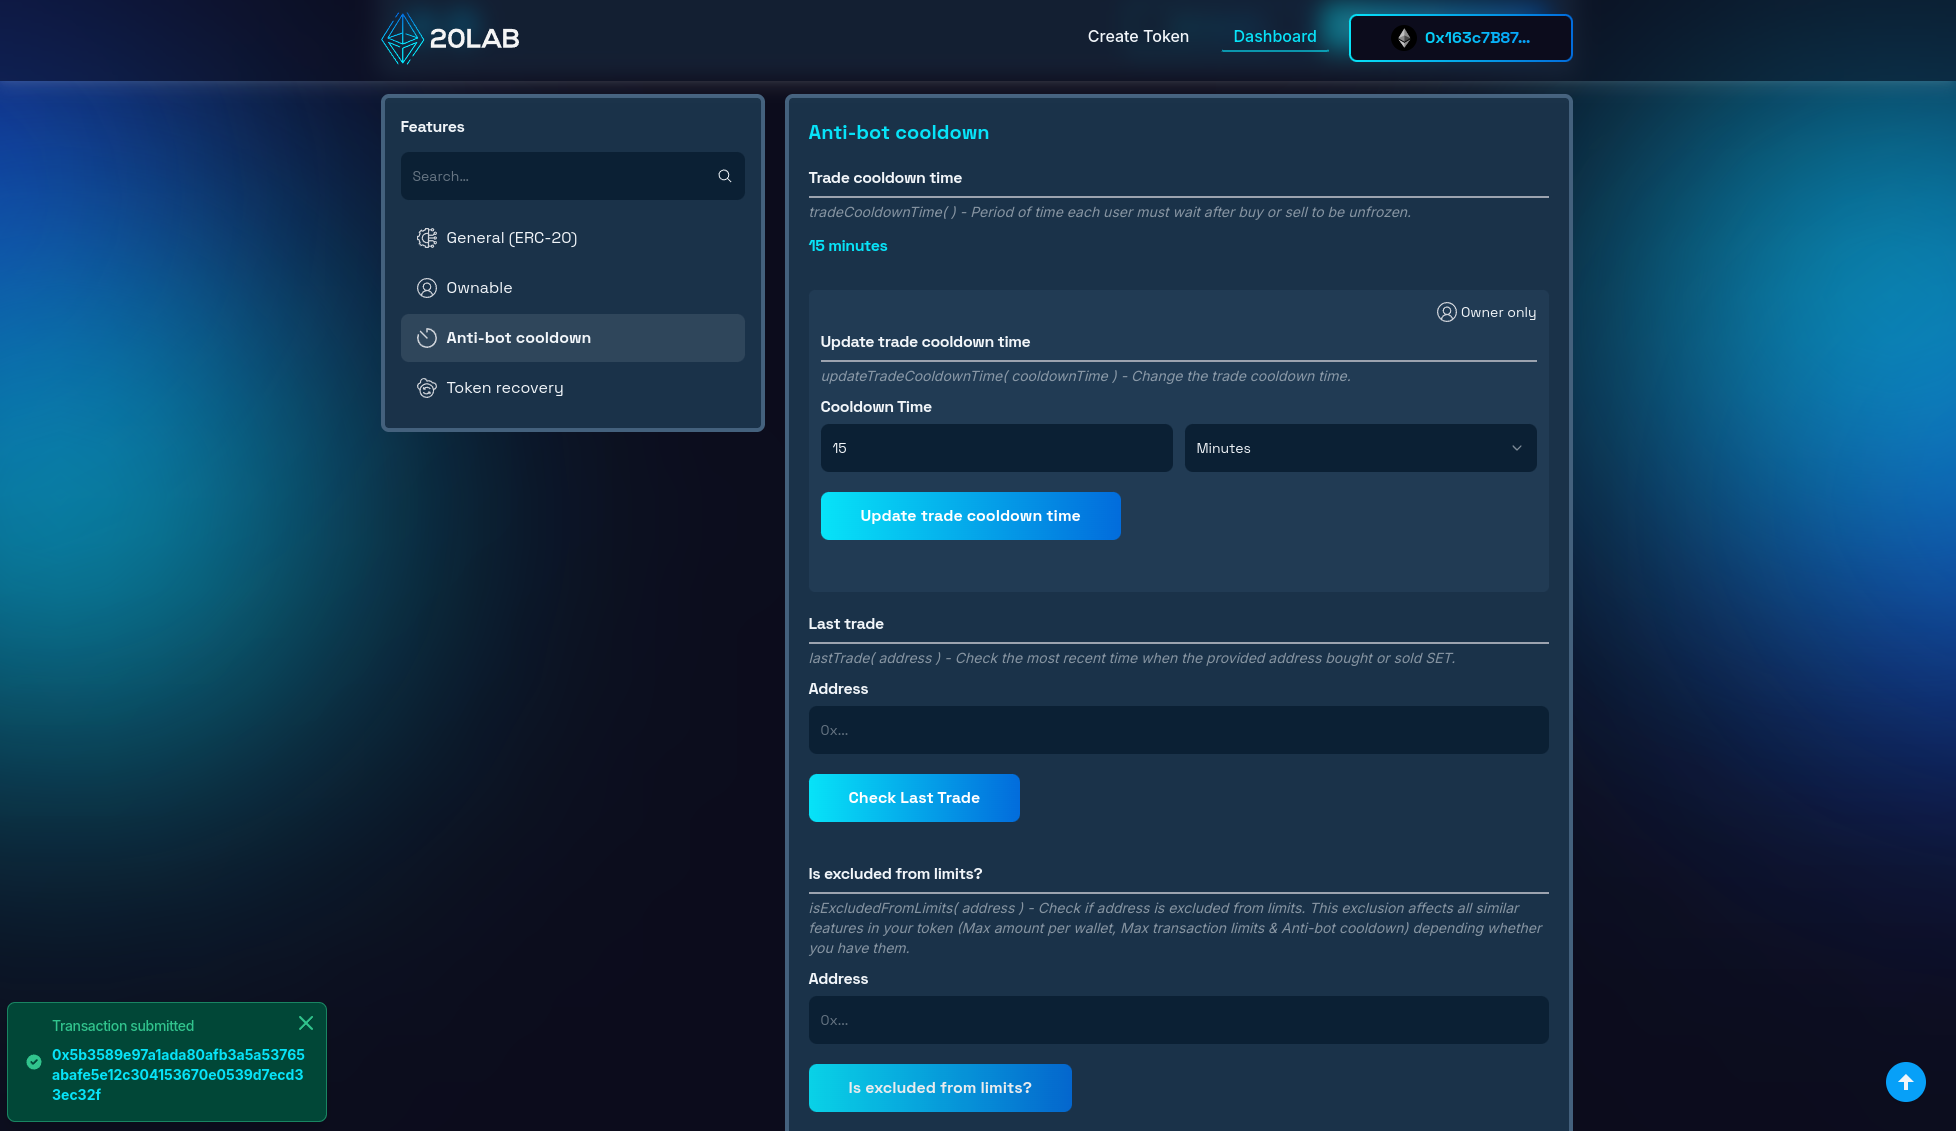
For example, to change the cooldown time, you'll need to specify a new value that will take effect immediately after the transaction is confirmed for all addresses that are not explicitly excluded from the restriction.
Once you've entered a different time period, click the "Update trade cooldown time" button. Your wallet will ask you to confirm the transaction. Keep in mind that each blockchain transaction will incur a small gas fee.
After confirming the transaction, you'll need to wait for it to be processed by the network. Once the transaction is confirmed, your trade cooldown time will automatically update to reflect the new value.
Testing Anti-bot Cooldown in Action
To understand how anti-bot cooldown works, let's dive into a practical scenario involving the different stages of token transactions and the measures in place to prevent bot activity.
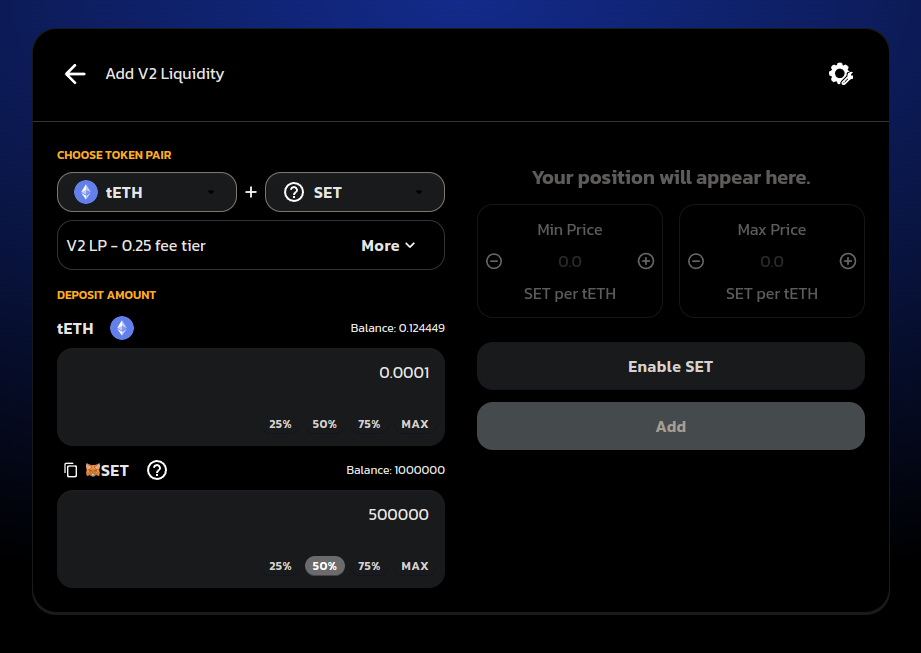
Adding Liquidity on a Decentralized Exchange (DEX)
When you create your ERC-20 token, one of the first steps is to add liquidity to a decentralized exchange (DEX). This involves pairing your token with a stablecoin or other cryptocurrency to facilitate trading and adding both to a liquidity pool. This pool allows users to buy and sell your token.
Buying from Different Address
Once liquidity is added and your token is live on the DEX, potential buyers will begin to purchase it. Buyers can use different wallet addresses to purchase the token. By implementing cooldown periods between transactions from the same address, the system makes it impossible for them to execute multiple orders in quick succession.
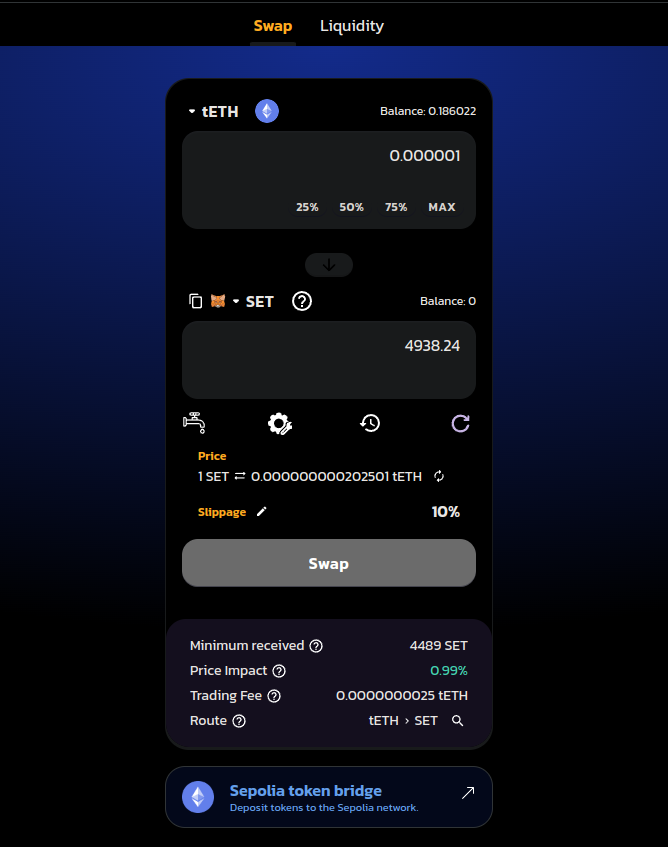
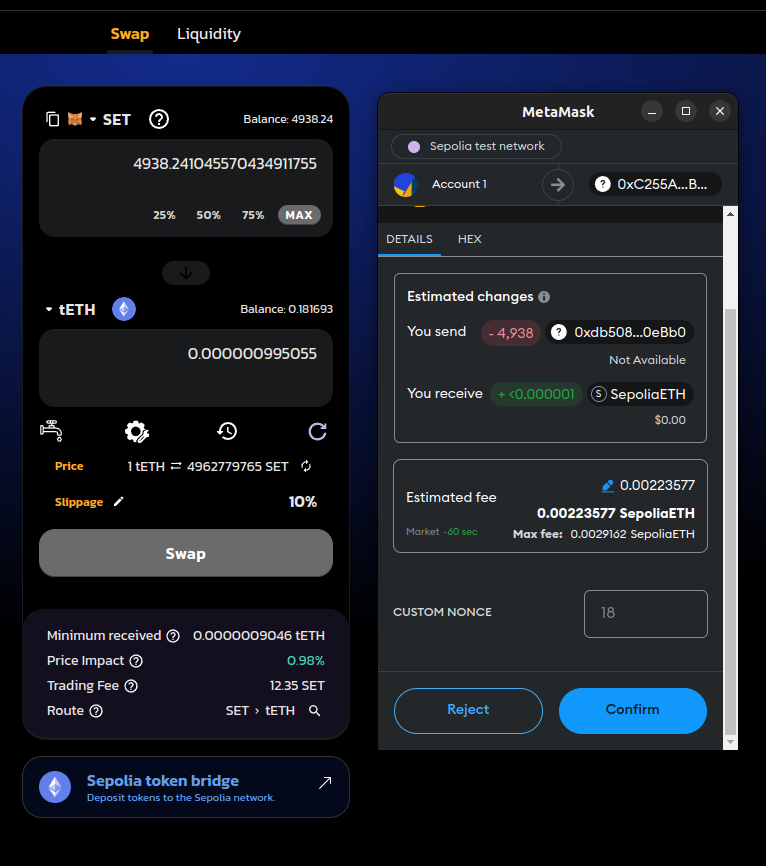
Attempting to Sell Immediately and Experiencing an Error
After purchasing your token, a user (or bot) may attempt to sell it immediately to take advantage of short-term price fluctuations. However, due to the anti-bot cooldown functionality, such immediate sell attempts will be blocked. Users will receive an error message indicating that they must wait before they can sell the tokens they just purchased.

Wait and Try to Sell Again
In order to comply with the anti-bot cooldown restrictions, users must wait a certain amount of time, in my case 15 minutes, before attempting to sell their tokens again. After waiting the required amount of time, a user can successfully execute a sell order.
Conclusion
Creating an ERC-20 token with anti-bot cooldown opens up a world of possibilities for your blockchain project. Whether you're building a dynamic reward system, a growing ecosystem, or a token backed by expanding real-world assets, the ability to implement anti-bot measures provides the security you might need.
Platforms like 20lab.app have made it easier than ever to create and manage tokens with anti-bot cooldowns, allowing you to focus on the benefits and impact of your project rather than complex technical implementations.
Remember, with great power comes great responsibility. Use the anti-bot cooldown feature wisely to maintain the value and trust in your token ecosystem.
If you have any questions about creating or managing your ERC-20 token, don't hesitate to reach out to us via our Telegram channel.


